
Epoxy paint, renowned worldwide for outstanding longevity and flexibility, is a highly sought-after choice for a broad range of industrial and commercial environments. Its unparalleled resistance to wear and tear makes it the perfect option for floors that are subjected to heavy traffic, frequent chemical spills, or rigorous cleaning regimes.
However, drying time is very important when utilizing enamel paint, as it can vary based on a number of reasons. Such variables include the particular epoxy paint formulation used, the coating layer thickness, and perhaps even the ambient environmental conditions during the coating process. Taking these factors into account will enable you to plan your project more effectively and ensure optimal results.
In this comprehensive post, we’ll take a look at the specifics of epoxy paint drying, providing valuable information and recommendations to help you navigate this important aspect of your project. By understanding the intricacies of the drying process, you will be equipped with the knowledge needed to make informed decisions and achieve the desired outcomes for applying glue and paint.
Epoxy paint: why is it important?
Epoxy paint is a superior bi-component coating solution that is composed of an enamel and a hardener. These two components are skillfully blended together to create a fascinating chemical reaction that results in an extremely strong and flexible coating. Adhesive characteristics of industrial epoxy coating are truly exceptional, allowing it to adhere to various surfaces with unmatched strength. Not only does it exhibit excellent chemical and heat resistance, but its incredible toughness ensures long-lasting protection against wear and tear.
With its outstanding characteristics, epoxy paint has become the go-to choice for high-traffic areas such as factory floors, garages, and basements. Its ability to withstand heavy foot traffic and vehicle movement makes it an excellent option for areas that require exceptional durability. Moreover, epoxy paint is highly sought after in applications that demand a high degree of sanitation and cleanliness, including hospitals and food processing plants. Its smooth and seamless finish makes it easy to clean and maintain, ensuring a hygienic environment.
While the advantages of exterior paint are multiple, it is important to note that proper application is key to achieving the desired result. Understanding the drying time of epoxy paint is a vital part of project planning, as it ensures that the coating cures and sets properly, providing optimal performance and longevity. Taking the time to consider and adhere to the recommended drying time will undoubtedly yield outstanding results and contribute to the overall success of the project.[1]
How To Apply 2‑Part Epoxy Paint
Application of epoxy two-part color paint requires precision and a systematic approach to achieve optimal results. To begin with, it is crucial to ensure that the surface to be painted is not only clean and dry, but also completely free from any oils or greases that could hinder proper adhesion. If necessary, consider using a high-quality degreaser or a suitable cleaning agent to thoroughly cleanse the surface.
Next, to enhance the bond between the epoxy paint and the surface, it is recommended to rough up the surface using a grinder or a shot blaster. This process creates a textured profile, allowing for better mechanical adhesion.
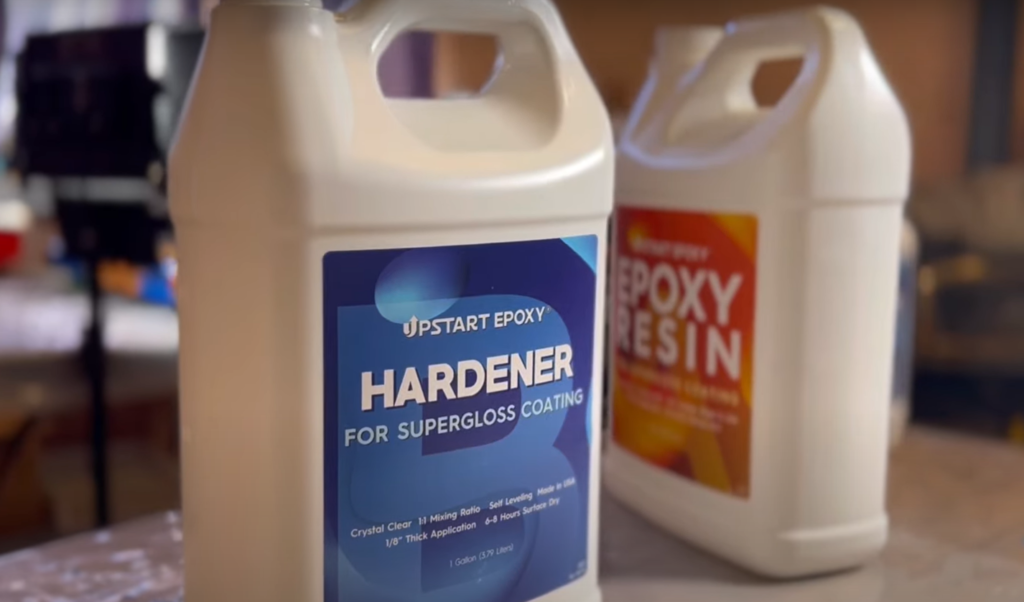
Now, let’s focus on the two components of epoxy coating: epoxy resin and curing agent. These two components must be mixed thoroughly in order to activate the chemical reaction that leads to the paint’s hardening process. It is important to note that this mixing should be done just before you are ready to apply the paint, as the mixture begins to harden once the resin and hardener are combined. To ensure an even consistency,pour the curing agent into the resin while stirring continuously. Continue stirring for a few minutes until the two components are completely blended.
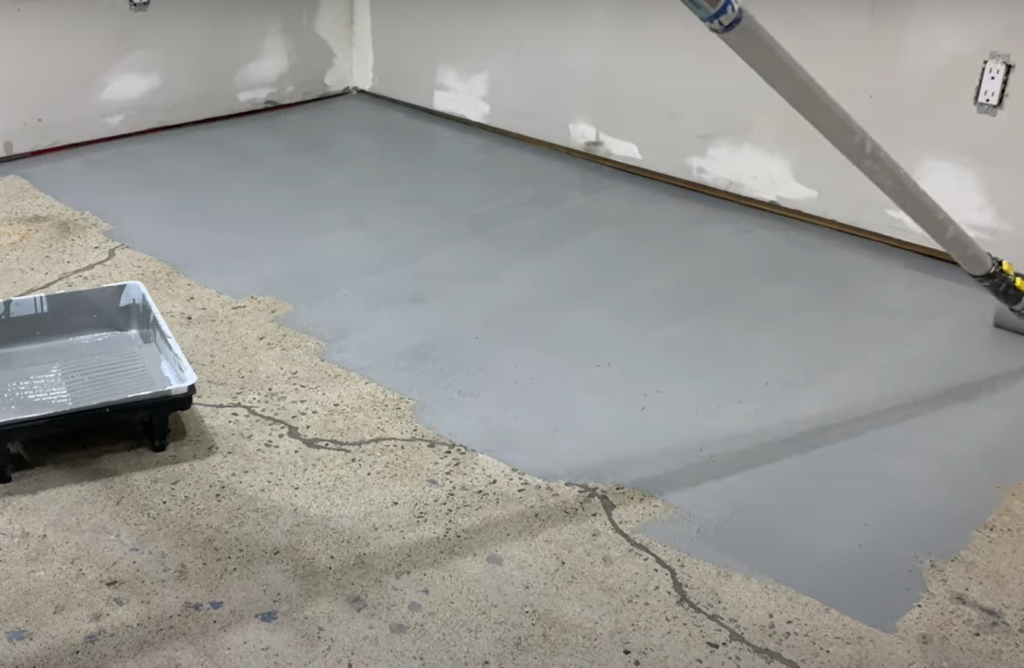
Once the epoxy paint mixture is prepared, it’s time to apply the first coat onto the surface. Whether you choose to use a brush or a roller, make sure to apply the paint evenly, taking care to avoid any puddles or thick spots that can result in uneven drying times. The goal is to achieve a smooth and uniform application.
After applying the first coat, allow it to dry for the specified period of time as indicated on the product manual. These are the recommended drying hours to ensure proper adhesion and prepare the surface for subsequent coats.
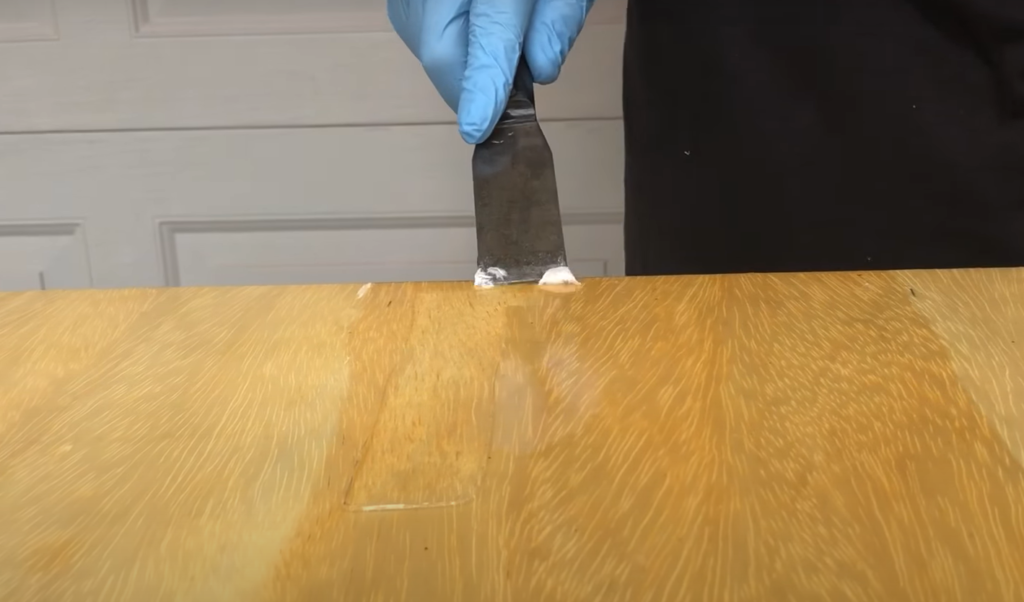
Once the first coat has dried, it is important to examine the area for any skipped sections or imperfections. If necessary, apply a second coat to ensure complete coverage and a flawless finish. It’s worth noting that each additional coat increases both the drying and curing time, but it also contributes to the overall strength and service life of the coated material.
Finally, after the final coat is applied, be patient and allow it to dry and cure completely before subjecting the surface to any traffic or heavy use. The drying and curing times can vary depending on factors such as the manufacturer’s instructions, environmental conditions, and the thickness of the paint application. It is advisable to refer to the specific product guidelines for accurate drying and curing times.
By following these detailed steps and taking the necessary precautions, you can achieve a professional finish and ensure the long-lasting performance of your epoxy painted surface.[1]
Three Steps to Great Epoxy Results
Clean and Dry Surface to Be Painted
The preparation of the painting surface is a vital step that significantly contributes to the final result. Ensuring the surface to be painted is clean and dry is essential for the best epoxy paint application. Any dirt, grease, or moisture can prevent the paint from adhering properly, leading to a flawed finish.
To begin the preparation process, start by sweeping or vacuuming the surface to remove any loose dirt or debris. This step helps to create a clean canvas for the paint to adhere to. Next, use a degreaser or a suitable cleaning agent to wipe away any oil, grease, or stubborn stains that may be present on the surface. Taking the time to remove these contaminants will ensure a smooth and even application of the epoxy paint.
After the cleaning process, it’s crucial to thoroughly rinse the surface with clean water to remove any remaining cleaning agents or residue. This step helps to eliminate any potential chemical interactions that could affect the adhesion or appearance of the paint. Once the rinsing is complete, allow the surface to dry completely before proceeding with the painting process. Using a moisture meter can be helpful in confirming that the surface is dry enough for painting, as any residual moisture can negatively impact the paint’s performance and longevity.
Although the initial preparation process may be time-consuming, it plays a critical role in enhancing the durability and appearance of your epoxy finish. Taking the necessary steps to ensure a clean and dry surface will not only result in a flawless finish but also contribute to the longevity and performance of the painted surface. So, invest the time and effort in this preparation phase, and you’ll be rewarded with a stunning and long-lasting epoxy finish.
Prepare Cleaned Surface With Etching Solution
After ensuring that the surface is clean and dry, the next step in the preparation process is the application of an etching solution. This is a crucial step, particularly for concrete surfaces, as it helps to open up the pores of the concrete, promoting optimal adhesion of the epoxy paint.
Start by preparing the etching solution as per the manufacturer’s instructions. Typically, this involves mixing the etching solution with water in a plastic watering can.
The right mixture ensures that the etching solution is effective in removing any existing contaminants and creating a suitable surface for the epoxy paint to bond with.Once the etching solution is properly mixed, it’s time to apply it to the surface. Start by pouring the solution evenly over the area you wish to treat. Use a back-and-forth motion to distribute the solution, ensuring that it covers the surface thoroughly. Pay special attention to corners and hard-to-reach areas, using a stiff-bristled broom to scrub the solution into the surface. This manual scrubbing action helps the solution penetrate deep into the pores of the concrete, ensuring maximum adhesion.
After scrubbing, it’s important to rinse the surface thoroughly with clean water. This step removes any residue from the etching solution as well as loose particles that may have been loosened during the etching process. Use a hose or a bucket of clean water to rinse the surface, making sure all the solution and debris are washed away. Take your time to ensure a thorough rinse, as any leftover residue or loose particles can affect the adhesion of the epoxy paint.
Once the surface is rinsed, give it ample time to dry completely before proceeding with the epoxy application. Proper drying is crucial to ensure a strong bond between the epoxy and the prepared surface. You can use a moisture meter to check the moisture content of the surface, ensuring that it is within the recommended range for epoxy application. This extra step helps to guarantee the best possible outcome for your project, minimizing the risk of adhesion issues or premature failure.
By following these detailed steps, you can ensure that your surface is properly prepared for the application of epoxy paint. Taking the time to thoroughly clean, etch, and rinse the surface will contribute to a successful and long-lasting epoxy coating.
Apply Epoxy After Etching Solution Has Set
Once the surface is fully dry after etching, it’s time to apply the epoxy paint. Ensure the two components of the epoxy paint – the epoxy resin and the hardener – are thoroughly mixed before you start to paint. This is crucial for achieving a strong and durable bond.
To mix the epoxy paint, pour the hardener into the epoxy resin while stirring continuously. This ensures that the two components blend together seamlessly, creating an even consistency. Take your time during this step to ensure thorough mixing and avoid any lumps or inconsistencies.
Next, apply the first coat of the mixed epoxy paint on the surface using a brush or roller. Make sure to choose the appropriate tool based on the size and texture of the surface. It is important to apply the paint evenly across the surface, avoiding any puddles or thick spots. Uneven application can lead to uneven drying times and an inconsistent finish.
Allow the first coat to dry according to the manufacturer’s recommended drying time. This time may vary depending on the specific epoxy paint product and environmental conditions. It is important to follow the instructions provided by the manufacturer to ensure optimal results.
Once the first coat has dried, inspect the surface for any missed spots or imperfections. It is common to notice areas that require additional coverage or touch-ups. If necessary, apply a second coat of epoxy paint to achieve the desired finish. Keep in mind that each additional coat will increase the overall drying and curing time of the epoxy paint.
It is important to note that drying and curing times can vary based on factors such as the specific epoxy paint product, environmental conditions, and the thickness of the application. Always refer to the manufacturer’s instructions for accurate information regarding drying and curing times.
Finally, allow the final coat of epoxy paint to dry and cure completely before allowing any traffic or use on the surface. This ensures that the paint has fully hardened and will provide long-lasting protection. Patience is key during this final stage, as rushing the curing process can compromise the integrity of the epoxy paint.
By following these detailed steps and paying attention to the specific instructions provided by the manufacturer, you can achieve a professional and durable epoxy paint finish that will stand the test of time.[2]
How Long Does Epoxy Paint Take to Dry and Cure?
The drying and curing time of epoxy paint can vary significantly based on a number of factors. Manufacturer’s guidelines typically suggest a drying time between 12 to 24 hours for the initial coat, and longer for additional coats. However, it’s the curing process that takes considerably more time.
During the curing process, the epoxy paint undergoes a chemical reaction that transforms it from a liquid to a solid state. While the surface may feel dry to the touch and appear hard after a day or two, full curing, where the product reaches its maximum hardness, can take up to 30 days. This extended timeframe is necessary to ensure the durability and longevity of the epoxy finish.
Several factors can influence the drying and curing timescales. Temperature plays a crucial role, as cooler temperatures tend to slow down the curing process, while warmer temperatures can speed it up. Humidity levels also come into play, with higher humidity potentially prolonging the curing time.
Additionally, the thickness of the paint layer can affect the drying and curing times. Thicker applications may require more time to fully cure. It is crucial to consider these factors and respect the recommended timelines to achieve a durable, high-quality epoxy finish.
To determine the specific drying and curing times for your epoxy paint, always refer to the manufacturer’s instructions. These guidelines provide the most accurate information tailored to your specific product. Remember, patience is key when it comes to achieving a long-lasting and flawless epoxy finish.[2]
What Are the Best Conditions to Apply and Let Epoxy Paint Dry?
The optimal conditions for application and drying of epoxy paint are crucial to achieving the best results. When it comes to temperature, it is recommended to maintain a moderate range of 50-85°F (10-30°C). This temperature range allows the epoxy paint to cure properly, ensuring maximum hardness and a smooth finish. If the temperature is too high, the epoxy may cure too quickly, resulting in an uneven application. On the other hand, extremely low temperatures can slow down the curing process, leading to extended drying time.
In addition to temperature, humidity levels also play a significant role in the epoxy paint drying process. It is advisable to keep the humidity level below 85%. High humidity can hinder proper adhesion of the epoxy to the surface, and it can also slow down the drying process. By maintaining a humidity level below the recommended threshold, you can ensure proper bonding and a more efficient drying time.
Apart from temperature and humidity, good ventilation is essential during the application and drying of epoxy paint. Adequate ventilation helps to carry away the fumes emitted by the epoxy paint, creating a healthier environment for application. It also supplies fresh air that aids in the curing process. However, it is important to strike a balance with ventilation, as too much wind can blow dust and debris onto the wet epoxy, causing defects on the surface. Therefore, it is recommended to have good ventilation without excessive wind to achieve optimal results.
To summarize, achieving the best conditions for applying and letting epoxy paint dry requires maintaining consistent and moderate temperatures, low humidity levels, and proper ventilation. It is always recommended to consult the specific guidelines provided by the paint manufacturer to ensure the best possible outcome.[3]
How To Make Epoxy Paint Dry Faster?
While the drying and curing time for epoxy paint primarily depends on factors such as temperature, humidity, and ventilation, there are several measures you can take to expedite the process and achieve optimal results.
Firstly, it is highly recommended to apply epoxy paint in an environment where you have control over temperature, humidity, and ventilation. Maintaining a consistent temperature within the ideal range of 50-85°F (10-30°C), ensuring low humidity levels below 85%, and promoting good ventilation can significantly accelerate the drying process. This controlled environment creates an optimal condition for the epoxy paint to cure efficiently.
Secondly, when applying the paint, it is advisable to do so in thin, even layers. Thick layers of epoxy paint take longer to dry and cure, so it is generally more effective to apply multiple thin layers. This technique allows for better airflow and facilitates quicker drying and curing.
Furthermore, if the humidity level is high, it can impede the drying process. To counter this, using a dehumidifier or an air mover can be beneficial. A dehumidifier helps to reduce moisture in the air, while an air mover promotes air circulation. Both of these devices work together to create an environment conducive to faster drying.
Lastly, it is crucial to ensure that the epoxy mixture is prepared correctly according to the manufacturer’s instructions. Using incorrect ratios can lead to longer drying and curing times, compromising the overall quality and durability of the epoxy finish. Following the manufacturer’s guidelines precisely will help you achieve the desired results within the expected time frame.
While it is important to expedite the drying and curing process, it is equally essential to strike a balance between speed and quality. Rushing the process can compromise the final outcome, so it is crucial to exercise patience and maintain a careful approach throughout the application.
By implementing these measures and following the recommended guidelines, you can optimize the drying and curing time for epoxy paint, ensuring a high-quality and durable finish.[3]
What Temperature Does Epoxy Cure At?
Epoxy cures most effectively between 50-85°F (10-30°C). Maintaining a consistent temperature within this range is crucial for optimal results.
Note that specific epoxy products may have unique temperature recommendations. Always refer to the manufacturer’s instructions for accurate information.[3]FAQ
How long should you let epoxy paint dry?
To determine the drying time of epoxy paint, several factors come into play, such as the specific product, application thickness, environmental conditions, and intended use. Generally, initial drying takes around 12 to 24 hours, reaching a ‘touch-dry’ state.
However, full curing, achieving maximum hardness, can take up to 30 days. During this time, the epoxy continues to harden and strengthen. It’s crucial to allow complete curing for durability and longevity. While the surface may appear dry within a day or two, it’s recommended to wait until the full curing time has passed before heavy use. Always refer to the manufacturer’s instructions for accurate drying and curing times.
How can I make epoxy paint dry faster?
To help epoxy paint dry faster without compromising quality and durability, consider these strategies:
- Control the Environment: Manage temperature, humidity, and ventilation. Ideal conditions are a consistent temperature of 50-85°F (10-30°C), low humidity (below 85%), and good ventilation.
- Apply Thin Layers: Opt for multiple thin layers instead of a thick one. Thin layers dry and cure more effectively.
- Utilize Tools: Reduce humidity with a dehumidifier and improve air circulation with an air mover.
- Ensure Correct Mixture: Follow the manufacturer’s instructions for the proper epoxy mixture.
- Use Fast-Curing Epoxy: Consider using epoxy products designed for faster curing.
Remember, prioritize quality over speed to achieve a durable and high-quality finish. Patience is key in any painting task.
How long does 2 part epoxy take to dry?
Two-part epoxy consists of a resin and hardener that initiates a chemical reaction, causing the epoxy to harden. Drying time varies based on factors like product, mixing ratio, application thickness, and environmental conditions. Generally, it becomes touch-dry in 4 to 6 hours. However, full curing may take up to a week or longer. During this time, the epoxy continues to harden and strengthen. For optimal durability, wait until complete curing before heavy use. Refer to the manufacturer’s instructions for accurate drying and curing times.
Why does epoxy paint take so long to dry?
Epoxy paint takes longer to dry compared to conventional paint due to its curing process. When the resin and hardener components are mixed, a chemical reaction occurs, transforming the liquid epoxy paint into a solid, durable finish. Factors such as temperature, humidity, and layer thickness also affect drying time. Full curing, achieving maximum hardness and strength, can take up to a month. Despite the inconvenience, the lengthy drying time demonstrates the quality, durability, and robustness of the epoxy paint finish.
How many coats of epoxy paint?
The number of epoxy paint coats to apply depends on the specific application and product. For a durable finish, two coats are recommended. The first coat seals the surface, while the second provides color, gloss, and thickness. If the surface is porous or rough, consider an initial skim coat or additional coat for full coverage. Heavy traffic or extreme conditions may require an extra topcoat for added protection. Allow sufficient drying time between coats as instructed by the manufacturer. Consult product guidelines for best results.
Why is my epoxy not drying fully?
There are several reasons for epoxy not drying completely. One common cause is incorrect mixing ratios of resin and hardener, which can interfere with the curing process, leaving the epoxy tacky or soft. The application environment is also important; temperature, humidity, and epoxy thickness can affect drying time and completeness. Using expired or contaminated epoxy or not prepping the surface properly can also lead to incomplete curing. Follow the manufacturer’s instructions for best results. If the problem persists, contact customer service for assistance.
Useful Video: How long does it take for Epoxy to Dry? – Understand when the floor is ready for use
Conclusion
Working with epoxy paint requires patience and precision. Its drying process is slower than other paints as it undergoes a chemical reaction, resulting in a durable and long-lasting finish. Factors like environment and coat thickness affect drying time. Incomplete drying can be due to incorrect mixing ratios, poor conditions, or inadequate surface preparation. Follow the manufacturer’s instructions and avoid rushing the process. Though epoxy paint demands preparation and patience, its superior quality makes it worthwhile.
References:
- https://www.drylok.com/inspiration/blog/how-long-does-epoxy-paint-take-to-dry
- https://www.diygeeks.com/epoxy-dry-time/
- https://paintcentric.com/epoxy-paint/