Painting a car hood may sound complicated at first, but fear not! With the right tools, a bit of patience, and a sprinkle of determination, it is a task that can be accomplished by any car enthusiast, regardless of experience level. Whether you’re looking to repair a pesky scratch, freshen up your car’s appearance, or give it a complete color makeover, this comprehensive guide is dedicated to guiding you along the way, step by step.
Just before we get too deep into the details, it’s important to emphasize the significance of safety and preparation. Ensuring you have the proper safety equipment and following the necessary precautions will not only protect you from potential harm but also contribute to achieving a perfect finish in appearance.
Now, let’s get down to business! We’ll explore the various tools and materials you’ll need, discuss the different steps involved in prepping the car hood, and guide you through the actual painting process. By the end of this guide, you’ll be equipped with the knowledge and confidence to transform your car hood into a masterpiece.
So, grab your paintbrushes and let’s embark on this exciting journey of car hood painting!
A step-by-step guide
Clean your car’s hood
First and foremost, you need to thoroughly clean the hood of your car. Start by bathing with lukewarm, sudsy water, utilizing a gentle but effective car wash soap. This will help to remove any loose dirt, grime, and debris that may have accumulated on the surface. Take your time and make sure you get into all the corners and crevices, paying special attention to the areas around the edges and corners of the hood.
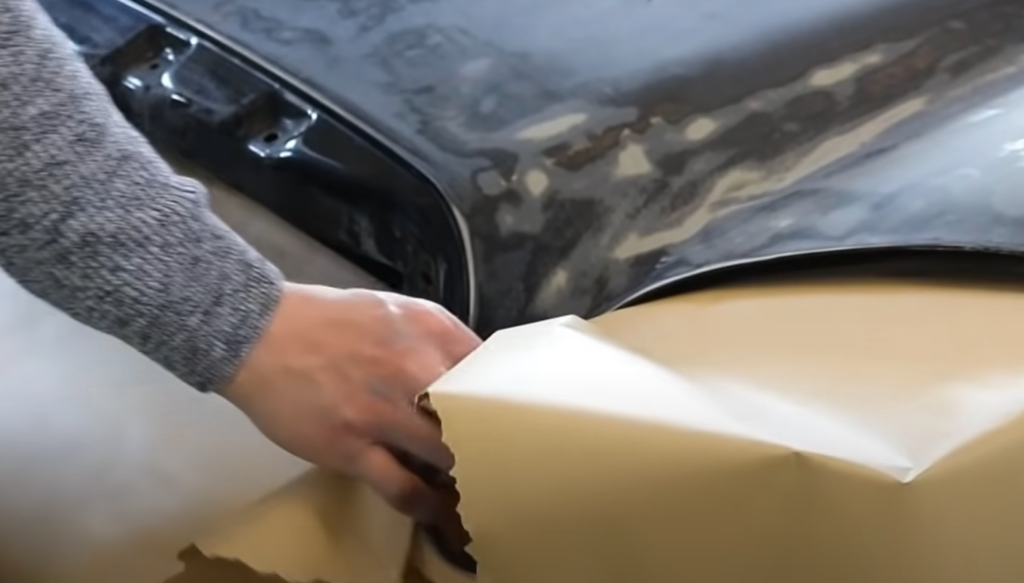
Once you have completed the initial wash, it’s time to tackle the embedded contaminants that regular washing may not remove. To do this, you can use a clay bar especially formulated for car use. Gently rub the clay bar over the surface of the hood, applying light pressure. This will help to lift and eliminate any stubborn contaminants such as tar, bug residue, or industrial fallout that may have bonded to the paintwork. Remember to lubricate the surface with a clay bar lubricant to prevent scratching.
As you clean the hood, be sure to pay careful attention to removing any traces of wax or grease. These substances can create a barrier that prevents the new paint from adhering properly.
After you have thoroughly cleaned the hood, it’s important to dry it properly to avoid any water spots or streaks. Use a clean, lint-free towel to gently pat the surface dry. Avoid rubbing or scrubbing, as this could potentially cause micro-scratches. Take your time and make sure that the hood is completely dry before moving on to the next step.
Remember, it is crucial that the car hood is entirely clean and dry before you proceed to the next step. This will ensure that the paint adheres properly and that you achieve the best possible results in your painting project. Take your time, follow these steps diligently, and you’ll be well on your way to a beautifully painted car hood!
Dry the spot
After completing the thorough cleaning process, it is crucial to ensure that the car hood is completely dry before proceeding further. This step is essential to guarantee optimal results in the subsequent stages of the restoration process. To achieve this, it is recommended to use a high-quality microfiber towel, as it effectively absorbs moisture without leaving behind any lint or residue.
In addition to using a microfiber towel, an alternative method to remove excess water is removed by a blower from cracks or inaccessible places. This can be particularly useful in ensuring that all moisture is eliminated from every nook and cranny of the car hood.
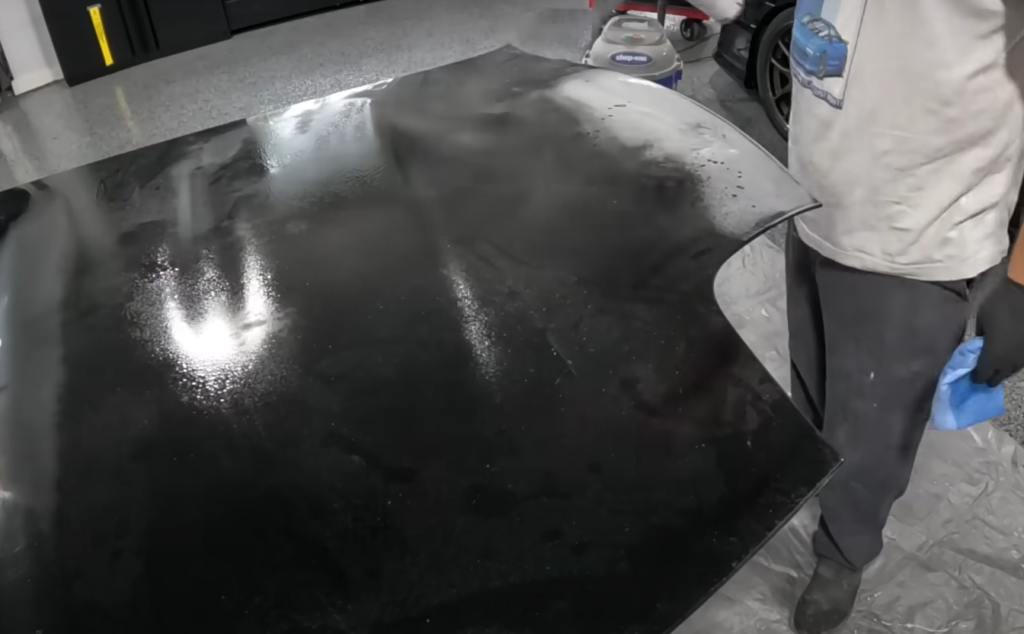
For the best outcome, it is advisable to allow the car to sit in a warm, dry place for a few hours. This extended drying period will facilitate the complete evaporation of any residual moisture. By taking this extra time, you can ensure that the hood is perfectly dry and ready for the next steps in the restoration process.
Therefore, it is essential to invest the time and effort to thoroughly dry the hood to ensure optimal results in the overall restoration project.Use sandpaper
The next step in the car paint preparation process involves sanding the hood to ensure a flawless finish. This crucial step helps eliminate the old paint and create a smooth surface for the new paint to adhere to.
Depending on the condition of your hood, you may need to begin with rough abrasive cloths, such as 600 grit, to eliminate any roughness and imperfections. This initial sanding will help level the surface and provide a solid foundation for the new paint.
After the initial sanding, gradually move to a finer grit sandpaper, like a 2000-grit, to smoothen the surface further. Remember to always sand in a circular motion, applying gentle pressure. Avoid pressing too hard, as it may create deep scratches or gouges in the metal. Take your time and ensure a consistent sanding motion across the entire hood.
During the sanding process, it is crucial to protect yourself by wearing a dust mask, as it can generate a significant amount of dust particles. Safety should always be a priority to prevent any respiratory issues.
Once you have thoroughly sanded the hood, take a clean, damp cloth and wipe it down to remove any dust or debris. This step is essential to ensure that the surface is clean and ready for the next stage of the painting process.
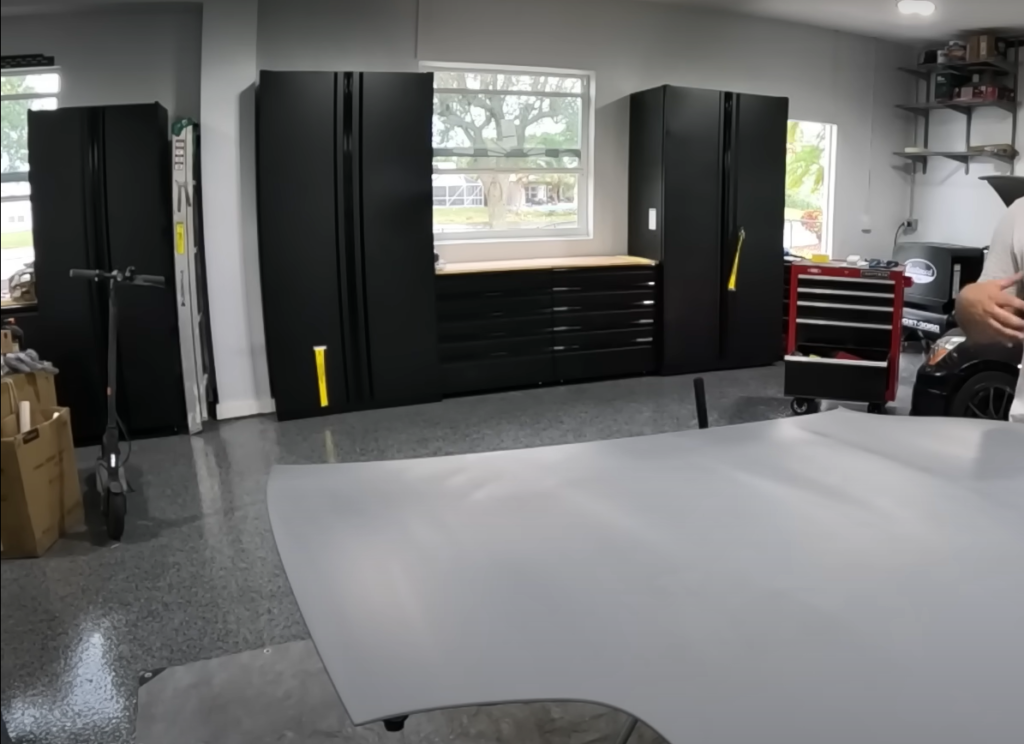
By following these detailed steps and paying attention to every aspect of the sanding process, you can achieve a smooth and professional-looking finish on your car’s hood.
Apply primer to the hood
- Shake the Primer Can: To begin, vigorously shake the primer can for approximately one minute. This thorough shaking ensures proper mixing of the contents, allowing for optimal performance during application.
- Apply the Primer: Holding the can at a distance of about 6-8 inches from the hood, evenly spray the primer onto the surface. It is crucial to maintain a consistent pressure while spraying to achieve a uniform coat. Commence spraying off the surface, gradually move across the hood, and conclude by spraying off the surface again. This technique minimizes the risk of unwanted drips and ensures thorough coverage.
- Let it Dry: Once the primer has been applied, exercise patience and allow it to dry completely before proceeding to the next step. Drying times may vary depending on the specific primer being used and the conditions in your workspace. Refer to the manufacturer’s instructions for precise drying time recommendations. This step is vital as it sets the foundation for a smooth and flawless finish.
- Sand the Primed Surface: After the primer has dried thoroughly, lightly sand the surface using a higher-grit sandpaper. This gentle sanding promotes better adhesion of the subsequent paint layers, ensuring a long-lasting and professional-looking result. Remember to meticulously clean the surface after sanding to remove any residual dust particles that could compromise the final finish.
- Apply a Second Coat: If deemed necessary, apply a second coat of primer to address any remaining imperfections and enhance the overall coverage. This additional coat helps to ensure a seamless and flawless base for the subsequent layers of paint. As before, allow this second coat to dry completely, and then proceed to gently sand the surface once again before moving on to the application of the base coat.
Add more layers
- Apply the Base Coat: Before applying the base coat, make sure to shake the can for about a minute to ensure that the paint is thoroughly mixed. Holding the can approximately 6-8 inches away from the hood, apply the base coat in smooth, sweeping motions, similar to how you applied the primer. It’s important to cover the entire surface of the hood with a thin, even layer of paint to achieve optimal results.
- Let it Dry: After applying the first layer of the base coat, allow it to dry completely. The drying time may vary depending on the brand of paint you’re using and the conditions in your workspace. For the recommended drying time, always refer to the instructions provided by the manufacturer. Ensuring that the base coat is fully dry is crucial for achieving a professional finish.
- Apply Additional Layers: To achieve a more durable and vibrant finish, apply additional layers of the base coat. Make sure each layer is completely dry before applying the next. By aiming for at least 2-3 layers, you can achieve a more polished and professional look for your paint job.
- Apply the Clear Coat: Once the final layer of the base coat has dried, it’s time to apply the clear coat. Follow the same technique used for applying the primer and base coat, ensuring that you cover the entire surface of the hood. The clear coat acts as a protective layer, sealing in the base coat and providing a glossy finish to your paint job. Allow the clear coat to dry completely before proceeding.
- Final Sanding and Polishing: After the clear coat has dried, perform a final light wet sanding using high-grit sandpaper. This step helps to smooth out any imperfections and create a flawless surface. Once you’ve finished sanding, thoroughly wash and dry the hood to remove any residue. Finally, apply car wax to give your paint job a showroom shine. Use a clean, soft cloth to buff the wax and bring out the ultimate luster of your newly painted hood.
Apply paint
- Choosing the Right Paint: When selecting an automotive paint that matches your car’s original color, it’s important to consider factors such as the paint type (e.g., metallic, pearl), finish (e.g., glossy, matte), and shade. If you’re unsure about your car’s exact color, you can find the color code on the manufacturer’s label or plaque, typically located in the door jamb or engine bay.
- Shake the Paint Can: Before you start painting, make sure to shake the paint vigorously for a couple of minutes. This ensures a thorough and even distribution of pigments throughout the paint, resulting in a consistent color and finish.
- Apply the Paint: When applying the paint, hold the can approximately 6-8 inches away from the surface of the hood. Start spraying in smooth, overlapping strokes, moving across the surface in a consistent and controlled manner. It’s important to start and end each stroke off the hood to minimize the risk of drips or blobs of paint.
- Apply Additional Coats: To achieve a professional-looking finish, it’s recommended to apply at least two coats of paint. Allow each coat to dry completely according to the manufacturer’s specified time before applying the next one. Each layer should be applied thinly and evenly to ensure proper adhesion and a seamless blend with the existing paint.
- Drying Time: Once you have applied the final coat of paint, it’s crucial to allow it to cure properly. Follow the paint manufacturer’s instructions, but as a general guideline, it’s advisable to let the paint cure for at least 24 hours. During this time, avoid any unnecessary contact with the hood to prevent smudging or damaging the freshly painted surface.
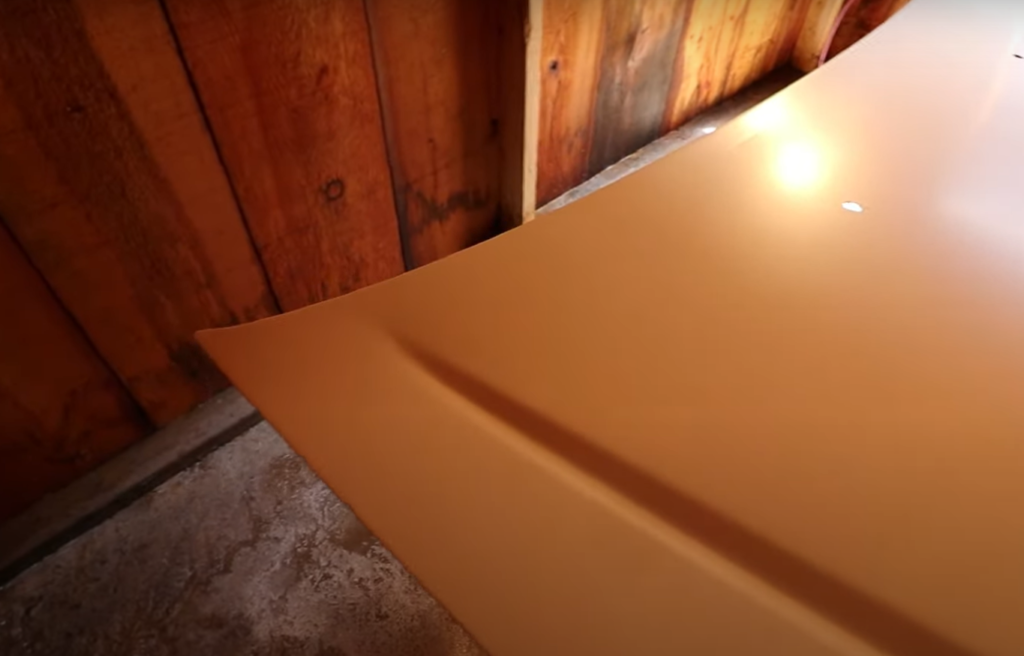
By following these detailed steps, you can ensure a successful and professional-looking paint job for your car’s hood.
Apply more coats
- Apply Further Coats: If the car’s hood is not yet achieving the desired color or finish, you may consider applying additional coats of paint. This will provide an opportunity to deepen the color and enhance the glossiness. Remember to allow each coat to dry fully before applying the next one. Doing so will ensure a smooth and flawless finish, as well as a more vibrant and lustrous appearance.
- Dry Between Coats: Just like with the previous coats, it is crucial to allow sufficient drying time between applications. Rushing this process may result in undesirable streaks, smudges, or an uneven finish. By patiently allowing each coat to dry completely, you can achieve a more professional-looking result that is free from imperfections.
- Inspect the Hood: Upon applying and drying the additional coats, take a step back and conduct a meticulous inspection of the hood. Carefully examine the surface for any areas that may appear uneven or might require further attention. By doing so, you can address any minor imperfections and ensure an even and flawless final outcome.
- Final Clear Coat: Once you are satisfied with the color and finish of the paint, it is time to apply the final clear coat. This additional layer serves multiple purposes, including providing an extra level of protection for the underlying paint and delivering a glossy sheen that adds a touch of professionalism. Allow the clear coat to dry thoroughly, following the instructions provided by the manufacturer, to ensure optimal results.
- Cure the Paint: After applying the final clear coat, it is crucial to allow sufficient time for the paint to cure completely. The duration of this stage can vary depending on factors such as the specific paint used and the environmental conditions. It is important not to rush this process, as it plays a vital role in the long-term durability and overall finish of your paint job. Plan for a curing period ranging from 24 hours to a week, ensuring that you provide the necessary time for the paint to fully set and harden.
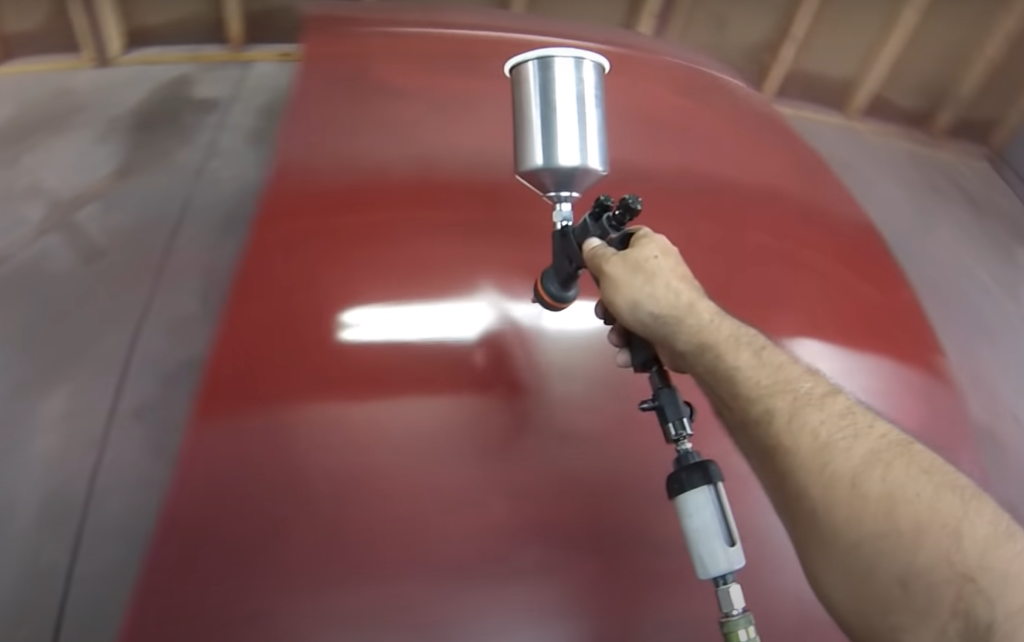
By following these steps with attention to detail, you can achieve a professional-quality paint job that boasts a deep, rich color, a smooth, glossy finish, and long-lasting durability.[1]
Steps to Painting a Car Hood with Roller
- Prepare the Roller and Paint: First, pour your chosen automotive paint into a paint tray. Make sure to select the appropriate paint for your vehicle’s hood. Then, fully immerse your roller in the paint, ensuring that it is evenly coated. Roll the roller back and forth in the tray, distributing the paint evenly on the roller’s surface. This step is crucial to achieve a smooth and consistent paint application.
- Apply the First Layer of Paint: Start at one end of the hood and begin rolling the paint onto the surface in one continuous stroke. Maintain a firm and even pressure throughout the stroke to ensure an even distribution of paint. It is important to avoid stopping or lifting the roller mid-stroke, as this can result in visible marks or unevenness in the final finish. Take your time during this step to ensure a professional-looking result.
- Continue Applying Paint: Proceed to apply the paint to the rest of the hood, working in sections. As you apply each new stroke, make sure it slightly overlaps with the previous one. This overlapping technique helps to blend the paint together and avoids the creation of visible lines or stripes in the final coat. Be meticulous and take your time to achieve a seamless and consistent paint application.
- Allow to Dry: Once you have completed the first coat of paint, it is essential to allow it to dry completely. Refer to the paint manufacturer’s instructions for recommended drying times. It is crucial to follow these guidelines to ensure that the paint sets properly before proceeding to the next steps.
- Repeat the Process: After the first coat has dried, repeat the entire process to apply additional coats of paint. This step is necessary to achieve your desired color and coverage. Remember to allow each coat to dry completely before applying the next one. Building up multiple thin layers of paint will result in a more durable and professional-looking finish.
- Apply Clear Coat: Once you have applied the final coat of paint and allowed it to dry, it’s time to apply a clear coat using the same roller technique. The clear coat will not only provide additional protection but also give your hood a glossy and showroom-like finish. Be sure to follow the clear coat manufacturer’s instructions for proper application and drying times.
- Last Step – Curing: After applying the clear coat, allow it to dry completely. Once dry, it is important to let the paintwork cure for the recommended time period according to the manufacturer’s instructions. This curing process is crucial for achieving a durable and long-lasting finish. Avoid rushing this stage to ensure that the paint fully sets and hardens, providing a professional-quality result.[2]
How to Paint a Car Hood with a Sprayer?
- Prepare the Sprayer and Paint: Fill your paint sprayer with your chosen automotive paint. Ensure that the paint is well mixed and thin enough to pass through the sprayer nozzle.
- Spray Test Pattern: Before you start, spray a test pattern onto a sheet of cardboard to get comfortable with the sprayer’s operation and to ensure the paint is atomizing correctly.
- Spray the Hood: Hold the sprayer nozzle approximately 6-8 inches from the hood. Begin spraying the paint, moving your hand in even, horizontal strokes across the surface of the hood. Just like with the can, start and stop each paint stroke off the hood to limit the risk of drips or blobs of paint.
- Apply Additional Coats: Depending on the coverage and the color depth you want, apply multiple thin coats of paint. Remember to let each coat dry as per the manufacturer’s instructions before applying the next one.
- Apply Clear Coat: After the final paint coat has dried, spray a clear coat using the same technique. This will seal the paint and provide a glossy, professional look.
- Curing: Allow the clear coat to dry completely, then let the paint cure for the recommended time detailed in the manufacturer’s instructions. This final step is vital for a durable, high-quality finish. During this curing time, avoid unnecessary contact with the hood to prevent any damage to the paint.[3]
FAQ
Can I paint my car hood myself?
Painting your car’s hood yourself is possible and rewarding, but it requires patience, precision, and the right materials.
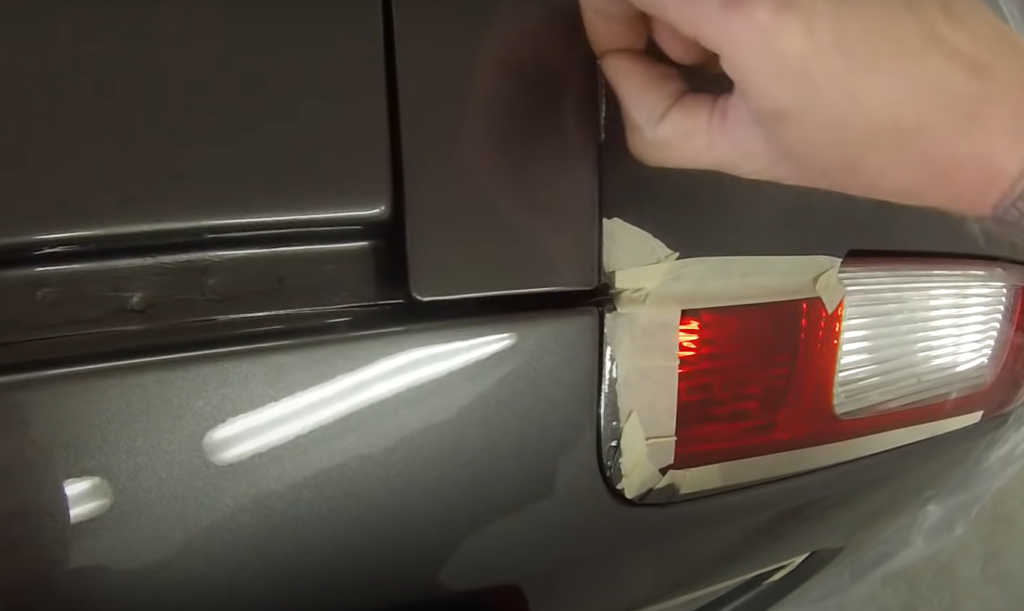
Beginners may face challenges, but with practice and attention to instructions, much can be achieved. Preparation, drying, and curing are crucial for a smooth, durable finish.
How much paint is needed to paint a car hood?
To paint a car hood, the amount of paint needed depends on its size, the type of paint, and the desired number of coats.
It’s wise to buy a bit more for any mishaps or extra coats. Remember, more coats result in a deeper, richer color. Always follow the paint manufacturer’s instructions for optimal results.How much spray can paint on a car hood?
The amount of spray paint needed to cover a car hood depends on factors like paint color, brand, hood size, and number of coats. On average, about 3-4 cans for base coats and the same for clear coats are recommended for a standard-sized hood. Each can covers around 10-12 square feet. However, it’s advisable to buy extra cans to avoid running out of paint. Refer to manufacturer guidelines for specific recommendations.
What paint to use on a bare metal car?
When painting a bare metal car, using the appropriate type of paint is crucial for a durable and professional finish. Start with a high-quality automotive primer to ensure good adhesion and prevent rust. For the paint, options include urethane for durability and color variety, acrylic lacquer for ease of use and quick drying, and acrylic enamel for hardness and gloss. Finish with a clear coat to protect against UV light, weather, and scratches. Consider the desired finish, available application methods, and budget when choosing paint. Always follow the manufacturer’s instructions for best results.
What happens if you paint metal without a primer?
Using primer when painting metal is crucial for achieving optimal results. It enhances paint adhesion, protects against rust and corrosion, and helps hide imperfections. Skipping this step can result in an uneven finish and lower quality outcome.
Does bare metal need a primer?
Applying primer to bare metal before painting is highly recommended. It acts as a bridge between the metal and paint, ensuring better adhesion and reducing the likelihood of peeling or chipping.
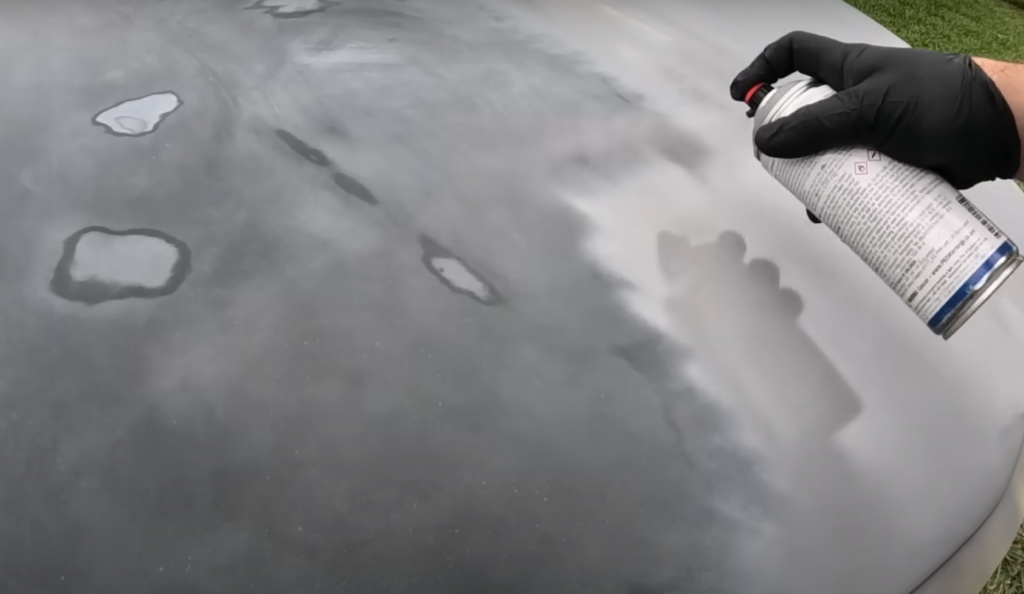
Primer also provides protection against rust, conceals imperfections, and enhances the paint’s coverage. Using primer is crucial for achieving a durable and professional finish.
Useful Video: HOW TO PAINT HOOD. CAR PAINTING
Conclusion
Painting a car hood requires careful preparation and understanding of materials. With patience and precision, achieve a professional finish by choosing the right paint, applying it correctly, and using primer for adhesion and durability. Follow guidelines and manufacturer’s instructions for a successful paint job.
References:
- https://www.way.com/blog/how-to-paint-the-hood-of-a-car/
- https://getjerry.com/questions/how-do-you-paint-a-car-hood-step-by-step
- https://www.auttomotive.com/cars/how-to-paint-a-car-hood/



Leave a Review