
When it comes to home improvement, one question that frequently arises among homeowners is, “Can you paint a fiberglass tub?” It’s a valid question, and the short answer is yes, it is possible. However, the process of painting a fiberglass tub requires careful preparation and the use of the right products to ensure a smooth and durable finish which will withstand the passage of years.
With this exhaustive tutorial, we’ll take you all the way to each step of the process to successfully paint your fiberglass tub. We’ll cover everything from the initial preparation, including cleaning and sanding the surface, to choosing the appropriate primer and paint for your specific tub. We’ll also provide tips and tricks to achieve a perfect coating appearance, as well as guidance on proper maintenance to keep your painted fiberglass tub looking fresh and appealing for years to come.
By following our detailed instructions and taking the time to properly prepare and paint your fiberglass tub, you can transform it into a stunning feature of your bathroom. Whether you’re looking to update the color or simply refresh the appearance of your tub, this guide will give you all the necessary data to achieve good performance. Prepare yourself to take on this exciting home improvement project and enjoy the satisfaction of a job well done!
Can you paint a bathtub?
Absolutely! Not only can you paint a bathtub, but doing so can also extend the lifespan of your tub and give your bathroom a beautifully refurbished appearance. Whether your bathtub is made of fiberglass, acrylic, or enamel, there are specific paints and processes suited to each material, ensuring a long-lasting and professional-looking result.

For fiberglass tubs, proper preparation is crucial. Start by thoroughly cleaning the surface and removing any dirt or grime. Next, lightly sand the tub to create a roughened surface for better paint adhesion. Wipe the bathtub with a clean rag after polishing to remove excess dust. Follow the primer instructions for fiberglass substrates. When the undercoat is completely dry, you can start applying the paint. Select a quality fiberglass acrylic or enamel paint formulated for use on fiberglass. Make several thin layers, letting each coat fully dry prior to adding the next. Finally, seal the painted surface with a clear topcoat for added durability and protection.
When it comes to acrylic or enamel tubs, the process is slightly different. Start by cleaning the tub thoroughly and removing any soap scum or residue. Use a fine-grit sandpaper to lightly roughen the surface, creating a better bond for the paint. After sanding, wipe the tub down with a fresh rag to wipe away dust. Apply a bonding primer specifically designed for acrylic or enamel surfaces, following the manufacturer’s instructions. Once the primer is dry, you can start painting. Choose a high-quality acrylic or epoxy paint suitable for use on acrylic or enamel. Apply several light layers, letting each one dry fully prior to adding the subsequent one. Finish off with a clear topcoat for added protection and a glossy finish.
By following these detailed steps, you can transform your bathtub into a stunning centerpiece of your bathroom, all while extending its lifespan and adding a touch of personal style.[1]
How to Paint a Bathtub
Remove the old caulk and the tub’s hardware
Before you proceed with painting, it’s crucial to take the necessary steps to prepare the surface properly. One of the key aspects of surface preparation is removing any existing caulk and hardware that could potentially interfere with the painting process. Here’s a detailed guide on how to accomplish this:
- Removing Dirty Sealant: To start, equip yourself with a utility knife, which will allow you to carefully cut along the edges of the caulk. By doing so, you’ll be able to loosen it from both the tub and the wall. Take caution and be gentle during this process to prevent any accidental scratches on your tub or damage to the wall. Once the caulk has been loosened, you can then begin peeling it away. In the event that the caulk proves to be stubborn and difficult to remove, consider utilizing a caulk remover product to facilitate the process.
- Remove Hardware: In addition to removing old caulk, it’s also worth considering the removal of any hardware that could potentially obstruct the painting process. Although this step may take a little more time and effort, it will undoubtedly contribute to a cleaner and better looking final product. Take note of any faucets, drains, or handles that are present and could hinder the painting process. Utilize a screwdriver or wrench, depending on the design of your bathtub, to carefully remove each piece of hardware.
Remember, taking the time to remove these obstructions will significantly ease the painting process and enhance its overall effectiveness. Once you have successfully removed the old caulk and hardware, it’s crucial to clean the surface once again to ensure it is completely free of any debris or residue before proceeding to the next step.
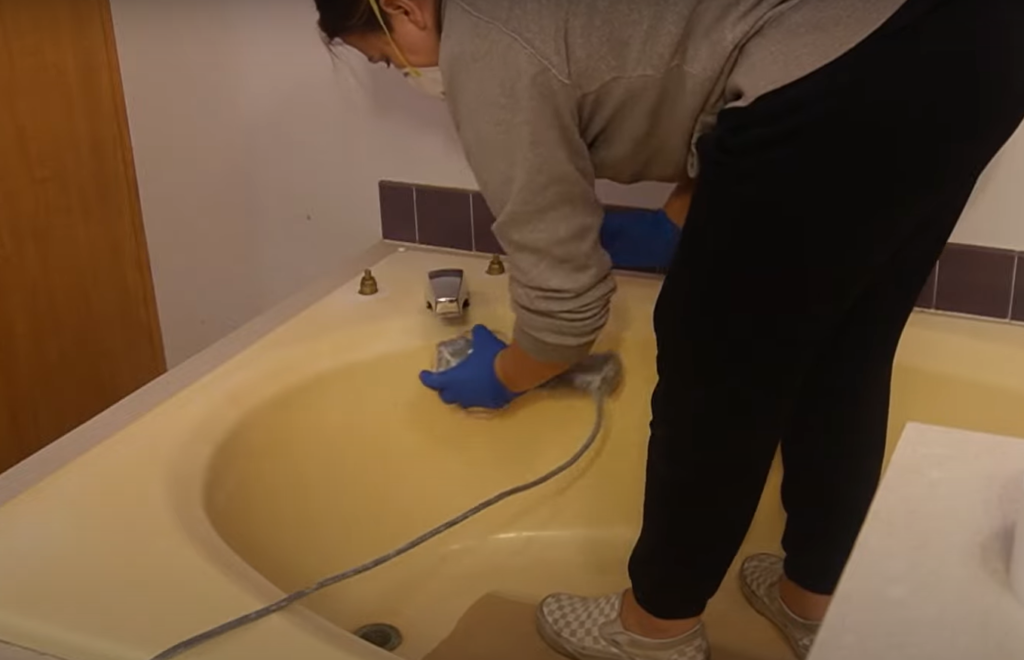
Ventilate the bathroom and clean the tub
Before starting the painting process, it is highly important to ensure that your bathroom is properly ventilated and the tub is meticulously clean. Taking these steps will help to achieve a smoother and more durable finish. Here’s a detailed guide on how to proceed:
Ventilation: Begin by opening windows and doors to allow fresh air to circulate in the bathroom. If your bathroom does not have a window, you can use a fan to improve air circulation.
By ensuring good ventilation, you create a safer environment for both yourself and others.Deep Clean the Tub: Now, let’s focus on thoroughly cleaning the tub. Use a bleach-based cleaning product to effectively remove any remaining soap scum, mildew, or grime that may have accumulated over time. Pay special attention to the corners and around the drain, as these areas are prone to buildup. After cleaning, rinse the tub thoroughly with water to remove any residue, and allow it to dry completely before proceeding to the next step.
Remember, a meticulously clean and dry bathtub surface will provide a solid foundation for the paint to adhere to. This will result in a more professional-looking finish that is less prone to peeling or chipping. Taking the time to properly prepare your bathroom before painting will ensure long-lasting and satisfactory results.
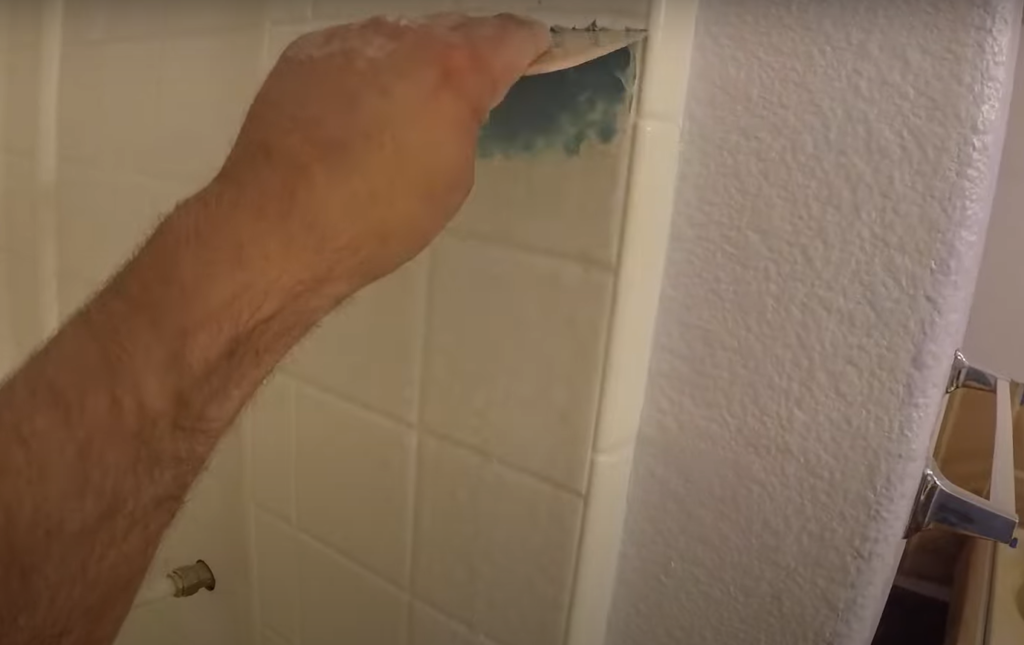
Repair any imperfections along the tub
Before starting the painting process, it is of utmost importance to thoroughly examine the tub for any cracks, chips, or scratches that could potentially affect the final outcome. These imperfections need to be addressed and repaired to ensure a flawless and even surface for painting. Let’s take a closer look at the step-by-step process:
- Identify Imperfections: Begin by meticulously inspecting the entire surface of the tub, including the inner surface, outer edges, and rim. Look for any signs of chips, cracks, or scratches, no matter how small or inconspicuous they may seem.
- Repair Chips and Cracks: For minor chips and cracks, a tub repair kit can be quite handy. These kits typically include a filler material and a hardening agent. Following the instructions provided, carefully mix the two components together. Apply this mixture to the affected area, ensuring that it fills the chip or crack completely. Use a putty knife to smoothen the surface, and allow it to dry according to the recommended time mentioned in the kit.
- Sand the Repaired Areas: Once the filler has dried completely, it is crucial to sand the repaired areas. Use a fine-grit sandpaper to carefully sand down the filled sections until they are smooth and level with the rest of the tub’s surface. This step helps in achieving a seamless finish.
- Clean the Tub: After completing the repair process, it is essential to clean the tub once again. This step helps in removing any residue from the filler or dust resulting from the sanding process. By ensuring a clean surface, you can guarantee better adhesion for the paint and a more professional-looking result.
By dedicating time to address and repair any imperfections before painting, you can significantly enhance the overall finish of your tub. This meticulous approach will not only provide a smoother and more appealing appearance but also contribute to the longevity of the paint job, allowing it to withstand the test of time.
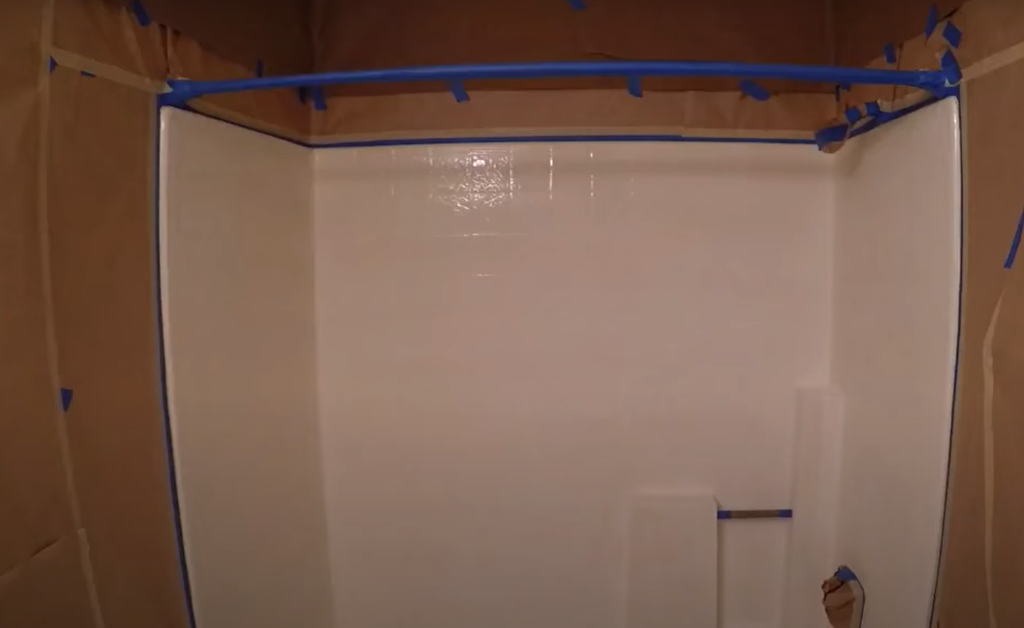
Mask surrounding tile and any remaining fixtures
Before you start painting, it is critical to take necessary precautions to protect the surrounding tiles and fixtures from any paint splatters or accidental strokes. Here’s a detailed guide on how to effectively mask them:
- Use High-Quality Painter’s Tape: Opt for a reliable painter’s tape and carefully apply it along the edges of the tiles that are in close proximity to the tub. Ensure that the tape is firmly pressed down to create a tight seal and prevent any paint seepage underneath.
- Thoroughly Cover Fixtures: If there are any fixtures, such as a showerhead or knobs, still attached to the bathtub, cover them completely using painter’s tape. For larger fixtures, you can consider using plastic bags secured with tape to provide an additional layer of protection.
- Protect the Drain: To avoid accidental paint drips into the drain, cover it with painter’s tape as well. Be sure to create a proper seal around the drain, allowing you to paint with precision in this area without any concerns.
By following these detailed steps, you can ensure a mess-free painting process, leaving your bathroom fixtures and tiles in pristine condition without any traces of paint.
If you purchased two-part epoxy, mix it now
Two-part epoxy is a popular choice for resurfacing fiberglass tubs due to its exceptional durability and resilience. If you’ve selected this option, it’s time to mix the epoxy to ensure a successful bathtub painting project. Here’s a step-by-step guide to help you proceed with confidence:
- Prepare the Epoxy: Epoxy typically consists of two parts: a base and a hardener. To achieve the best results, carefully read the manufacturer’s instructions, as they will specify the correct ratio of base to hardener. It’s important to note that different epoxy kits may require equal parts of each component, while others might call for a specific ratio. Understanding and following these instructions will lay the foundation for a successful mixing process.
- Mix the Epoxy: Once you have determined the correct ratios, combine the base and hardener in a clean, disposable container. To ensure a thorough blend, use a paint stir stick to mix the two components together. It’s essential to continue stirring until the mixture is smooth and consistent, with no visible streaks. Taking the time to achieve a well-mixed epoxy will contribute to a professional finish and long-lasting results.
- Timing is Key: It’s crucial to keep in mind that once the two parts of the epoxy are mixed, you’ll have a limited working time before the mixture begins to harden. Therefore, it’s advisable to mix your epoxy only when you are fully prepared to start painting. Leaving the mixed epoxy sitting for an extended period can lead to premature setting, making it challenging to achieve the desired outcome. By being mindful of timing, you’ll optimize the application process and enhance the overall effectiveness of the epoxy.
By following these detailed steps and properly mixing your two-part epoxy, you’ll lay the groundwork for a successful bathtub resurfacing project. The attention to detail in this process will ensure a beautiful and long-lasting finish that revitalizes your fiberglass tub.
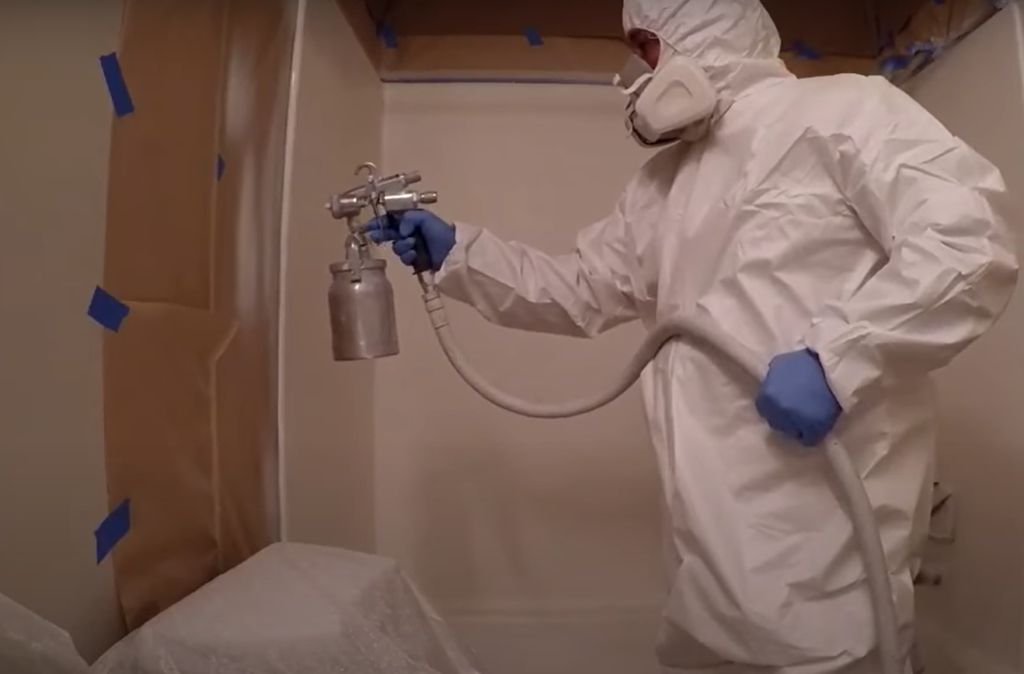
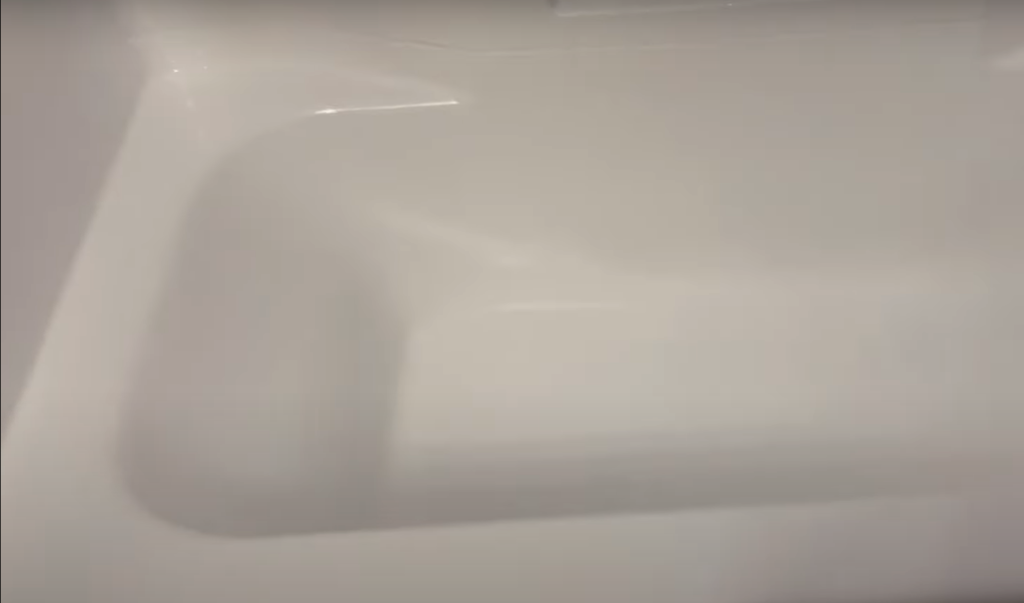
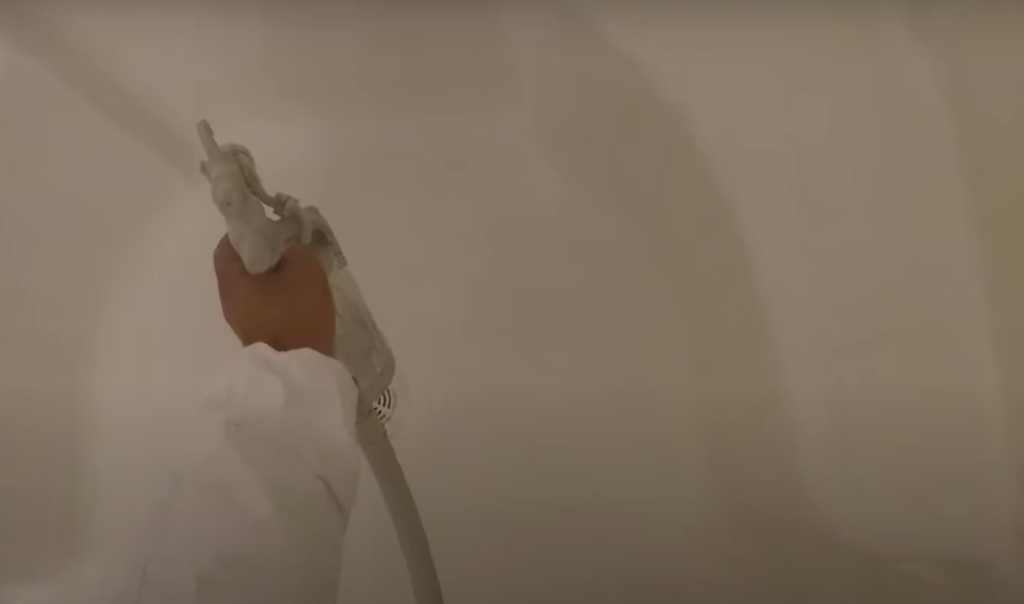
Paint the tub in two thin coats
Painting in thin coats is the key to achieving a smooth and flawless finish on your fiberglass tub. Here’s a step-by-step guide on how to do it:
- First Coat: Begin by preparing the mixed epoxy and grab a high-quality brush. Start applying a thin and even layer of the epoxy on the surface of the tub, working your way from the top to the bottom. Take your time and be methodical in your approach to ensure every inch of the tub is evenly covered. Allow this first coat to dry completely based on the recommended drying time provided by the manufacturer. Once dry, you should notice a glossy finish with no traces of the original coating.
- Second Coat: After the first coat has dried, it’s time to apply the second thin coat. This coat will help cover any thin spots or imperfections from the first coat and give your tub an even, glossy appearance. Once again, follow the manufacturer’s instructions for the recommended drying time and allow the paint to dry completely.
Congratulations! With these steps, you have successfully repainted your fiberglass tub, giving it a fresh new look. Enjoy your beautifully finished tub!
Wait at least three days
After you’ve applied the final coat of paint, the tub will need a significant amount of time to dry and cure fully. This drying and curing process is crucial for ensuring the longevity and durability of your newly painted fiberglass tub.
To achieve the best results, it is recommended to wait at least three days before using the tub. During this waiting period, it’s important to be mindful and avoid placing anything on the surface of the tub or subjecting it to any form of moisture. By allowing the tub to cure undisturbed, you are allowing the paint to bond and harden, resulting in a more durable finish.
The longer you let the tub cure, the stronger and more resilient your finish will be. While it requires patience, this extra time investment will be worth it in the long run as it enhances the overall lifespan of your painted fiberglass tub. So, exercise patience during this drying and curing phase, and you’ll be rewarded with a beautifully finished and long-lasting tub.[1],[2]
General Tips to Know
While the process of painting a fiberglass tub is straightforward, there are some general tips that can help ensure a successful project:
- Ventilation: Always ensure good ventilation while painting, especially when using two-part epoxy, as it can have strong fumes. Opening windows and doors and using fans to circulate air is crucial. This not only helps in dissipating the fumes but also aids in drying the paint faster.
- Safety First: Protect your eyes and skin from contact with epoxy paint by wearing goggles, gloves, and long sleeves. Additionally, consider using a respirator mask to avoid inhaling any harmful fumes. Safety should always be a priority when working with chemicals.
- Quality Tools: Investing in a high-quality brush that won’t shed bristles is essential for achieving a smooth and professional-looking finish. Additionally, using painter’s tape to protect surrounding areas and a paint tray to ensure even distribution of paint can significantly enhance the overall outcome of the project.
- Cleanliness: Keeping the tub clean at each step of the process is critical. Even small particles or dust can create bumps and imperfections in the finished product. Before starting, thoroughly clean the tub with a mild cleanser and ensure it is completely dry before applying any paint.
- Patience and Technique: Take your time at each step of the painting process. Rushing through the project can result in streaks, uneven coverage, or missed spots. Apply the paint in thin, even coats, allowing sufficient drying time between each layer. This will ensure a smooth and durable finish that will last.
By following these detailed tips, you can avoid common pitfalls and ensure a successful DIY project, transforming your fiberglass tub into a beautiful and refreshed centerpiece in your bathroom.[2]
FAQ
Can I repaint my fiberglass bathtub?
Absolutely! Fiberglass bathtubs can be repainted to refresh their appearance or change color. It’s a cost-effective alternative to replacing the entire tub and can extend its lifespan. Follow a thorough process for a durable, high-quality finish.
This includes cleaning and preparing the tub, applying a primer if needed, and using a suitable paint like a two-part epoxy designed for bathtubs. Apply two thin coats for a smooth, glossy result. Allow ample time for the paint to dry and cure before using the tub. With the right approach and patience, you can successfully repaint your fiberglass bathtub for a like-new bathing experience.
Can I change the color of a fiberglass tub?
Changing the color of a fiberglass tub is possible and a popular DIY project for homeowners. The procedure is similar to repainting a tub, but with the addition of choosing a new color. When selecting a color, ensure it’s compatible with the tub’s material and your bathroom’s aesthetic. Purchase enough paint for two thin coats. After painting, your fiberglass tub will have a new color, transforming the look of your bathroom. Follow the manufacturer’s instructions for best results.
Is painting a bathtub a good idea?
Painting a bathtub is a great idea for several reasons.
It can also be a fun DIY project for those who enjoy hands-on tasks. Moreover, it’s a quick solution to change the tub’s color to match a new bathroom design. However, remember that a paint job won’t fix structural issues or severe damage. Follow the right steps, use appropriate materials, and allow ample drying time for a professional-looking, durable finish. When done correctly, painting a bathtub can refresh your bathroom and extend the tub’s life.Can you refurbish a fiberglass bathtub?
Refurbishing a fiberglass bathtub is a feasible project. It involves thorough cleaning, sanding the old finish, filling cracks or holes, and repainting. Refurbishing breathes new life into a worn-out bathtub, making it look brand new at a fraction of the cost. However, it requires patience, the right tools, and attention to detail for a polished result. Note that severe structural damage may require tub replacement. For minor wear and tear, refurbishing your fiberglass bathtub can be a satisfying and economical DIY project.
How do I make my fiberglass tub white again?
To restore the original white color of a fiberglass tub, follow these steps:
- Clean the tub thoroughly with a non-abrasive cleaner to remove dirt and grime. Rinse and dry it completely.
- If the tub has yellowed due to age, use a specialized fiberglass stain remover or a baking soda and vinegar solution.
- Apply a fiberglass tub and shower repair kit as instructed. This usually includes a two-part epoxy paint. Use a quality brush and apply thin, smooth layers. Two coats are typically needed.
- Allow the final coat to dry and cure for at least three days before use.
Remember to prioritize safety by wearing protective gear and ensuring good ventilation when working with epoxy paint and chemicals.
How do I get my fiberglass tub back white?
Restoring the original white color of a fiberglass tub can be daunting, especially if it’s heavily stained or discolored. But with the right products and techniques, it’s possible. First, thoroughly clean the tub using a non-abrasive cleaner to remove dirt, grime, and soap scum. Then, use a bathtub stain remover or a homemade solution of baking soda and white vinegar to tackle stubborn stains or yellowing.
If the tub is still not as white as desired, consider using a fiberglass tub and shower repair kit. These kits contain a two-part epoxy paint that can bring the tub back to its original color. Mix the paint as instructed, then apply it in thin layers using a high-quality brush. Two coats should suffice.
Allow ample drying time between coats and let the tub cure for several days before using it. This ensures the paint hardens and provides a durable, gleaming finish. Wear appropriate protective gear and ensure good ventilation. With effort and patience, you can restore your fiberglass tub to its former shiny, white glory.
Useful Video: Can you paint a fiberglass tub surround?
Conclusion
Restoring and painting a fiberglass tub is a cost-effective and rewarding DIY project that can significantly enhance the aesthetic appeal of your bathroom. By investing some effort, patience, and attention to detail, you can transform your tub into a beautiful centerpiece that complements your bathroom decor perfectly. Not only will you be able to enjoy a tub that looks as good as new, but you’ll also have the satisfaction of knowing that you accomplished it yourself.
It’s important to remember, though, that painting or refurbishing a bathtub is suitable for addressing surface-level issues and not severe structural damage. For more serious issues, such as cracks or leaks, replacing the tub may be the best option to ensure long-term durability and functionality.
When undertaking this project, be sure to follow the product instructions closely, use the right materials for fiberglass surfaces, and allow enough time for the paint to properly dry and cure. Taking these steps will help you achieve professional-looking results and extend the lifespan of your bathtub. Not only will you save money by avoiding the need for a costly replacement, but you’ll also breathe new life into your bathroom, creating a fresh and inviting space for relaxation and rejuvenation.
References:
- https://www.bobvila.com/articles/how-to-paint-a-bathtub/
- https://paintific.com/can-you-paint-a-fiberglass-tub/