
Deciding the best time to paint the walls of your home involves more than just personal preference. Various factors, such as the climate, humidity levels, and even the specific time of the year, can significantly impact the quality and longevity of the paintwork. For instance, in humid climates, it is advisable to choose a time when the humidity is relatively low to prevent moisture-related issues like paint peeling or bubbling.
Similarly, temperature is also crucial in providing optimal paint application and drying. Extreme heat or cold can affect the paint’s consistency and drying time, leading to potential issues like uneven application or prolonged drying periods. Ideally, it is recommended to paint during moderate temperature conditions, typically between 50°F and 85°F, for the best results.
Additionally, considering the specific time of the year can further enhance your painting project’s outcome. For example, painting during spring or fall seasons when the weather is milder and more stable can provide an ideal environment for paint application. This is because extreme weather conditions like heavy rain or high humidity during summer or winter can pose challenges and affect the general performance of the paint coating.
By carefully assessing these factors and selecting the optimal conditions and periods, you can ensure excellent results and a beautiful, long-lasting finish for your home interior design project. Taking these considerations into account will not only enhance the aesthetic appeal of your home but also contribute to paint wear resistance and stability, ultimately saving you time and effort in the long run.
Tips For Interior Painting
Compare Price & Performance
When it comes to choosing the right color for your indoor building painting project, price and performance are two critical factors to consider. While it might be tempting to save money by opting for cheaper paint, it’s important to note that more cost-effective options can sometimes compromise on quality, coverage, and durability.
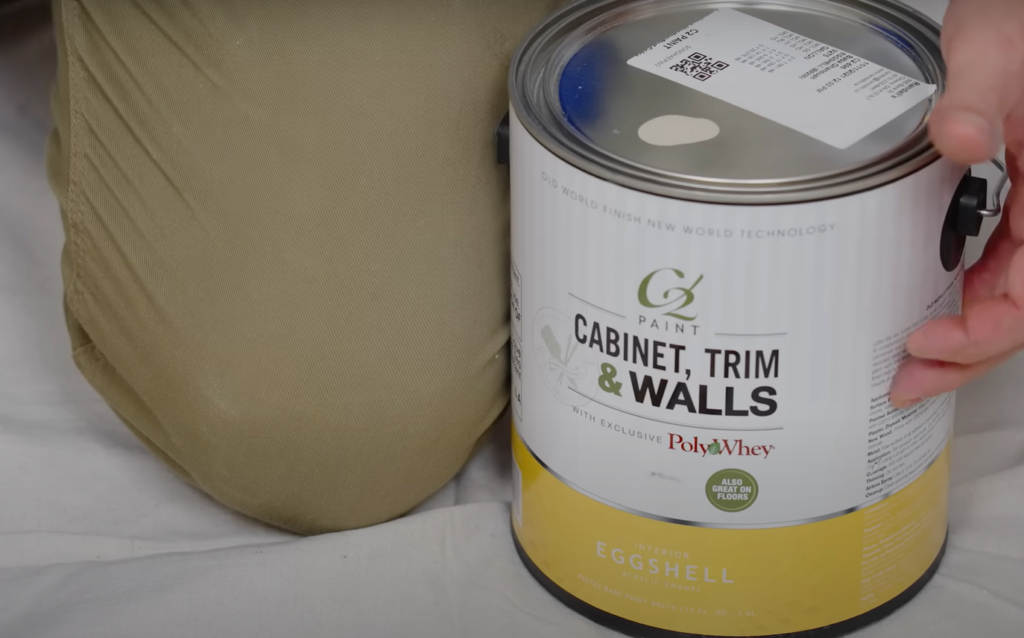
Higher-end paints, on the other hand, often provide superior finish with less layers, which saves you money and effort in the long run. They also tend to have a more durable finish that can stand up to everyday wear and tear, making them a cost-effective choice in terms of durability. In addition, premium paints often come in a wider selection of sizes and coatings, enabling you to create the exact look you want for your interior.
By making the investment in a premium paint, you can ensure that your interior walls will not only look great, but will also hold up to the elements. The superior formulation of these paints ensures a smooth and even application, minimizing any imperfections on your walls. Additionally, the vibrant and rich pigments used in premium paints contribute to a more luxurious and professional finish, adding value to your home.
They release far fewer chemicals directly into the air, contributing to improved room air health and reducing the risk of respiratory issues.In summary, when comparing price and performance, it’s advisable to consider the long-term benefits and not just the immediate cost. Investments in high-end colors may require a bit more upfront investment, but the exceptional coverage, durability, color selection, and overall finish make it a worthwhile choice for internal coloring of the building project.
Paint Prep: Use Tack Cloth To Clean Your Walls
Before you begin painting, it’s absolutely crucial to thoroughly clean your walls using a tack cloth. This specific type of cloth is known for its sticky texture, which is highly effective in picking up even the tiniest particles that a regular cloth might miss. By starting at the top of the wall and working your way down, gently wiping the surface in a circular motion, you ensure that every nook and cranny is attended to. Pay particular attention to the angles and corners that gather dust to guarantee a flawless painting surface.
Wiping down the surface with a rag not only ensures a smoother application, but also improves the glue adhesion of the product, resulting in a more polished and durable finish. By removing all traces of dust, dirt, and impurities, you create the perfect foundation for a flawless and professional-looking outcome.
So take the time to prepare your walls properly before diving into the creative process. Your efforts will be rewarded with a stunning result that you can admire for years to come.Buy Good Materials for Painting
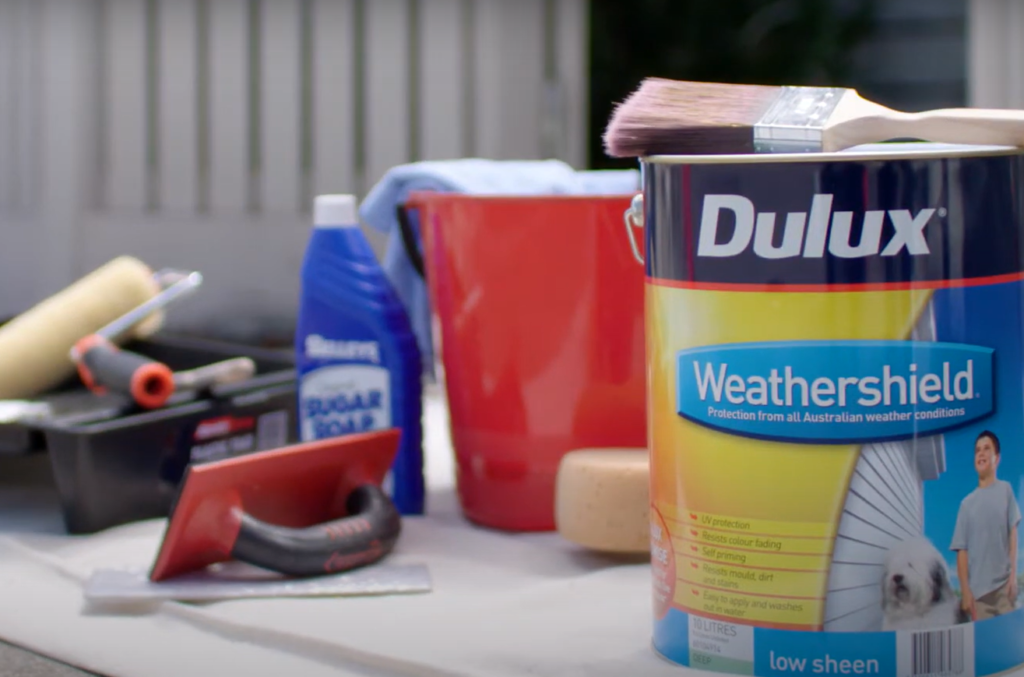
When embarking on an interior painting project, it is very important to invest in top-quality coatings that will have a significant impact on the result of your work. Alongside selecting the right paint, consider the impact of using top-notch brushes, rollers, and painter’s tape.
Let’s start with brushes and rollers. Opting for those made from superior materials will provide better paint absorption and a smoother release, resulting in an even paint application and minimized streaking. These high-quality tools ensure that every stroke yields a flawless finish.
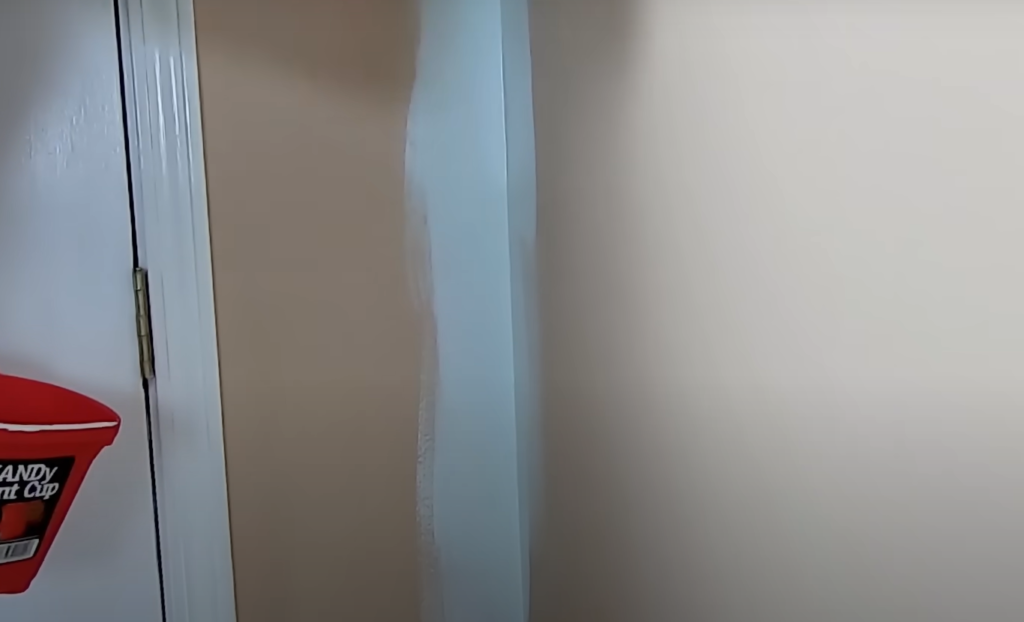
Moving on to painter’s tape, investing in premium options is key. A secure seal along edges is essential to prevent paint bleeds and ensure sharp paint lines. With reliable painter’s tape, you can achieve clean and precise edges, adding a professional touch to your paint job.
Now, let’s address the challenge of painting high and hard-to-reach areas. A sturdy roller extension pole becomes your trusted companion, enabling you to effortlessly reach those tricky spots with accuracy and ease. No more straining or compromising on the quality of your work.
Of course, there are other essential tools to consider as well. A paint tray for convenient paint distribution, drop cloths to protect your floors and furniture, and a reliable ladder to access higher areas safely. These additional tools, when paired with quality materials, contribute to a seamless painting experience.
Remember, using subpar painting tools can not only result in a less than satisfactory finish but may also cause damage to your walls. By prioritizing quality when purchasing your painting materials, you ensure a professional-looking and durable paint job that will stand the test of time.
So, take your time and choose wisely. Your investment in high-quality painting materials will pay off with a stunning transformation that you can admire for years to come.
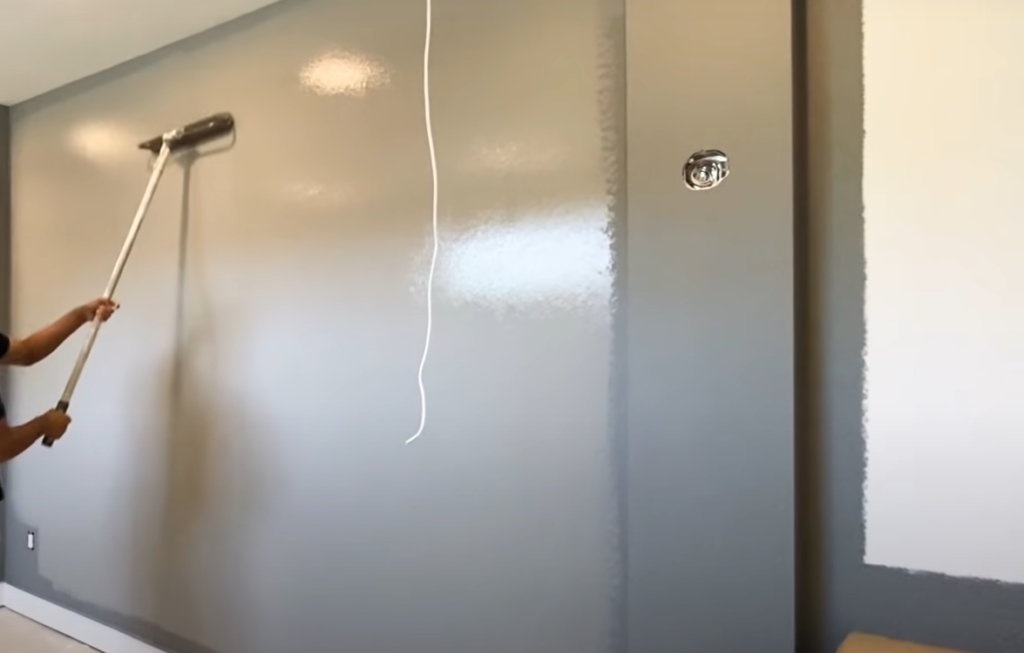
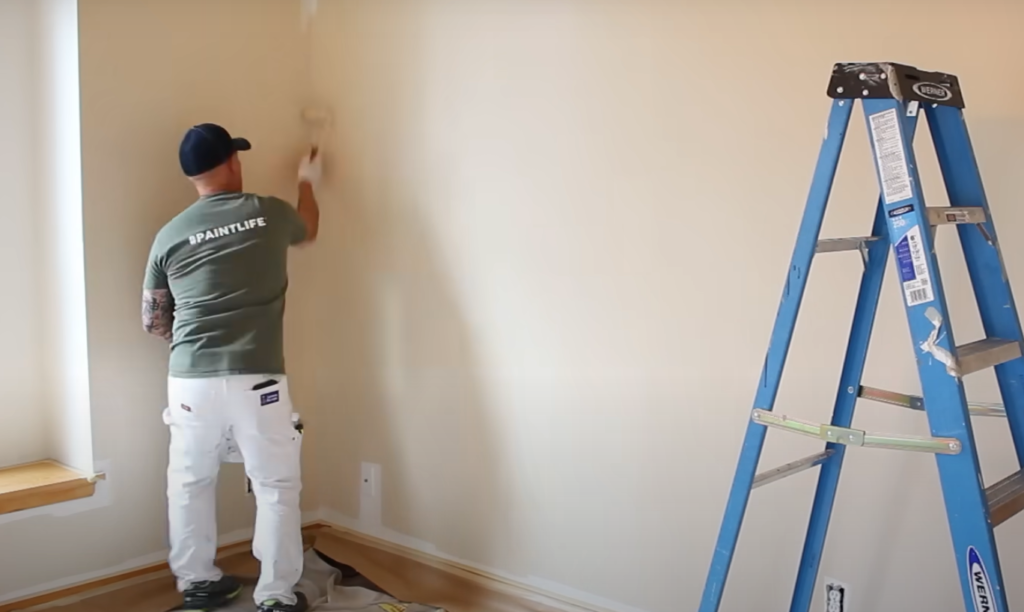
Paint From The Ceiling Down
When it comes to the actual painting process, it’s advisable to start from the ceiling and work your way down. This method allows drips to occur without compromising your already painted areas, resulting in a cleaner and more professional finish.
Begin by cutting in the corners and edges of the ceiling with a brush, ensuring precise and neat lines. Take your time to carefully navigate around light fixtures and vents, paying attention to every detail. Once the corners and edges are done, fill in the rest of the ceiling using a roller, applying smooth and even strokes.
As you move along, be sure to maintain a wet edge to avoid visible lines and streaks. This means working in sections and overlapping each stroke slightly with the previous one. By doing so, you’ll achieve a seamless and consistent appearance.
After the ceiling is thoroughly painted and dry, it’s time to move on to the walls. Again, start by cutting in around the edges and any obstacles such as windows and doors. Take care to create clean and precise lines, ensuring a polished look. Once the edges are complete, move on to the wider expanses of the wall, using a roller for efficient coverage.
Throughout the entire painting process, remember the key is to maintain a systematic, top-down approach. This not only minimizes the chance of drips and streaks but also gives you a sense of progress, helping to keep you motivated throughout the project. Take pride in each step, and soon you’ll have a beautifully painted space that reflects your hard work and attention to detail.
Clean & Reuse Your Paint Brushes and Rollers
Proper care and maintenance of your painting tools is crucial for maximizing their lifespan, saving you money in the long run, and ensuring a flawless finish on your upcoming painting projects. When it comes to cleaning your paint brushes, it’s important to start by removing any excess paint by gently scraping it off or wiping it on a cloth. For water-based paints, you can then rinse your brushes under warm running water, making sure to massage the bristles gently to remove any remaining paint. On the other hand, oil-based paints require a different approach. In this case, you’ll need to use a paint thinner or mineral spirits to dissolve the paint from the bristles. After rinsing or using a paint thinner, it’s recommended to use a brush comb or your fingers to carefully straighten the bristles and remove any lingering paint residue. Once you’ve completed these steps, proceed to wash your brushes with warm soapy water, gently swirling them in your palm to ensure a thorough clean. Remember to reshape the bristles back to their original form before leaving the brushes to air dry.
Now, let’s talk about paint rollers. To clean a paint roller, begin by scraping off any excess paint back into the paint can using a putty knife or a roller scraper. This step helps minimize the amount of paint that needs to be washed off. Next, rinse the roller sleeve under warm running water, rolling it back and forth on your hand or against the sink to dislodge any paint trapped in the fibers. For oil-based paints, you may need to use a roller scraper and paint thinner to effectively remove the paint. Once you’re confident that the roller sleeve is clean, gently squeeze out any excess water and allow it to dry completely before storing it. It’s worth mentioning that storing your brushes and rollers in their original packaging or in a protective case helps retain their shape and prevents damage between uses.
By following these proper cleaning and storage techniques, you not only prepare your painting tools for their next use but also contribute to achieving a consistently smooth and professional finish every time you pick up a brush or a roller.
Benefits of Hiring Painting Contractors During Winter
There are several noteworthy benefits to hiring professional painters during the winter months. Firstly, this is traditionally a slower time of year for many contractors, meaning you may have greater flexibility in scheduling your project and possibly even negotiate a better price. Secondly, the cooler, less humid weather conditions typical of winter can actually be ideal for paint to dry and cure properly. Paint requires certain conditions to dry appropriately, and the lower humidity levels present during winter can facilitate this process. Additionally, the colder temperatures can help slow down the drying time, allowing for better paint adhesion and a more even finish.
Furthermore, professional painters are experienced in managing the unique challenges that winter weather may present, such as ensuring the indoor temperature is suitable for paint application. They know how to create the optimal environment for the paint to bond effectively and minimize the risk of issues like cracking or peeling. They also have the necessary tools and equipment to handle any obstacles that may arise, such as snow or ice on the exterior surfaces.
Lastly, having your interior painting completed during winter means your home will be fresh and ready to enjoy when spring arrives. This can free up your warmer months for other maintenance or outdoor activities. You can take advantage of the colder season to transform your living spaces and create a cozy atmosphere indoors.
In summary, hiring professional painters in the winter combines potentially lower costs, ideal painting conditions, and efficient scheduling. Their expertise and ability to handle winter-specific challenges can ensure a high-quality result. So, if you’re considering a painting project, don’t overlook the advantages that the winter season can offer.[2]
Is It Okay to Paint Inside on Rainy and Snowy Days?
Painting the interior of your house on rainy or snowy days can be a viable option, provided that you take certain precautions into account. It is important to consider that during these periods, humidity levels tend to rise significantly, which can potentially affect both the drying time and the overall finish of your paint. However, there are several measures you can implement to counteract these challenges and ensure a successful outcome.

One crucial aspect to keep in mind is the need for proper ventilation within your house. Opening windows, if weather conditions permit, can help facilitate the circulation of air and expedite the drying process. Additionally, utilizing dehumidifiers or fans can further enhance air movement and reduce the moisture content in the environment. By actively promoting airflow, you create a more favorable drying environment, allowing the paint to harden and adhere optimally to the surface.
While it may seem that paint drying solely involves the paint losing its wet appearance, it is equally important to consider the process of hardening. In high humidity conditions, the paint may appear dry to the touch but could still retain a soft and easily smudgeable texture underneath. Therefore, it is crucial to exercise caution even when the surface seems dry, as premature contact could compromise the quality of the finish. This is especially relevant when using oil-based paints, as they tend to require even more time to dry thoroughly in humid conditions.
Ultimately, painting on rainy or snowy days may present certain challenges. However, by implementing the right strategies and taking the necessary precautions, you can achieve a professional-looking finish regardless of the weather conditions outside. So, don’t let inclement weather deter you from your painting project. Embrace the opportunity to tackle it with confidence and create a stunning indoor space that reflects your personal style and taste.[2]
FAQ
What is the best temperature to paint inside?
The ideal interior painting temperature depends on the paint type.
Note that extreme temperatures affect paint viscosity, drying time, and finish. High temps lead to quick drying with brush marks, while low temps cause drips and uneven coats. Maintain consistent temperature for 24 hours after application for proper drying and curing. Monitor indoor temperature and humidity for a professional, smooth, and durable paint finish.Is it OK to paint interior walls in the winter?
Painting interior walls during winter is not only acceptable but also advantageous. Low humidity and sealed-off homes create an ideal environment for paint to dry and cure properly. Indoor heating helps maintain a consistent temperature for optimal paint application.
Ensure rooms are well-ventilated to offset fumes and aid in drying. Allow for extra drying time in colder temperatures. Paint during the warmest part of the day for the best drying conditions. With these strategies, confidently undertake interior painting projects in winter, achieving a high-quality finish during the off-peak season.
What month is best to paint a house?
Selecting the best month to paint your house, inside or outside, largely depends on the climate in your area. For most regions, late spring and early fall are ideal as the weather during these times is generally dry and temperate. This provides optimal conditions for paint to adhere well and dry effectively. However, it’s important to keep a close watch on daily weather conditions as sudden changes in temperature or unexpected rain can affect the quality of your paint job. If you’re planning on doing an interior paint job, those can be comfortably undertaken all year round, provided adequate temperature and humidity control is maintained inside the house. Remember, regardless of the month, the success of your painting project largely hinges on proper preparation and choosing the right day with favorable weather conditions.
Is it better to paint in the morning or Evening?
The best time of day to paint, particularly for exterior projects, is in the late morning or early afternoon. During these hours, temperatures are typically more stable, avoiding the cool dew of early mornings and the intense heat of midday. Plus, it gives the paint ample time to start the drying process before the temperatures drop again in the evening. For interior paint jobs, the time of day is less crucial as long as you maintain consistent indoor conditions. However, painting in the morning is often a good choice, given the abundant natural light which helps in achieving an even application.
Evening painting can also work, but ensure you have adequate artificial lighting to offset the lack of natural light. Ultimately, the deciding factor should be what fits best into your schedule and allows for the necessary preparation and careful application.
Is it better to paint a room in the summer or winter?
The decision to paint a room in the summer or winter largely hinges on your personal preference and the specific climate conditions of your region. Both seasons have their advantages.
In the summer, the warmer temperatures can help the paint to dry more quickly. However, excessive heat or humidity can cause the paint to dry too rapidly, leading to an uneven finish and visible brush marks. It’s also important to consider that summer months can bring unpredictable weather patterns including sudden rain storms which can increase humidity.
On the other hand, winter painting takes advantage of lower humidity levels, offering a more controlled environment for the paint to dry and cure properly. This results in a more durable and professional-looking finish. However, the process may take longer due to cooler temperatures. If you decide to paint in winter, ensure that your rooms are well-ventilated and heated to an appropriate temperature to aid in the drying process.
In conclusion, both summer and winter present viable opportunities for interior painting. The key is to attentively manage the room’s temperature and humidity levels, and adjust your painting strategy accordingly.
Is it OK to paint walls at night?
When it comes to painting walls at night, there are a few key factors to consider in order to achieve a successful outcome. Firstly, if you are working on an indoor project where you have control over the environmental conditions, it becomes easier to manage certain variables. Maintaining the right room temperature and humidity levels is crucial, regardless of the time of day. By ensuring optimal conditions, you can create an ideal setting for the paint to adhere properly and dry evenly.

In addition to controlling the temperature and humidity, it is essential to have adequate lighting when painting at night. Proper lighting not only helps you achieve an even application of paint but also allows you to spot any potential mistakes or missed spots. To mimic natural daylight conditions, it is recommended to use high-quality, bright, and color-neutral lights. This way, you can accurately assess the color and coverage of the paint as you work.
Moreover, it’s important to consider the drying time of the paint when painting walls at night. Since you will be leaving the paint to dry overnight, it is crucial to ensure that the room maintains a consistent temperature and humidity level throughout the night. This will promote proper drying and help prevent issues like uneven drying, cracking, or peeling.
Overall, while there is no inherent problem with painting walls at night, taking these factors into account can guarantee a smooth, durable, and high-quality paint finish. By paying attention to detail and creating the right conditions, you can achieve professional-looking results regardless of the time of day.
Useful Video: When is the BEST Time to Paint Your Home in the Decorating Process???
Conclusion
When it comes to choosing the perfect time to paint your house, whether it’s the interior or exterior, there are several factors to consider. One crucial element is the climate of your region, as different weather conditions can impact the paint’s application and drying process. Additionally, observing weather patterns can help you plan for days with lower humidity or milder temperatures, ensuring optimal conditions for painting.
Moreover, your personal schedule plays a significant role in determining the ideal time. Whether it’s during winter or summer, you need to allocate time when you can focus on the project without interruptions. Consider the time of day as well – painting in the morning or during daylight hours provides ample natural light, enhancing visibility and ensuring even coverage.
Regardless of the season or time, successful painting requires careful attention to room temperature and humidity levels. Maintaining a consistent temperature and humidity range helps the paint adhere better and promotes proper drying. Adequate lighting is also crucial for interior projects, allowing you to spot any imperfections and ensure a smooth and flawless finish.
Remember, preparation is key to achieving a durable and high-quality paint job. Thoroughly clean the surfaces, remove any loose or peeling paint, and apply a primer if necessary. When applying the paint, take your time and follow proper techniques to ensure even application and minimize brush or roller marks. Lastly, be patient during the drying process to allow the paint to cure properly, maximizing its longevity.
While each time frame has its own advantages, the ultimate decision should align with your specific circumstances and preferences. Consider factors such as the availability of free time, weather forecasts, and your desired outcome. By carefully considering these details, you can make an informed decision and embark on your painting project with confidence. Happy painting!
References:
- https://trimaco.com/blog/5-tips-for-interior-painting-in-the-winter/
- https://www.slide-lok.com/blog/when-to-paint-your-house