
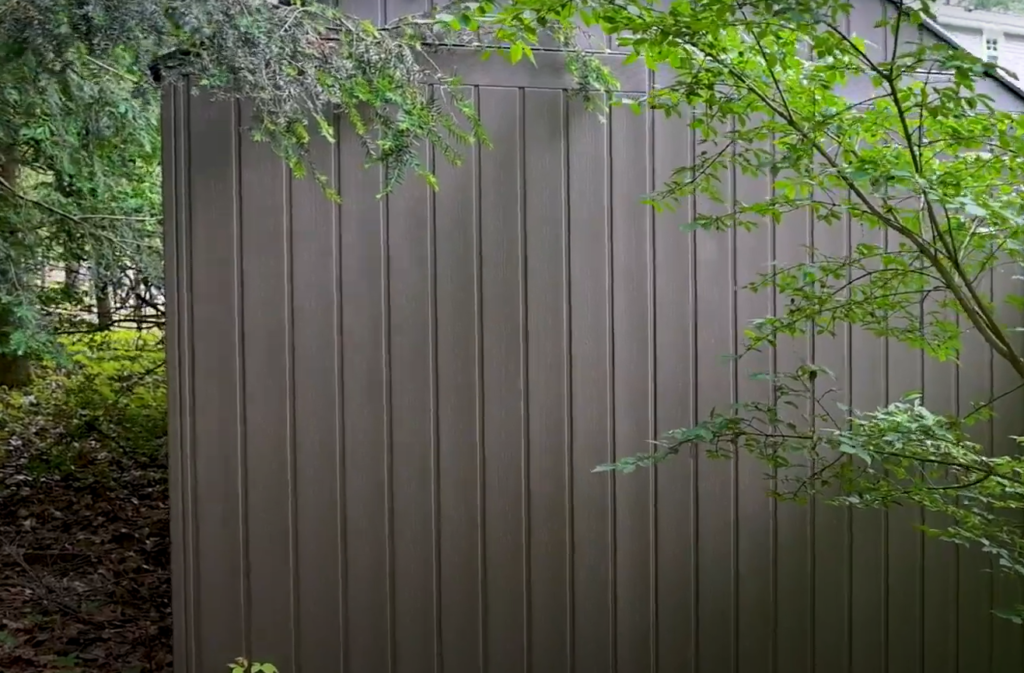
When it comes to enhancing the aesthetics of your garden, you might wonder, “Can you paint Rubbermaid sheds?” These popular storage sheds, renowned for their durability and convenience, sometimes need a facelift to match the changing exterior decor of your home. This guide will delve into whether it’s possible to paint Rubbermaid sheds, what type of paint is most suitable, and some tips to ensure a flawless finish.
Can You Repaint A Rubbermaid Shed?
Yes, you can repaint a Rubbermaid shed, but there are certain things you need to consider to achieve a successful outcome.
However, with the right preparation and choice of paint, it is indeed possible. For optimal results, it is crucial to utilize a paint specifically formulated for plastic or vinyl surfaces, along with a primer. Before you start painting, it is crucial to make sure that the surface of the shed is clean and dry.
Furthermore, consider the weather conditions as too hot, too cold, or wet weather can negatively impact your painting project. [1]
How To Paint A Rubbermaid Shed?
To paint a Rubbermaid Shed, follow these steps:
Get The Suitable Materials
To paint your Rubbermaid shed, you’ll need a few essential materials. Begin by acquiring a premium acrylic latex paint that is specifically formulated for painting plastic or vinyl surfaces. Alongside this, a primer made for plastic is also crucial to ensure the paint adheres well to the surface of the shed. You’ll also need a selection of paintbrushes or a paint roller for application – a smaller brush for detailed areas and a larger one for the main body of the shed. Don’t forget to grab some painter’s tape to protect areas you don’t want painted, and a drop cloth to safeguard the surrounding areas from paint drips and spills. Lastly, arm yourself with cleaning materials like a scrub brush and soapy water to ensure the surface of your shed is clean and free from dirt prior to painting.
Sand The Shed Down
Before you begin painting, it’s crucial to rough up the surface of your Rubbermaid shed to ensure the primer and paint adhere well. Begin by using a fine-grit sandpaper to diligently sand the entire exterior of the shed. Ensure that you apply enough pressure to create a slightly abrasive surface but be careful not to damage the plastic. After sanding, make sure to wipe down the shed with a damp cloth to remove any dust or debris that might affect the paint application. Ensure that the shed is fully dried before moving on to the next phase. This prepping process is labor-intensive but crucial for achieving long-lasting results. [2]
Rinse The Shed
After you’ve sanded down the exterior of the shed, the next critical step is to rinse it thoroughly. Utilize a garden hose to thoroughly spray down the shed, ensuring the removal of all dust particles from its surface.
Pay special attention to corners and crevices where dust often accumulates. If there are stubborn areas of dirt or grime, use a scrub brush and soapy water to clean these sections. After rinsing the shed, ensure it is allowed to dry thoroughly before proceeding to the next step. Patience is key here – painting on a wet or even damp surface can lead to peeling and chipping down the line.
Cover The Areas That Require Protection
Before you begin painting, it’s important to protect the areas of the shed that you don’t want painted. To ensure a clean paint job, carefully apply painter’s tape along the edges of windows, doors, and any other areas you wish to keep free from paint. This step is especially crucial if your shed has windows or other features that could be damaged by paint. For added measure, you can also place a drop cloth or old sheets around the base of the shed to catch any paint drips or spills. This small but significant step can save you a lot of time and hassle in the cleaning process after your painting project is completed. Remember to press down firmly on the painter’s tape to ensure it sticks properly and creates a tight seal, preventing the paint from seeping underneath it. [3]
Prime The Shed
Priming the shed is the next important step in the process. Start by stirring the primer thoroughly to ensure it’s well mixed. Using a large paint brush or roller, apply the primer evenly across the surface of the Rubbermaid shed. Take care to thoroughly cover every surface, including corners and crevices, to achieve a smooth and consistent finish. Smaller brushes can be used for detailed areas or tricky spots. Remember, the primer acts as a bonding agent between the plastic surface and the paint, so a thorough application is essential for the paint to adhere properly. Ensure that the primer is completely dry as per the instructions provided by the manufacturer before moving on to the painting phase. This waiting period is crucial as painting over wet or tacky primer can lead to poor adhesion and an uneven finish.
Paint The Shed
Once the primer is completely dry, you can start painting the shed. Stir your chosen paint thoroughly before application to ensure an even color. To ensure even application of the paint on the shed’s surface, you can use a large paintbrush or a roller. Take special care to meticulously paint every nook and cranny, ensuring that the entire shed receives a consistent coat of paint. If you find it difficult to reach certain spots, a smaller, more precise brush can be useful. Apply two coats of paint for a solid color and improved durability. Allow each coat to dry thoroughly between applications, following the manufacturer’s instructions. Remember, rushing this process can lead to an uneven finish and possibly require more work in the future. Once the final layer of paint has been applied and fully dried, take caution when removing the painter’s tape to prevent inadvertently peeling off any newly painted areas. Stand back and admire your newly painted Rubbermaid shed!
Remove The Masking Tape
To remove the masking tape, begin by peeling it off gently from one corner, using a 45-degree angle. If the tape is stubborn or if any paint has seeped underneath, use a utility knife to gently cut along the edge of the tape. By following this advice, you can ensure that the freshly painted areas remain intact and do not peel off along with the tape. Once all the tape is removed, make sure to inspect the shed thoroughly for any missed spots or touch-ups needed.
After this, your job is done and you can revel in the satisfaction of a job well done. Your Rubbermaid shed now boasts a fresh, new look! [4]Painting on Plastic: The Best Tips You Should Know
Painting on plastic can be a tricky process if not handled with the right techniques.
Here are some valuable tips to ensure a successful painting project:
- Use Plastic-Specific Paint: Not all paints work on plastic. Use paint made specifically for plastic surfaces with special binders that help it adhere.
- Preparation is Key: Proper preparation is key for any painting job. Clean and dry the plastic surface, making sure it’s free of dust or oil. Consider lightly sanding it to create a rougher surface for better paint adhesion.
- Use a Primer: Using a primer can greatly improve the durability and finish of your paint job. Just like the paint, it is important to use a primer that is specifically formulated for plastic surfaces.
- Apply Multiple Thin Coats: Use multiple thin coats instead of thick ones to prevent drips and runs and achieve a smoother finish.
- Let Each Coat Dry: Allow each coat of paint sufficient drying time before applying the next. This helps prevent peeling or chipping.
- Seal the Paint: After your final coat of paint dries, apply a clear sealer to protect and extend the life of your paint job. [5]
Remember, patience is key when painting plastic. Rushing the process can lead to a less-than-desirable result.
FAQ
Can I paint a plastic shed?
Yes, you can paint a plastic shed, including those made by Rubbermaid. However, it’s essential to follow a thorough process to ensure optimal results. Begin by preparing the shed, which includes cleaning and drying it thoroughly. For optimal paint adhesion on plastic surfaces, it is recommended to utilize a primer specifically formulated for this purpose.
When painting plastic, use a paint formulated for plastic and apply multiple thin layers instead of one thick layer. Allowing sufficient drying time between coats helps prevent peeling or chipping. To enhance the longevity of your paint job, consider applying a clear sealer for added protection.
Can you paint vinyl storage sheds?
Yes, you can paint vinyl storage sheds, but it requires specific preparation and materials to ensure a successful result. The process is similar to painting a plastic shed, but there are a few additional considerations. Start by cleaning the shed thoroughly and allowing it to dry. When choosing paint, opt for one that is specifically designed for vinyl surfaces. Using a primer improves paint adhesion and overall durability, just like with plastic. For a smoother finish, apply multiple thin coats of paint, allowing each coat to dry sufficiently. A clear sealer can be applied after the final coat of paint to provide additional protection and longevity. Remember, patience and proper preparation are critical when painting vinyl storage sheds to achieve a durable, lasting finish.
Can you paint Rubbermaid shelving?
Yes, you can paint Rubbermaid shelving, although the process requires special attention to preparation and material selection for the best results. First and foremost, clean the shelves thoroughly and allow them to fully dry. As with plastic and vinyl, a specifically designed primer for plastic surfaces is required to enhance the paint adhesion. Paint should be selected that is specially formulated for plastic. Apply multiple thin coats of paint, allowing each coat to dry adequately, to prevent peeling or chipping. Consider using a clear sealer after the final coat of paint has dried for added protection and longevity of your paint job. Remember, rushing the process can lead to suboptimal results, so patience and preparation are paramount when painting Rubbermaid shelving.
What kind of paint will stick to plastic?
Acrylic paint is the best choice for plastic, but make sure to use paint formulated specifically for plastic materials. These paints have binders that adhere well to plastic surfaces. For instance, DIY enthusiasts often prefer the Krylon Fusion for Plastic and the Rust-Oleum Specialty Plastic Primer. These products are specifically formulated to adhere to plastic surfaces without the tedious steps of sanding or priming. For the best finish, it is important to remember to apply multiple thin coats. Allow each coat to dry thoroughly before applying the next coat.
This technique ensures optimal results and a flawless finish. For optimal durability and longevity, it is advisable to apply a transparent sealer to the dry paint, ensuring a clear and protective finish. For optimal results, it is crucial to ensure that the surface is thoroughly cleaned and completely dried before commencing your painting project.
Is Rubbermaid plastic or rubber?
Rubbermaid products, despite the name, are often made of a durable plastic material rather than rubber. The company offers various products like storage containers, trash cans, sheds, and shelving. These are typically made of durable plastic such as high-density polyethylene.
So, while the brand name might suggest otherwise, Rubbermaid products are predominantly plastic, not rubber.Will exterior paint stick to plastic?
Exterior paint can stick to plastic, but it’s important to choose the right paint and prepare properly for a long-lasting finish. Although exterior paint is engineered to endure different weather conditions, its ability to adhere to plastic surfaces may not be as strong as a paint specifically made for plastic materials. If using exterior paint, it’s highly recommended to apply a plastic primer first for better paint adhesion. For a smoother finish, apply multiple thin coats, ensuring each one dries completely before applying the next. This method allows for optimal word choice, improved structure, enhanced readability, and eloquence while preserving the original meaning. Applying a clear sealer after the final coat of paint can significantly extend the lifespan of the paint job, preserving its quality and appearance for a longer period.
What is the disadvantage of a plastic shed?
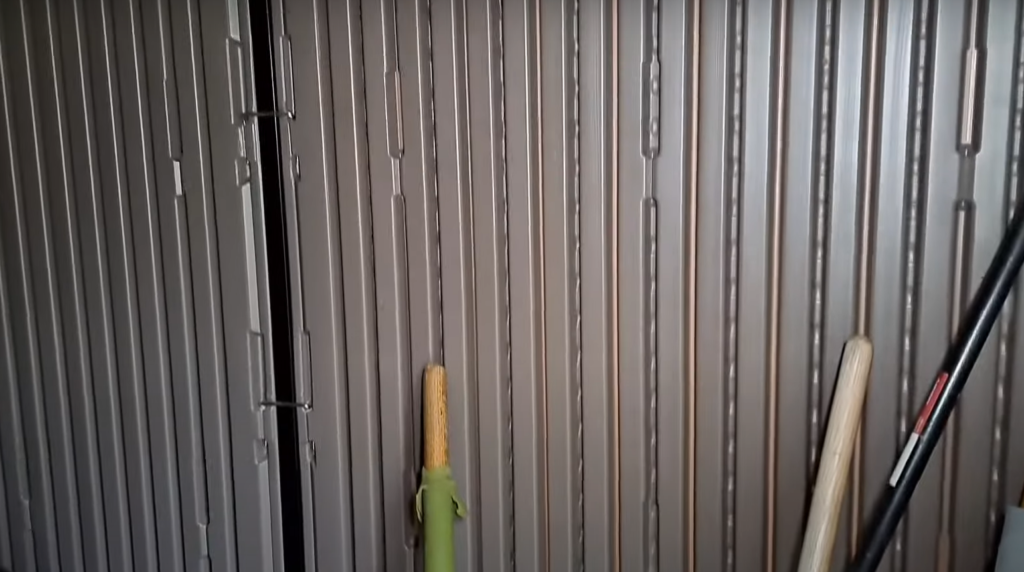
Although plastic sheds offer numerous advantages, including durability, resistance to rot and rust, and easy assembly, they do have a few disadvantages to consider. Plastic sheds are primarily disadvantaged by their appearance. Despite improvements in manufacturing techniques, many people still find that plastic sheds lack the aesthetic appeal of wooden or metal sheds. They often have a somewhat shiny finish and may not blend as well with the natural surroundings of a garden. Additionally, plastic sheds are not as customizable as their wooden counterparts. Alterations such as adding shelves or hooks can be more challenging due to the material’s nature. Plastic sheds, while convenient, may not provide the same level of security as their metal or wooden counterparts. Due to their less robust construction, they can be more susceptible to break-ins. Nevertheless, premium plastic sheds can alleviate numerous challenges, thereby establishing themselves as a practical choice for countless homeowners.
How do you permanently paint plastic?
Permanently painting plastic involves several well-defined steps to ensure a durable, professional finish. Here’s how to go about it:
- Clean the Surface
- Sand the Surface
- Apply a Primer
- Apply the Paint
- Seal the Paint
- Allow to Cure
Remember, preparation is key when painting plastic. Investing time in meticulous surface preparation and selecting suitable products can yield a remarkable transformation in the outcome.
What is the difference between a vinyl shed and a plastic shed?
When selecting the ideal shed for your requirements, it is important to note that vinyl and plastic sheds, both falling into the resin sheds category, have distinct differences worth considering.
Vinyl sheds, typically constructed from PVC (polyvinyl chloride), boast exceptional durability and a remarkable ability to withstand various weather conditions. They’re typically more rigid and robust than plastic sheds, making them a good choice for areas with harsh weather. TThey also need very little maintenance and can be easily cleaned using a garden hose. However, it is worth noting that vinyl sheds generally come with a higher price tag and can pose a challenge during assembly due to their heavyweight components.
Conversely, plastic sheds, commonly constructed with high-density polyethylene (HDPE), offer the advantage of being lighter and more straightforward to assemble. Additionally, they possess resistance against rot, rust, and insects, rendering them a pragmatic option for the majority of homeowners. Plastic sheds are often cheaper than vinyl sheds, but they may not offer the same level of durability and rigidity. Aesthetically, both types of sheds have seen improvements over the years, but some may find that vinyl sheds offer a more appealing, wood-like texture compared to the shiny or matte finish of plastic sheds.
What kind of paint stays on vinyl?
When painting vinyl, acrylic latex paint is highly recommended due to its flexibility and durability. It adheres well to vinyl and can withstand the material’s contraction and expansion due to varying weather conditions. Furthermore, acrylic latex paint is available in a wide range of colors, allowing for greater customization. It’s also crucial to use a primer designed for vinyl before applying the paint, as this will improve paint adhesion and result in a more durable finish. As with all painting projects, surface preparation is key. The vinyl should be clean, dry, and lightly sanded if glossy before applying primer and paint.
Useful Video: How I Repaired My Cracked Plastic Shed
Conclusion
In conclusion, both Rubbermaid (plastic) and vinyl sheds have their own set of advantages and disadvantages. While Rubbermaid sheds are durable, rust-resistant, and easy to assemble, their appearance might not be as appealing as wooden or metal sheds. They also offer less customization. Vinyl sheds, on the other hand, are more rigid and robust, withstanding harsh weather conditions, but they tend to be more expensive. When it comes to painting these sheds, using a primer and paint specifically designed for plastic or vinyl is recommended to enhance adhesion and longevity.
References:
- https://gardenprojectsadvice.com/outbuildings/outdoor-shed/can-a-rubbermaid-shed-be-painted/
- https://takeayard.com/paint-plastic-sheds/
- https://constructionhow.com/can-you-paint-a-plastic-shed/
- https://qualityplasticsheds.com/can-you-paint-resin-sheds-meet-duotech
- https://houshia.com/can-you-paint-plastic-sheds/