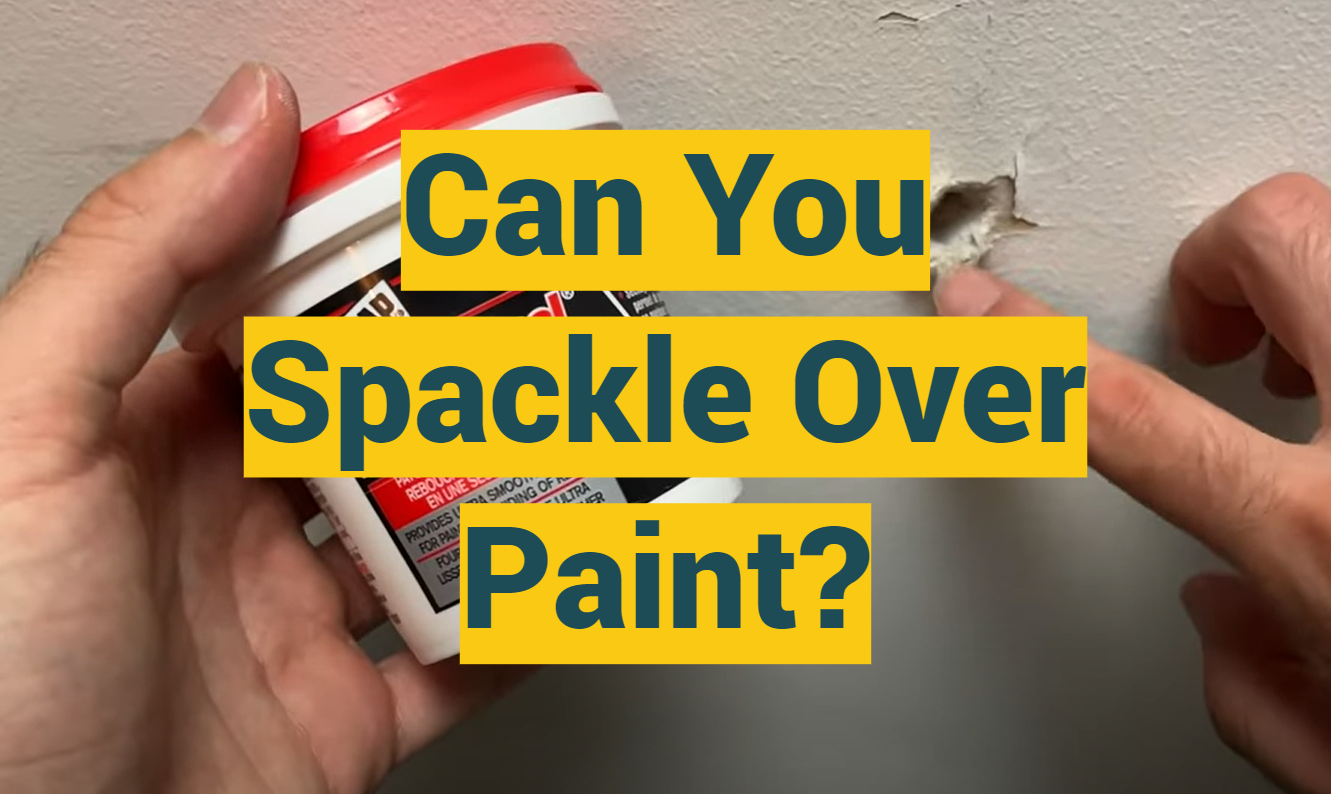
When embarking on a home improvement project, the question often arises – Can you spackle over paint? This common query has its roots in the desire for a flawless, professional finish, whether you’re patching up a small hole or smoothing out a larger area. This introductory guide aims to delve into the intricacies of using spackle over existing paint, shedding light on the best practices and potential pitfalls you might encounter on your DIY journey.
Can You Sand Spackle After Painting?
Yes, you can sand spackle after painting. It’s a common practice among DIY enthusiasts and professionals alike. After the application of spackle over the painted surface, allowing it to dry thoroughly is crucial. After it’s dry, use sandpaper to smooth it out for a seamless blend with the surrounding surface.
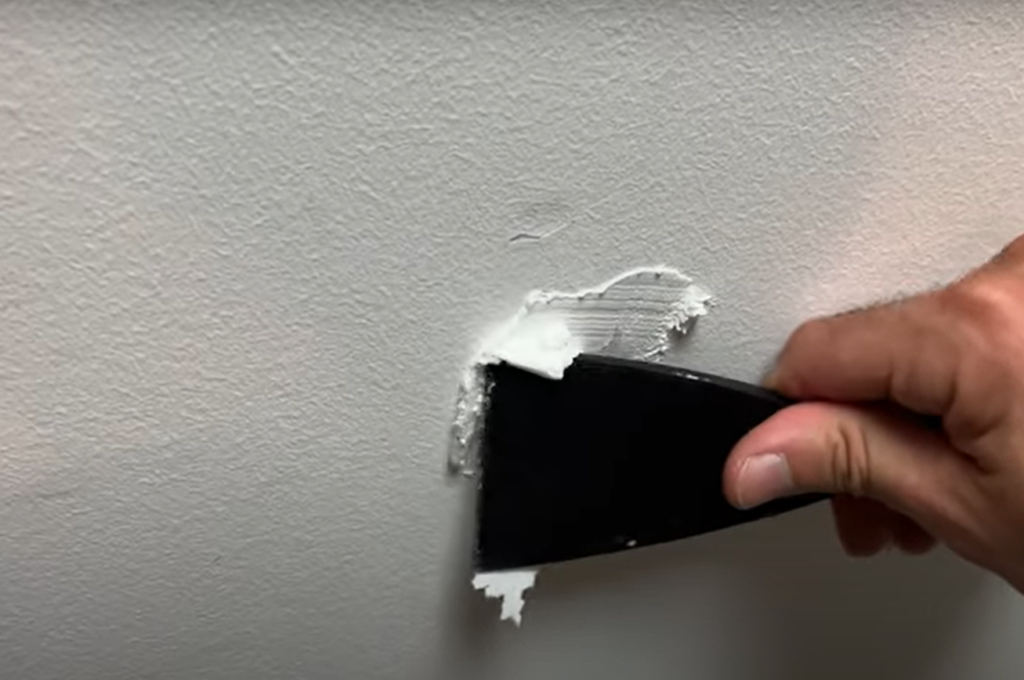
However, you should be careful not to over-sand as this can lead to an uneven surface or damage the underlying paint. To complete the process, it will be necessary to repaint the area to seamlessly blend it with the rest of the wall. It is always advisable to initially test this process on a small and inconspicuous area to ensure that the results are satisfactory.
How Do You Smooth Spackle After Painting?
Smoothing spackle after painting is a straightforward process that requires patience and precision. Once you have applied the spackle and allowed it to dry, take a fine-grit sandpaper (preferably between 150 and 180 grit). Gently sand the area in a circular pattern, ensuring a smooth and even finish. This technique ensures seamless blending of the spackle with the surrounding paint, resulting in a smooth finish. Remember to remove any dust particles with a damp cloth to get a clear perspective of your work. If there are still visible lines or edges, apply a second thin layer of spackle, let it dry, and sand again. Repeat these steps until you are satisfied with the smoothness. Remember, it’s best to apply multiple thin layers of spackle instead of one thick layer. Once you achieve the desired smoothness, prime and paint the area to match the rest of the wall. Always use protective gear and ensure proper ventilation when working with spackles and paint. [1]
How Long Should Spackle Dry Before Sanding?
The drying time of the spackle varies based on application thickness, type of spackle, and environmental conditions in your workspace. As a general rule, let spackles dry for 2-3 hours for small patches and up to 24 hours for larger repairs before sanding. However, to ensure a smooth, professional outcome, it’s always best to follow the manufacturer’s instructions on the spackle packaging. A fan or dehumidifier can hasten drying, but avoid rushing it. Rushing the drying process can result in an uneven finish or even cause the spackle to crack, leading to more work in the long run. Remember, patience is crucial for DIY home improvement projects.
How Do You Spackle Perfectly?
Achieving perfect spackling requires patience, practice, and adherence to the appropriate steps. Here’s a guide to help you spackle perfectly:
- Begin by cleaning the surface area where you intend to apply the spackle. Remove loose paint, debris, or dust that may affect spackle adhesion.
- Using a putty knife, apply the spackle to the target area. Spread it smoothly over the hole or crack, ensuring it’s evenly distributed. Press firmly but gently, as applying too much pressure may cause the spackle to push through the hole or crack.
- After application, smooth out the spackle with the edge of your putty knife. Aim for a surface that’s flush with the rest of the wall.
- Allow the spackle to dry completely. Keep in mind that the drying time can differ depending on the size of the area you’re working on, as well as the specific type of spackle being used.
- After the spackle is completely dry, gently sand the surface with fine-grit sandpaper. The goal here is to ensure the spackled area blends seamlessly with the rest of the wall.
- Wipe away the dust, resulting from sanding, with a damp cloth.
- Finally, prime the patched area before painting. This step seals the spackle, creating a smooth surface for paint adhesion. After priming, paint the area to match the rest of the wall.[2]
What Is the Best Way to Sand Spackle?
Sanding spackles to achieve a flawless finish requires a measured and careful approach.
Start with 100-grit sandpaper to remove major roughness, switch to 150-grit for further refinement, and finish with 220-grit for a smooth surface. Always sand in a circular motion to avoid creating grooves or scratches on the surface. Be sure to apply only light pressure, and check your progress frequently to prevent over-sanding.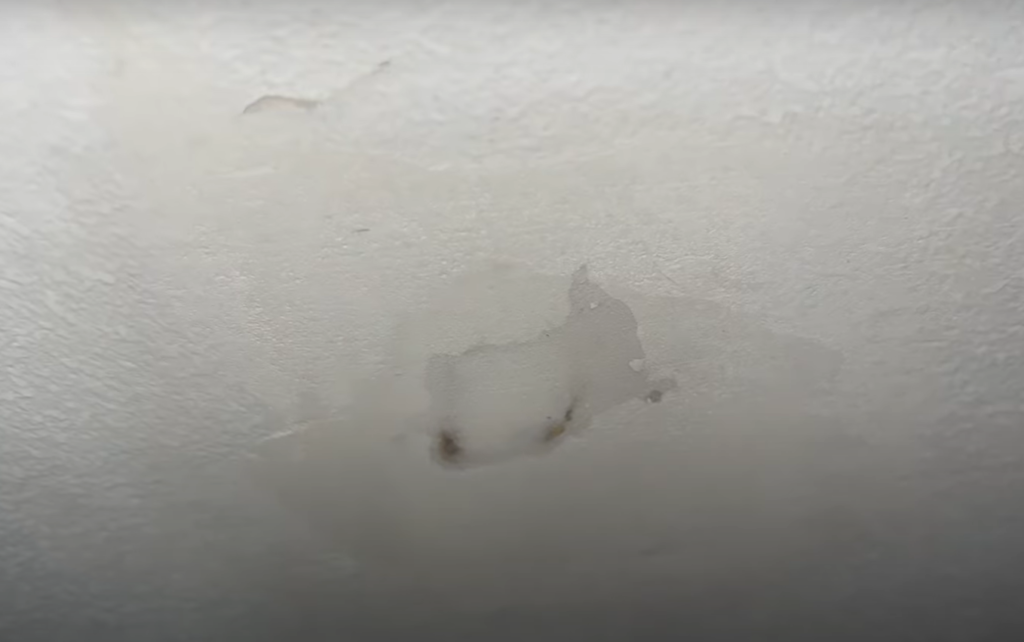
Wipe away the dust after each round of sanding with a damp cloth to maintain a clear view of your progress. Always remember to wear safety goggles and a dust mask for protection, and ensure proper ventilation in your workspace.
Do You Have to Sand Between Coats of Spackles?
Yes, it’s usually a good practice to sand between coats of spackle. This step smooths out any irregularities or ridges that formed during the application of each coat.
Remove dust with a damp cloth, then apply a second coat of spackle. Once the second coat is dry, sand again, repeating these steps as necessary until the surface is smooth and blends seamlessly with the surrounding area. Remember to let each layer of spackle dry fully before sanding and applying the next coat. Sanding between coats of spackle can help to achieve a professional, flawless finish. As with all DIY projects, remember to use appropriate safety equipment, including a dust mask and safety goggles, and ensure sufficient ventilation in your workspace. [3]Do You Need to Prime Over Spackle?
Yes, priming over spackle is an essential step in the spackling process. Priming helps to seal the spackled area and provides a suitable surface for the paint to adhere to. Without priming, the spackle may absorb the paint unevenly, resulting in a blotchy appearance. Furthermore, if the wall was previously coated with a glossy or semi-gloss paint, the newly applied paint may struggle to adhere properly to the spackled area unless a primer is used. Therefore, after the spackled area is sanded smooth and all dust is wiped away, a coat of primer should be applied. Once the primer is dry, the area can be painted to match the rest of the wall. By following this process, you can ensure a seamless, professional appearance for your wall repairs.
Why Is My Spackle Not Drying?
There can be several reasons why your spackle is not drying as expected. One of the most common reasons is the application of too thick a layer. Spackle needs to dry out to harden, and if the layer is too thick, the moisture cannot evaporate efficiently, prolonging the drying time. High humidity and low temperatures can slow down drying. Furthermore, the type of spackle used can also affect drying time. For instance, some types of spackle, especially those designed for larger repairs, naturally take longer to dry.
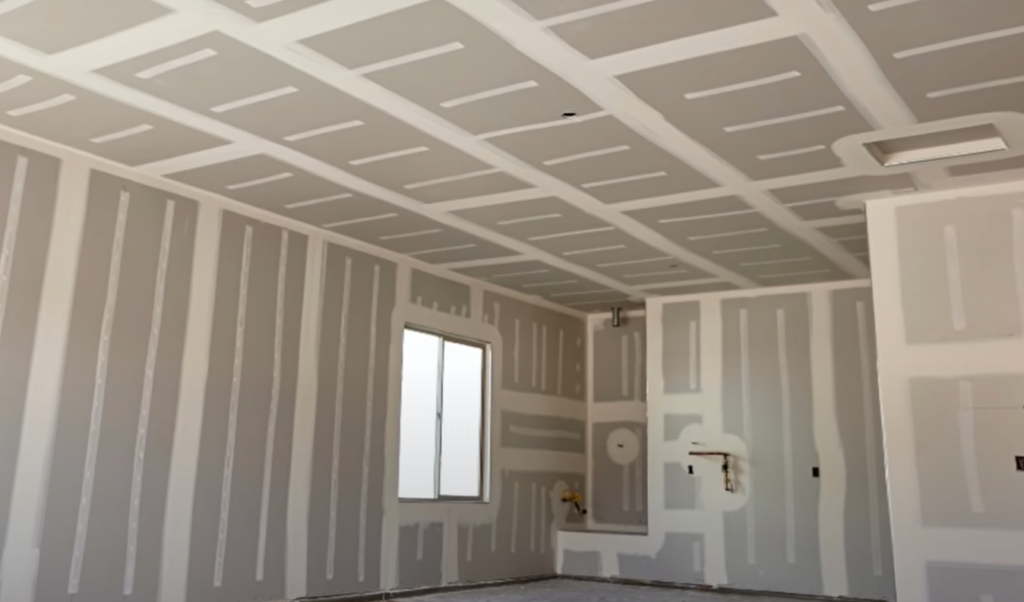
If your spackle is not drying, consider applying thinner layers, adjusting the room conditions if possible, or trying a different type of spackle. Always follow the manufacturer’s instructions regarding application thickness and drying times. [4]
How Do You Spackle a Second Coat?
Applying a second coat of spackle is crucial for achieving a smooth, seamless finish. Here’s how you do it:
- Allow the First Coat to Dry
- Sand the First Coat
- Clean the Surface
- Apply the Second Coat
- Smooth the Spackle
- Let the Spackle Dry
- Final Sanding
When applying a second coat of spackle, the goal is to fill imperfections for a flawless finish. It may take a bit of patience and practice, but the end result will be worth the effort.
How Do You Know if Spackles are Dry?
Determining if the spackle is dry can be done by touch and visual inspection. As it dries, spackle changes color, typically from a darker to a lighter shade. This color change is your first clue that the spackle might be dry. To confirm, touch the surface gently with your fingertip. The spackle should feel hard and not sticky or soft. If your finger leaves an impression or the spackle sticks to your finger, it’s not yet dry. Drying time varies based on factors like application thickness, spackle type, and environmental conditions.
Rushing this step can result in a less than perfect finish, or worse, ruin your repair job. As always, remember to follow the manufacturer’s instructions regarding drying times to ensure the best results.How Do You Sand Spackle Without Making a Mess?
Sanding spackles can indeed produce quite a bit of dust, but with proper precautions, you can minimize the mess. Here’s how:
- Use a Dust Mask and Safety Goggles
- Use a Dustless Drywall Sander
- Cover Your Furniture and Floors
- Vacuum Immediately After Sanding
By taking these precautions, you can keep the dust to a minimum and make your clean up task a lot easier. Remember, safety should always be your priority when working on any DIY project. [5]
FAQ
Can you spackle over acrylic paint?
Yes, you can apply spackle over acrylic paint. However, it’s essential to prepare the wall properly before doing this. Start by cleaning the painted area you wish to spackle to remove any dust or grime. Lightly sand the area to improve the spackle’s adhesion. After sanding, clean the area again to remove any resultant dust. Then you can apply the spackle as you would on a non-painted surface. Remember to prime the spackled area before painting over it to ensure a smooth finish. It’s always a good idea to test this process on a small, inconspicuous area first to make sure there won’t be any issues.
Can you use spackles with painted wood?
Yes, spackle can be used on painted wood, but similar to using it over acrylic paint, the surface needs to be properly prepared. Start by cleaning the painted wood surface thoroughly to remove any dust, grease, or grime. Next, lightly sand the area where you plan to apply the spackle.
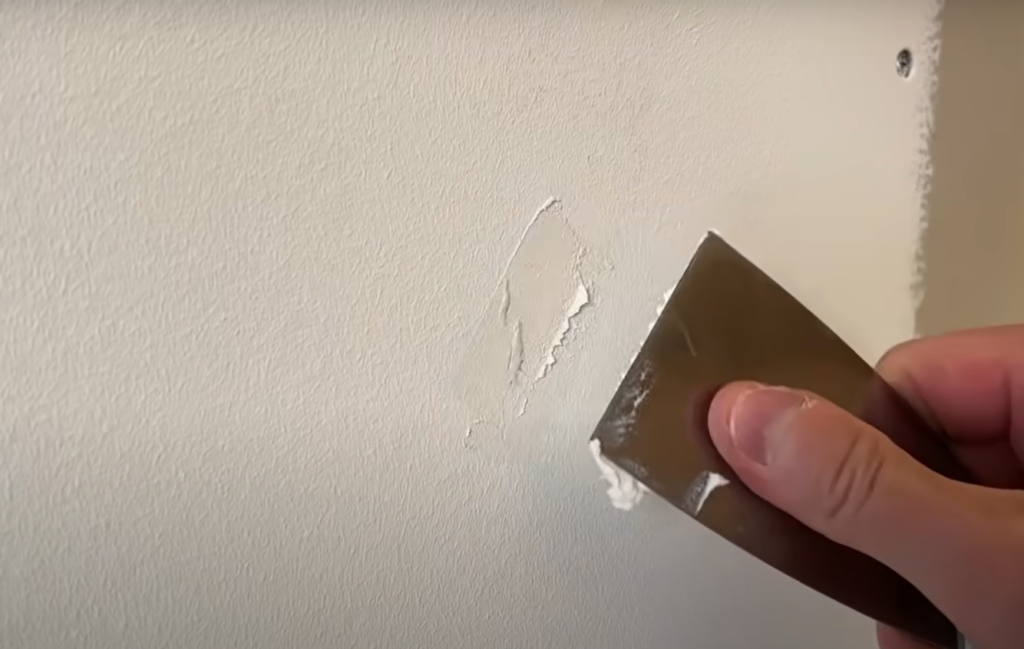
This will help the spackle adhere better to the surface. After sanding, clean the area once again to get rid of any dust. Now you are ready to apply the spackle. Once the spackle has dried completely, you should sand it smooth and prime before painting over it. This process ensures a uniform and seamless finish.
Can I spackle over peeling paint?
Yes, you can spackle over peeling paint, but it requires careful preparation to ensure a smooth, lasting finish. Begin by removing as much of the peeling paint as possible using a scraper. Then, sand the area to create a smooth surface and to remove any remaining loose paint. After the surface is smooth, thoroughly clean the area to remove dust from scraping and sanding. Once the surface is clean and dry, you can apply the spackle. Allow the spackle to completely dry, then sand it smooth. Once smoothed, a primer should be applied before repainting to ensure optimal paint adhesion.
Is spackle the same as plaster?
No, spackle and plaster are not the same. Although they are both used in wall repair and finishing, their composition and applications differ. Spackle is a lightweight compound typically used for minor repairs and filling in small holes or cracks. It is easy to apply, dries quickly, and can be easily sanded for a smooth finish. On the other hand, plaster is a much harder and durable material, typically used for larger repairs or construction of walls and ceilings. It takes longer to dry and is more difficult to work with compared to spackles. Therefore, while they may seem similar, spackle and plaster are designed for different types of repair and construction tasks.
Will plaster adhere to painted walls?
Yes, plaster can adhere to painted walls, but it requires appropriate preparation. The painted surface should be clean and free from dust, grime, or grease. Roughening the surface by lightly sanding can improve adhesion as it provides a better grip for the plaster. After sanding, remove any dust or debris before applying the plaster. However, remember that plastering over paint, especially glossy or oil-based paint, may not provide a long-lasting finish. It’s always recommended to remove the existing paint, if possible, for the best results.
How do you fix wall imperfections after painting?
Fixing wall imperfections after painting may seem complicated, but it can be done fairly easily with the right tools. First, you need to identify the type of imperfection – is it a nail hole, crack, dent, or peeling paint? Once you’ve determined the problem, use the appropriate tool to fix it. For instance, a putty knife can be used to apply sparkles to fill in nail holes or cracks. After the spackle has dried, sand the area smooth. If you’re dealing with dents, you may need to apply a patch before applying the spackle.
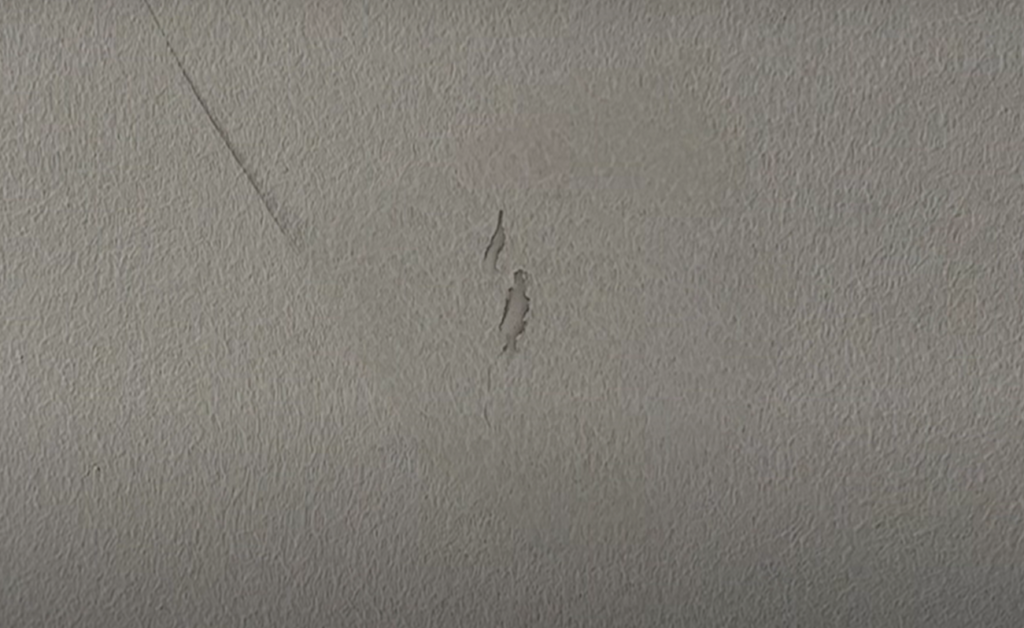
For peeling paint, scrape off the loose paint, sand the area, and then apply a primer before repainting. After you’ve fixed the imperfection, you’ll need to repaint the area. Depending on the original paint color and how well the new paint matches, you may need to paint the entire wall to ensure the colors blend seamlessly.
Can you texture a wall that has been painted?
Yes, you can texture a wall that has been painted. However, the process involves several crucial steps to ensure the texture adheres and looks good. First, clean the painted wall thoroughly to remove any dust or grime. If the paint is glossy, you might need to sand the wall lightly to help the texture adhere better. Once the wall is clean and prepared, you can apply the texture using a variety of tools depending on the texture type you’re aiming for. After applying the texture, let it dry completely before applying a primer and then painting over it.
Can you spackle and paint the same day?
Yes, it is possible to spackle and paint on the same day, but it depends on the size of the area being spackled and the conditions of the working area. Sparkles generally dries fairly quickly, especially if you are using it to fill small holes or cracks. However, if you are filling large holes or using a large amount of spackle, it could take longer to dry. Temperature and humidity can also affect the drying time. Before painting, it’s essential to make sure the spackle is completely dry and has been sanded smooth. This is to ensure the paint applies evenly and adheres properly. Applying paint over a damp spackle can lead to an uneven finish or potential peeling. Thus, while it may be possible to spackle and paint on the same day, it’s important to ensure the spackle is fully dry and properly prepared before applying paint.
Do painters spackle before painting?
Yes, professional painters often use spackles before painting. This is a crucial step in the painting process to ensure a smooth, flawless finish. Before beginning to paint, painters will inspect the walls for any imperfections such as holes, cracks, or dents. These imperfections are filled in with sparkles, which are then allowed to dry. Once the spackle is dry, the area is sanded smooth so that it blends in seamlessly with the rest of the wall. This process creates a perfectly smooth canvas for the paint, which can significantly improve the final appearance of the paint job. However, it’s important to remember that spackling is typically used for minor wall repairs and may not be suitable for larger damages or cracks. In such cases, more substantial repair work may be needed before painting.
What do you seal spackles with?
After applying spackle and allowing it to dry and be sanded smooth, it’s important to seal it before painting. This is typically done using a primer. Primer creates a barrier that prevents the paint from soaking into the spackle, which can lead to an uneven finish or the paint not adhering properly. It also helps to hide the spackle and creates a uniform surface for the paint. For best results, use a high-quality primer that is suitable for the type of paint you plan to use. Apply the primer over the spackled area and let it dry completely before painting. Be sure to follow the manufacturer’s instructions for both the spackle and the primer to ensure the best finish.
Useful Video: Painting a Bedroom | Part 6 | How to Spackle Walls Before Painting
Conclusion
In conclusion, spackling over paint can be a viable option when looking to fix minor wall imperfections, although extra steps such as sanding and priming may be necessary for a long-lasting finish. Furthermore, even though you can spackle and paint on the same day, it’s crucial to ensure the spackle is thoroughly dry before proceeding with the painting. Painters often utilize spackle to create a smooth canvas for painting, addressing holes, cracks, or dents in the process. Lastly, sealing the spackle with a primer before painting is essential to prevent the paint from soaking into the spackle, promoting a uniform and appealing finish. As with all these steps, conducting an inconspicuous test first to check the results is always recommended.
References:
- https://myinteriorpalace.com/can-you-spackle-over-paint/
- https://popularpainter.com/can-you-spackle-over-paint/#google_vignette
- https://www.homedepot.com/c/ah/how-to-fix-paint-chips-on-a-wall/9ba683603be9fa5395fab908d777a59
- https://paintingsdoctors.com/can-you-spackle-over-paint/
- https://www.hunker.com/13411581/can-you-use-joint-compound-on-painted-walls




Leave a Review