
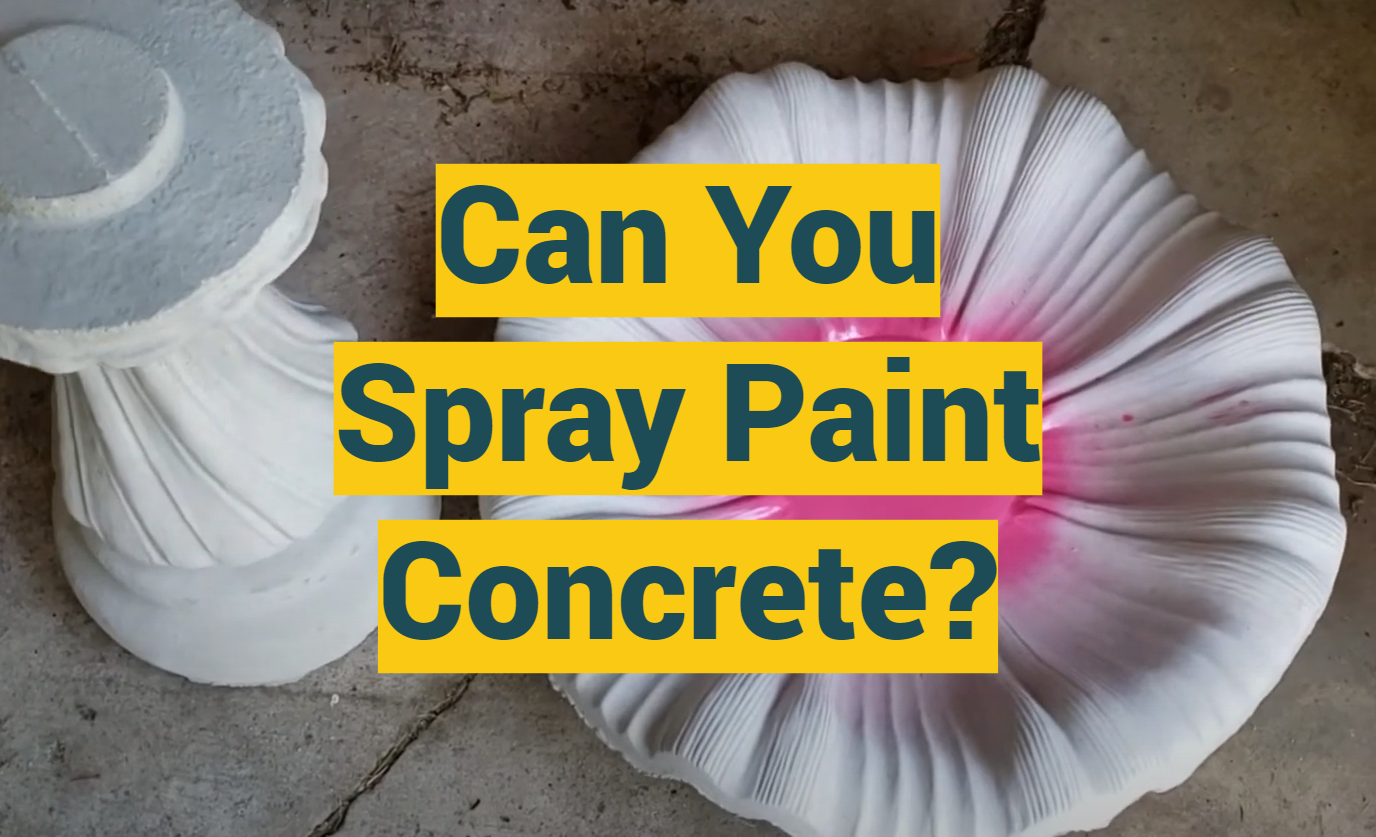
Concrete, with its well-known durability and versatility, has long been favored as a construction material for various projects. However, despite its practicality, the plain and monotonous appearance of concrete may sometimes call for a transformation to enhance its visual appeal. This leads to a common query: Is it possible to paint over concrete? In this comprehensive post, we’ll dive into the ins and outs of spray painting concrete, exploring the process, the materials required, and the potential advantages and drawbacks associated with this technique. By the end, you will have a thorough understanding of the possibilities and considerations when it comes to rejuvenating the look of concrete through the art of spray painting. Let’s embark on this enlightening journey together!
What kind of paint can be used on concrete?
When it comes to painting concrete, choosing the right type of paint is crucial for both durability and aesthetics. One of the most suitable options is masonry paint, also known as elastomeric paint. This type of paint is specifically designed for concrete surfaces and offers exceptional performance. It is highly resistant to peeling, chipping, and fading, making it ideal for withstanding various weather conditions. Additionally, masonry paint has the ability to fill in small cracks and crevices, ensuring a smooth and flawless finish, especially on older concrete surfaces.
Another viable option for painting concrete is epoxy paint. This type of paint provides a high-gloss and incredibly durable finish. It is commonly used in areas that require a robust and long-lasting protective coating, such as garage floors or industrial settings.
For those seeking a more user-friendly option, latex paint is a popular choice. Known for its easy application and clean-up, latex paint is widely available and offers a wide range of color options. Although not as durable as masonry or epoxy paint, it can still provide satisfactory results for less demanding applications.
Regardless of the paint type chosen, proper preparation is essential for a successful paint job on concrete surfaces. Applying a primer to the concrete surface helps improve paint adhesion, resulting in a more even and long-lasting finish. This step is particularly important for achieving optimal results and ensuring good glue adhesion of the product to the concrete.
By considering these details and selecting the appropriate paint type, you can achieve a durable and aesthetically pleasing finish when painting concrete surfaces. [1]
Can I draw right on the concrete?
Yes, indeed, you can decorate your concrete surface directly. However, to ensure a durable and attractive finish, it is crucial to follow a few necessary preparation steps. Firstly, the concrete surface should be thoroughly cleaned and rid of any dust, grease, or mold. For large exterior concrete areas, a motorized power cleaner can be effective, while a simple solution of soft cleaner and water usually suffices for interior concrete.
Secondly, it is essential to address any cracks or holes in the concrete by using a reliable concrete patch product. Repairing these imperfections will help create a smooth and even surface for the paint application. Once the surface is clean and repaired, the next stage is to prepare the concrete undercoat. This primer serves as a bonding agent and facilitates stronger adhesion of the paint to the concrete. After applying the primer, it is crucial to allow it to dry completely, which typically takes around 24 hours.
Once the primer has dried, you are now ready to apply the paint. It is recommended to apply at least two coats of paint for a more robust and even coverage. This will ensure that the color appears vibrant and long-lasting. By carefully following these steps, you can successfully apply the product directly to the hard surface, transforming it with your desired colors and creating a visually appealing result.[1]
How do you prep concrete for painting?
Preparing the concrete surface before painting is crucial for achieving a long-lasting, visually pleasing finish. It involves several important steps that ensure the best results.
First, begin by carefully scrubbing the concrete. For outdoor surfaces, a power washer can be highly effective in removing dirt, grime, and other debris. On the other hand, a mixture of mild cleaner and hot water is usually sufficient for interior surfaces. Take the time to scrub and rinse the concrete, ensuring that any grease, mold, or loose debris is completely removed.
Next, it’s essential to inspect the concrete for any cracks or holes. These imperfections can compromise the integrity of the paint job and should be addressed before proceeding. If you find any cracks or holes, use a concrete patch product to fix them. Follow the instructions provided with the patch product and allow it to dry completely.
After cleaning and repairing, it’s time to prime the surface. Applying a concrete primer is a vital step as it helps the paint adhere better to the concrete surface, resulting in a smoother and more durable finish. Choose a high-quality concrete primer and apply it evenly on the surface. Be sure to cover all areas thoroughly. Allow the primer to dry for approximately 24 hours before proceeding to paint.
Remember, the preparation process may seem time-consuming, but it’s a key determinant of the final outcome. By meticulously prepping your concrete surface, you set the stage for a successful painting project with a beautiful and long-lasting finish. So take the time to follow these steps and enjoy the rewarding results.[2]
Materials You Will Need To Spray Paint Concrete
To spray paint a concrete surface successfully, gather these essential tools and materials:
- Concrete Cleaner and Mold Remover: Ensure a clean surface before painting.
- Power Washer or Scrub Brush: Use for exterior or interior cleaning.
- Concrete Patch Product: Repair any cracks or holes.
- Concrete Primer: Ensure paint adhesion.
- Spray Paint: Choose suitable paint for concrete.
- Paint Sprayer: Evenly distribute paint.
- Protective Gear: Safety goggles, gloves, and a mask for protection.
Prepare these materials for a smooth and efficient painting process.[2]
Steps To Apply Spray Paint To Concrete
Clean the Concrete Surface
Cleaning the concrete surface is an absolutely crucial initial step in the process of spray painting. Not only does it ensure a cleaner and more visually appealing finish, but it also plays a vital role in promoting better paint adhesion.
This can be achieved by using a broom or a brush to sweep away any dirt, dust, or pebbles that may be present. By doing so, you create a clean canvas for the paint to adhere to.Next, it’s recommended to apply a suitable concrete cleaner or a mild detergent mixed with water to the surface. This helps to tackle any stubborn stains, grease, or grime that may have accumulated over time. For outdoor concrete surfaces, a power washer can be an effective tool to thoroughly remove tough stains and embedded dirt. On the other hand, for indoor concrete surfaces, scrubbing the surface with a hard-bristle brush can help to eliminate any dirt or grime that may have settled in.
In cases where mold or mildew is present on the concrete surface, it’s advisable to use a specialized mold remover. This helps to ensure that the surface is not only visually clean but also free from any potentially harmful substances.
Once the cleaning process is complete, it’s crucial to thoroughly rinse off the cleaner from the surface. This can be done using a hose or by wiping the surface with clean water. After rinsing, it’s important to allow the concrete to dry completely before proceeding to the next step. This ensures that the paint will adhere properly and prevent any issues such as peeling or bubbling.
By following these detailed cleaning steps, you can ensure that you have a clean and ready-to-paint concrete surface, setting the stage for a successful spray painting project.
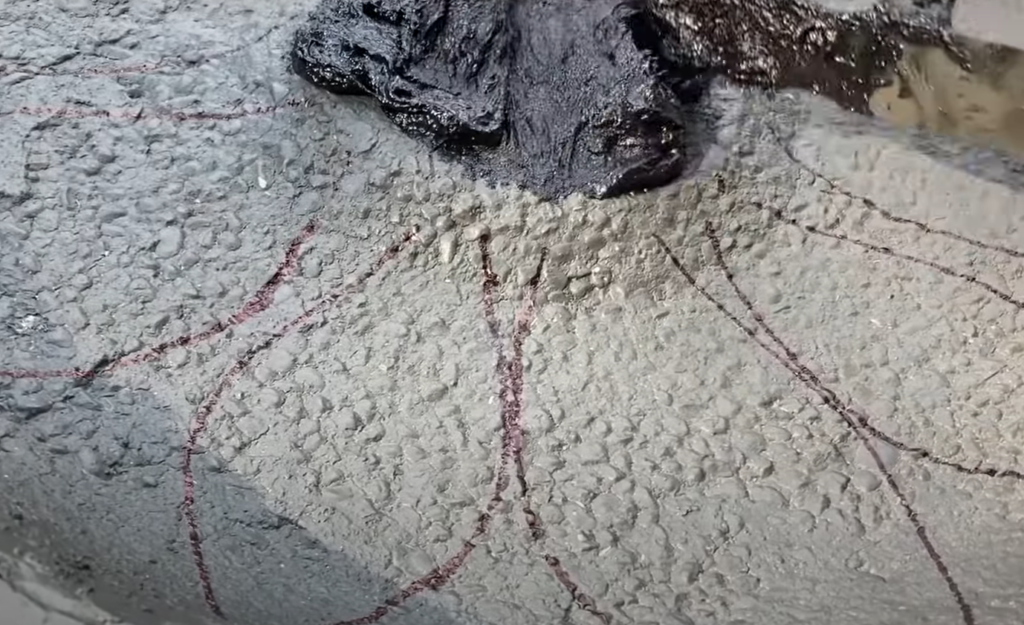
Patch Holes and Cracks
Before moving on to priming and painting, it’s essential to meticulously patch any holes or cracks in the concrete surface. These imperfections, if left unattended, can significantly hinder the patient’s ability to adhere evenly, resulting in a less-than-ideal finish. To tackle this crucial step, you’ll need a high-quality concrete patch product, which you can easily find at most reputable home improvement stores.
To begin, take extra care as you apply the patch product to the identified areas, utilizing a reliable putty knife or scraper. By doing so, you’ll ensure that the patch product adequately fills the holes or cracks, leaving no room for compromise. Take your time to firmly press the patch product into the affected areas, guaranteeing a solid and reliable fill that will stand the test of time.
Once you’ve completed the patching process, pay close attention to the surface’s smoothness. Utilize your chosen tool to carefully smooth the patched areas, ensuring that they seamlessly blend with the rest of the concrete surface. By achieving a level and uniform appearance, you’ll create a visually striking canvas for your eventual paint job.
After completing the patching and smoothing steps, exercise patience and allow the patch to dry thoroughly. Adhere strictly to the product’s instructions regarding the drying period before proceeding to the next phase of your project. Remember, this crucial waiting period will ensure that your concrete surface not only looks impeccable but also bolsters the overall durability of your paint job.
By meticulously patching your concrete surface, you’re not only enhancing its visual appeal but also guaranteeing a long-lasting and resilient paint finish. Embrace this detailed process, and you’ll be rewarded with a smooth, even, and flawlessly painted concrete surface that will stand the test of time.
Sanding
After patching the concrete, sanding becomes the crucial next step in the preparation process for painting. By sanding the surface, you not only create a smooth finish but also enhance the adhesion of the primer and paint. To accomplish this, gather a piece of medium-grit sandpaper, which proves to be the ideal tool for the job.
Begin by focusing on sanding down the patched areas, ensuring that they are seamlessly integrated and level with the rest of the surface. This meticulous step guarantees a unified appearance across the entire concrete surface. Once you’ve achieved the desired smoothness, gently sand the remaining sections of the concrete. This additional sanding helps to eliminate any lingering dirt or grime, leaving behind a pristine canvas for your paint.
Furthermore, the act of sanding also creates a slightly textured surface, promoting better adhesion for the paint. This subtle texture allows the paint to firmly grip the concrete, ensuring a long-lasting and durable finish. Once you’ve meticulously completed the sanding process, it’s crucial to remove any dust generated during this stage. Simply wipe the surface with a damp cloth, effectively eliminating any remnants of dust or debris.
Now, with the concrete surface clean, smooth, and primed, it is fully prepared to showcase the transformative power of paint.
Tape off areas you want to keep paint-free
Before you proceed with the priming and painting process, it’s crucial to take the necessary steps to protect any areas that you don’t want to be painted. One effective method is to use painter’s tape to carefully tape off these specific areas. For instance, if there are door frames, windows, or delicate lighting fixtures in close proximity to the concrete surface you’re about to paint, take the time to tape around them diligently. This will help prevent any unintentional paint splatters or drips that might mar their pristine appearance.
Moreover, if your concrete surface boasts intricate patterns or designs that you wish to preserve, it’s advisable to tape over them to shield the design from any potential damage during the painting process. Additionally, when working on a concrete floor, if there are adjoining walls or baseboards, it’s recommended to tape along the bottom edge to ensure a clean and seamless paint application. This will prevent any unsightly paint smudges or bleed-through onto the adjacent walls, creating a polished and professional finish.
Remember to apply the painter’s tape firmly, ensuring that it adheres flush with the surface to prevent any leakage or seepage of paint underneath. Taking the time to meticulously tape off these areas will guarantee a clean and flawless spray-painted concrete surface, elevating the overall aesthetic and ensuring a professional-looking outcome.
Prime the concrete
The priming stage is a crucial step in achieving a professional and long-lasting paint job that will stand the test of time. It sets the foundation for the paint to adhere well to the concrete surface and enhances its durability, ensuring that your paint job will look great for years to come.
To begin, it is important to select a primer that is specifically designed for concrete surfaces. This will ensure optimal adhesion and compatibility with the material. Once you have chosen the right primer, you can proceed with the application process.
Using a roller or brush, apply the primer evenly across the entire surface, ensuring that every corner and crevice is covered. It is especially important to pay attention to any textured areas or crevices to ensure a consistent coverage. Taking this extra step will result in a smooth and attractive final paint job.
Consider applying two coats of primer for even better results. Allow the first coat to dry completely before applying the second coat. This additional layer of primer will further enhance the adhesion of the paint and improve the overall appearance of the final result.
After applying the primer, patience is key.
This waiting period is essential to ensure that the surface is fully prepared for the application of your chosen paint.By following these detailed steps and taking the time to properly prime your concrete surface, you can ensure a flawless and long-lasting paint job that will exceed your expectations.
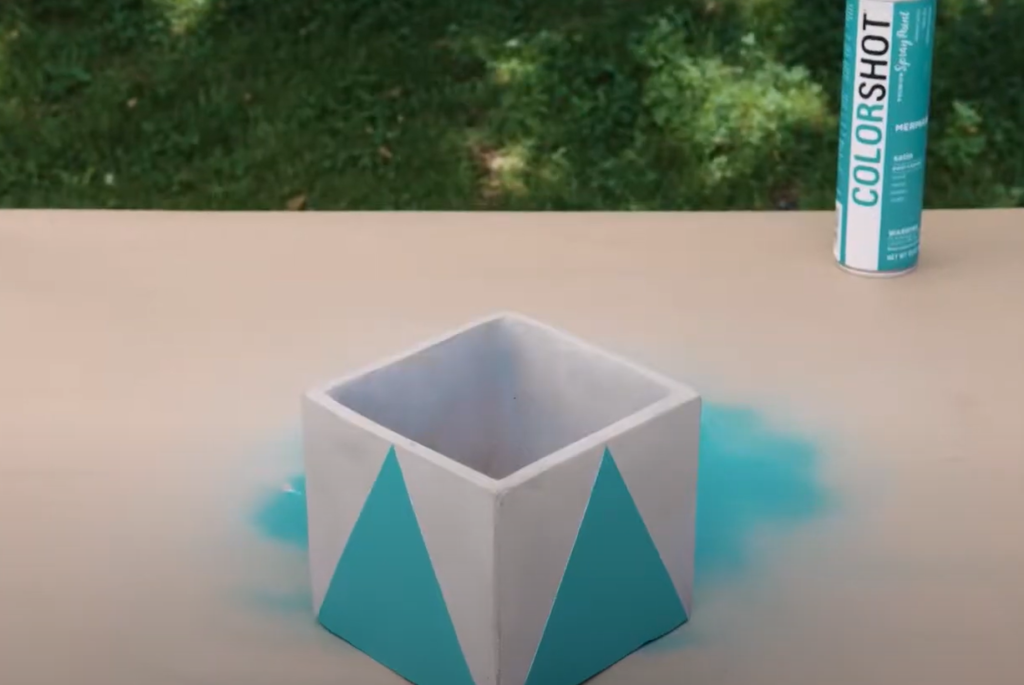
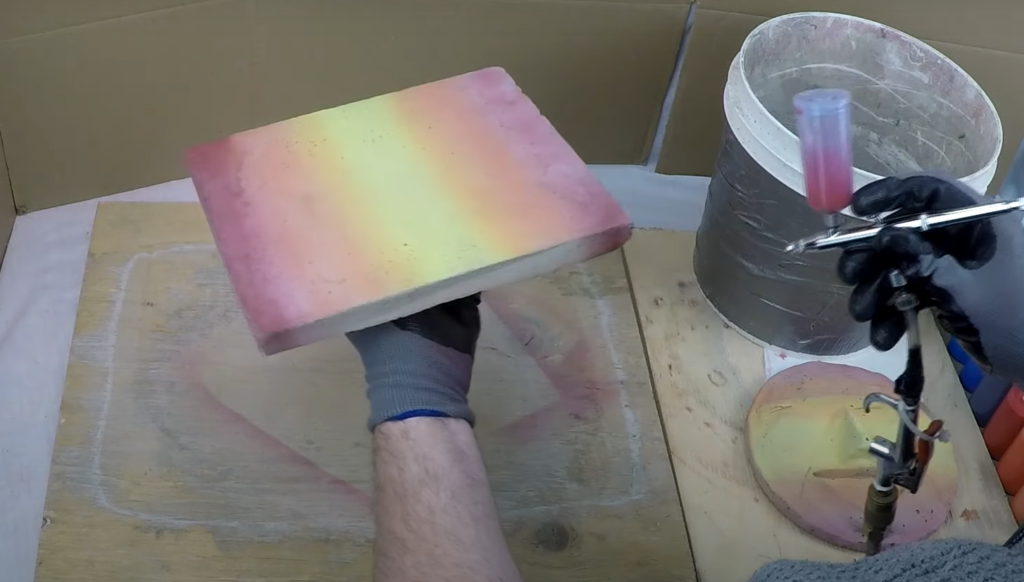
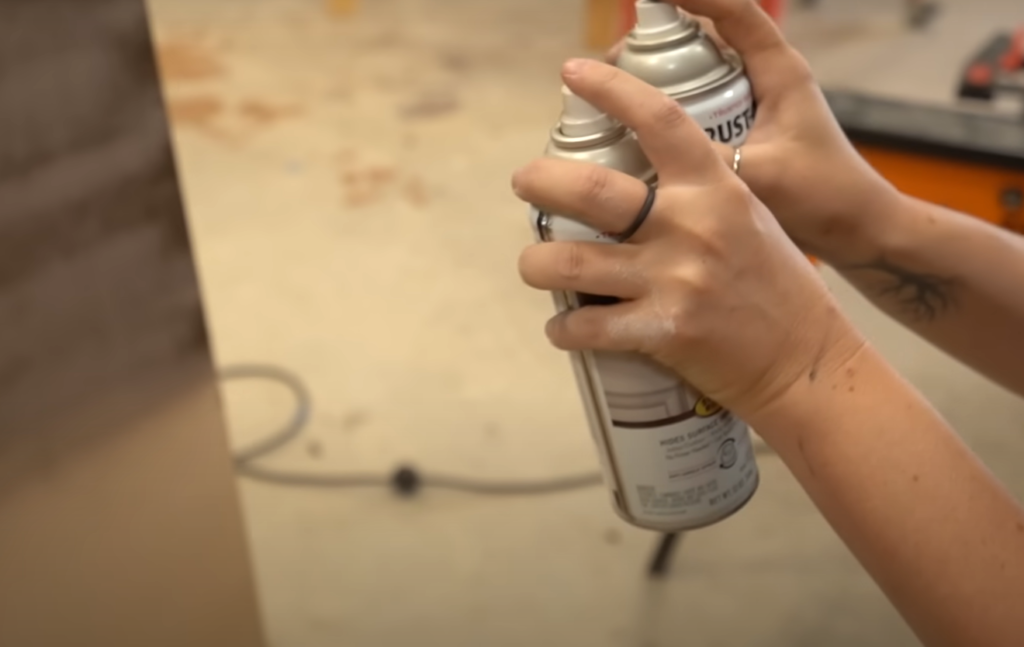
Apply Paint
The final step in the process of spray painting concrete is the application of the paint itself. This crucial step involves a few important considerations to ensure a successful and long-lasting result.
Firstly, it is essential to select a paint that is specifically formulated for concrete surfaces. This ensures optimal adhesion and durability. Additionally, if the concrete surface is outdoors, choosing a paint that is weather-resistant is advisable to withstand the elements.
Before applying the paint, it is crucial to thoroughly stir it to achieve an even color and consistency. This step helps to prevent any variations in color or texture on the painted surface.
When starting the spray painting process, begin from one end of the surface and maintain a consistent distance from the concrete. This ensures an even application and prevents any patchy areas. It is also important to overlap the spray pattern slightly with each pass to avoid creating visible lines or uneven coverage.
For larger surfaces, such as driveways or patios, working in small sections can be beneficial. By completing one section at a time, you can ensure that each area is fully painted before moving on to the next. This approach guarantees a thorough and uniform finish.
During the painting process, it is crucial to prioritize safety. Wearing protective gear such as gloves and masks is highly recommended to avoid inhaling any paint particles.
Once the first coat of paint has been applied, it is important to allow it to dry thoroughly according to the manufacturer’s instructions. This ensures proper curing and adherence. After the first coat has dried, inspect the surface for any missed spots or uneven coverage. If necessary, apply a second coat to achieve a uniform and vibrant finish.
After the final coat has been applied, it is important to let the paint cure for several days before using the surface. This allows the paint to fully set and ensures its durability over time.
By following these detailed steps, you can achieve a fresh and updated look for your concrete surface, providing long-lasting beauty and protection.[2]
FAQ
Will spray paint stay on cement?
Spray paint can adhere to and remain durable on cement surfaces with proper preparation and materials. Clean, patch, and prime the surface before applying the paint, and use outdoor spray paint designed for cement. Applying multiple thin layers and allowing each to dry fully can increase strength. However, high traffic or extreme weather may require periodic touch-ups.
What kind of paint can be used on concrete?
There are various types of paint suitable for concrete surfaces: epoxy paints known for durability, masonry paints designed for concrete, concrete stains for long-lasting color, acrylic latex paints for all-purpose use, and concrete dyes for vibrant hues.
Consider factors like location, traffic, and exposure when selecting the right paint.Can rust Oleum spray paint be used on concrete?
Rust-Oleum spray paint is ideal for concrete surfaces. With a range of durable and weather-resistant products, it provides excellent coverage for both indoor and outdoor projects. Properly preparing the concrete surface is essential, including cleaning, patching, and priming if needed. Follow the manufacturer’s instructions for the best results.
Can you spray paint a concrete driveway?
Spray painting a concrete driveway is a quick and efficient way to achieve a uniform and durable finish. Proper surface preparation, including cleaning and filling cracks, is crucial. Applying thin, even coats and allowing each to dry fully is important. A sealing coat can extend the paint’s lifespan. Periodic touch-ups may be needed in high-traffic areas or harsh weather conditions.
Is it better to roll or spray paint concrete?
When it comes to painting concrete, both rolling and spraying have their advantages. Spray painting is quicker and covers large areas efficiently, while roll painting offers more control and durability. Consider the project size, surface texture, and your comfort with the tools to decide which method to use. A combination of both can yield the best results.
Can I paint straight onto concrete?
Painting directly onto concrete is technically possible but not recommended for long-lasting results. Concrete’s porous nature can cause paint to peel or flake. Proper preparation is key, including cleaning, filling cracks, and applying a concrete primer or sealer. Multiple thin layers of paint should be applied for durability. Following instructions and taking time to prepare will improve the longevity and appearance of the paint job.
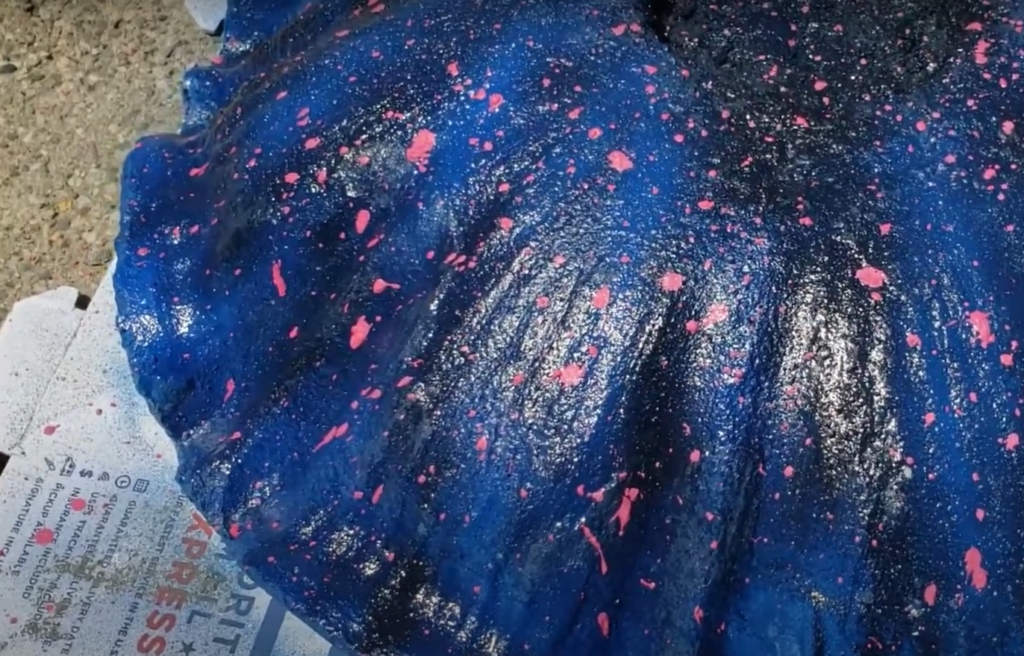
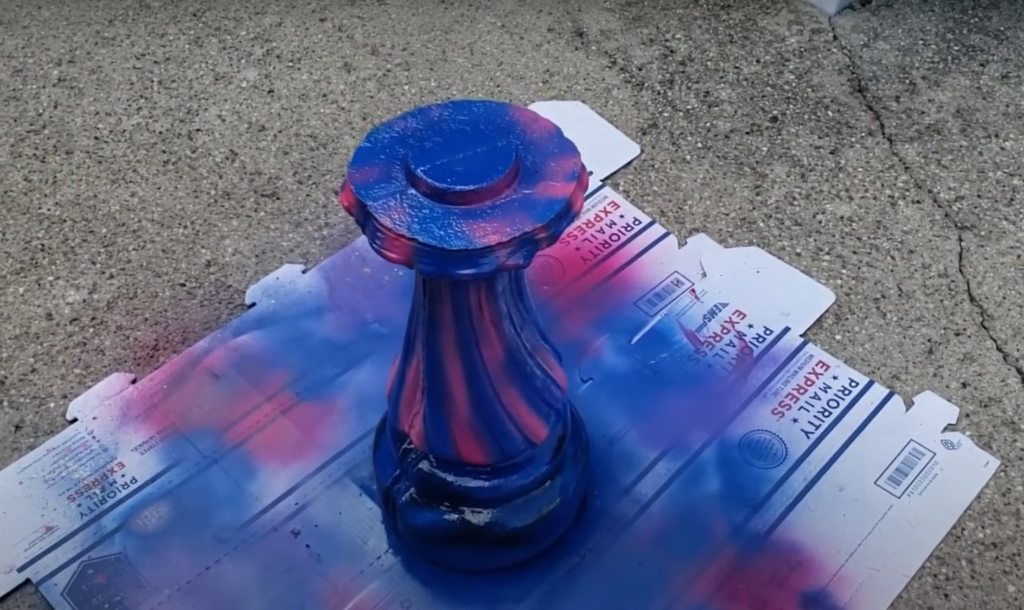
Useful Video: Spray Paint Concrete Bird Bath….result is amazing!!!!
Conclusion
Painting concrete is a great way to enhance its appearance and extend its lifespan. Attention to detail is crucial, especially during preparation. Clean, dry, and primed surfaces ensure a durable and high-quality finish. The choice between spray painting and roll painting depends on the project size, concrete texture, and personal preference. Follow manufacturer’s instructions for paint and primer to achieve optimal results. Though labor-intensive, the transformation is rewarding.
References:
- https://www.taindustrialpaints.co.uk/blogs/blog/can-you-paint-concrete-the-ultimate-guide
- https://www.mycolorshot.com/how-to-spray-paint-concrete-with-colorshot