
Spray paint cans are a highly convenient and efficient tool for a wide range of painting tasks. Whether you’re working on a small DIY project or a larger professional endeavor, having a reliable spray paint can be a game-changer. However, like any tool, spray paint cans can sometimes encounter issues that hinder their performance.
One common problem that many people face is a clogged nozzle. A clogged nozzle can be frustrating and can significantly impact the quality of your paint application. It can lead to uneven coverage, spattering, or even a complete stoppage of the spray, disrupting your painting project and potentially requiring costly fixes.
Fortunately, there are simple steps you can take to effectively remove the nozzle of the spray gun, ensuring smooth and consistent paint application for your projects. By investing a little time and effort into maintenance, you can prevent nozzle clogs and enjoy the full benefits of your spray paint can.
In the following sections, we will tell you in detail about the procedure for cleaning the spray gun. We’ll provide you with helpful tips and techniques to tackle this issue and keep your spray paint can in optimal condition. With our guidance, you’ll be able to overcome nozzle clogs with ease, ensuring that your painting projects are a success from start to finish.
Why Clean Spray Paint Nozzles?
Ensuring a clean spray paint nozzle is crucial for several reasons. Firstly, it is necessary for the proper function of the spray can. A clogged nozzle can interrupt the flow of paint, causing inconsistent spray patterns that can ruin your work and result in wasted paint. Additionally, a dirty nozzle can lead to uneven paint application, leaving unsightly streaks or clumps on the surface being painted.
Secondly, regular cleaning extends the life of the spray can, allowing the user to fully utilize the paint within it. When a nozzle is clogged with dried paint or debris, it not only hampers the spray pattern but also reduces the efficiency of paint usage. By keeping the nozzle clean and free of any blockages, you can ensure that every drop of paint is utilized effectively, maximizing the value and longevity of your spray can.
Lastly, maintaining a clean nozzle promotes safety during spray painting. A blocked or partially clogged nozzle can result in increased pressure inside the can, which can lead to potentially dangerous situations. In extreme cases, the pressure build-up may cause the can to burst or spray paint uncontrollably, posing a risk to the user and their surroundings. By regularly cleaning paint sprayer, you reduce the likelihood of pressure-related accidents, ensuring a safer painting experience.
Hence, knowing how to clean the paint sprayer is not only a useful skill but also an essential practice for anyone regularly using spray paint. Taking the time to properly maintain and clean your spray can’s nozzle will not only improve the quality of your work but also enhance safety and maximize the lifespan of your paint supplies.[1]
How Do You Clean Spray Paint Nozzles?
Use Warm Water
Using warm water is a crucial component in the cleaning process of a spray paint nozzle. The warm temperature aids in loosening the dried-out paint particles that are causing the clog, making it easier to remove. Allowing the nozzle steep in tepid water for about 30 minutes will usually suffice in dissolving the blockage substantially. This extended soaking time ensures that the warm water penetrates deep into the nozzle, effectively breaking down any stubborn paint residue.
To improve the process, you may add a few sprinkles of soft dish soap to the hot water. The soap acts as a gentle cleansing agent, helping to break down the stubborn paint residue even more effectively. Like lukewarm water and detergent soap combination works its magic, it loosens the paint particles and makes them easier to remove during rinsing.
Remember to rinse the nozzle thoroughly after soaking and scrubbing, ensuring that all the loosened paint and soap is washed away. This step is crucial to prevent any residue from accumulating and potentially causing future clogs. By taking the time to rinse the nozzle properly, you can ensure that it is clean and free from any lingering paint or soap residue.
Not only is this cleaning method effective in removing paint clogs, but it is also environmentally friendly and safe. Unlike other cleaning methods that may involve harsh chemicals, this method relies solely on the power of warm water and mild dish soap. This means that you are able to brush the paint sprayer without worrying about the negative impact on the environment or your health.
So the next time you encounter a clogged splash paint nosepiece, remember this effective and eco-friendly cleaning method. Using warm water, a little patience and a couple of drops of soft dish soap, you can easily restore your nozzle to its optimal condition, ready for your next painting project.
Soak in Paint Thinner
If warm water and dish soap are not sufficient to dislodge the dried paint from the nozzle, you may want to consider using paint thinner as a more aggressive cleaning solution. Before proceeding, it’s crucial to prioritize safety. Always wear gloves and work in a well-ventilated area due to the potent fumes of paint thinner and its potential to irritate the skin.
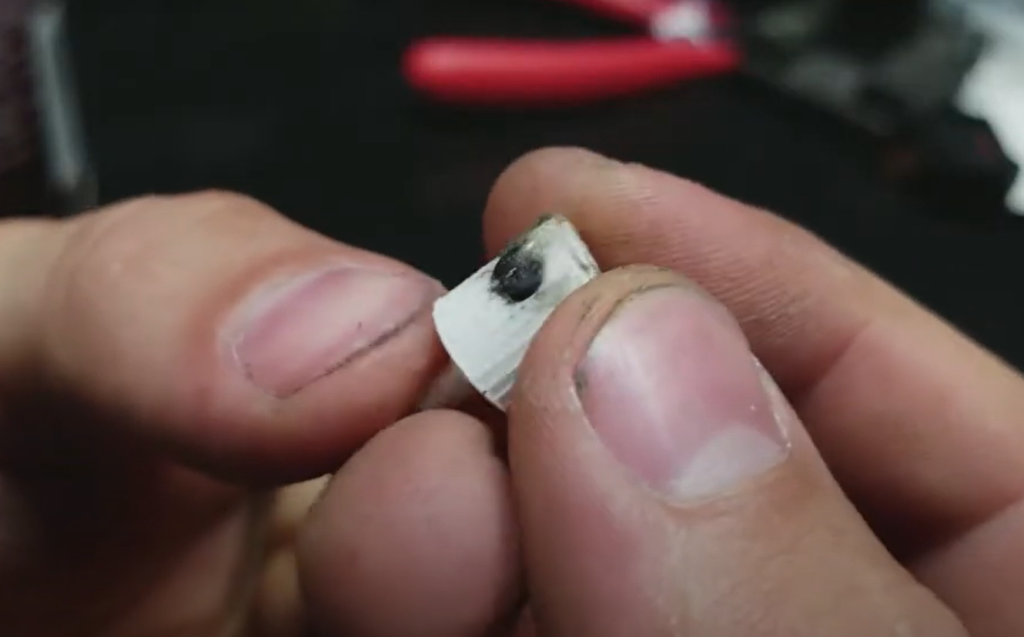
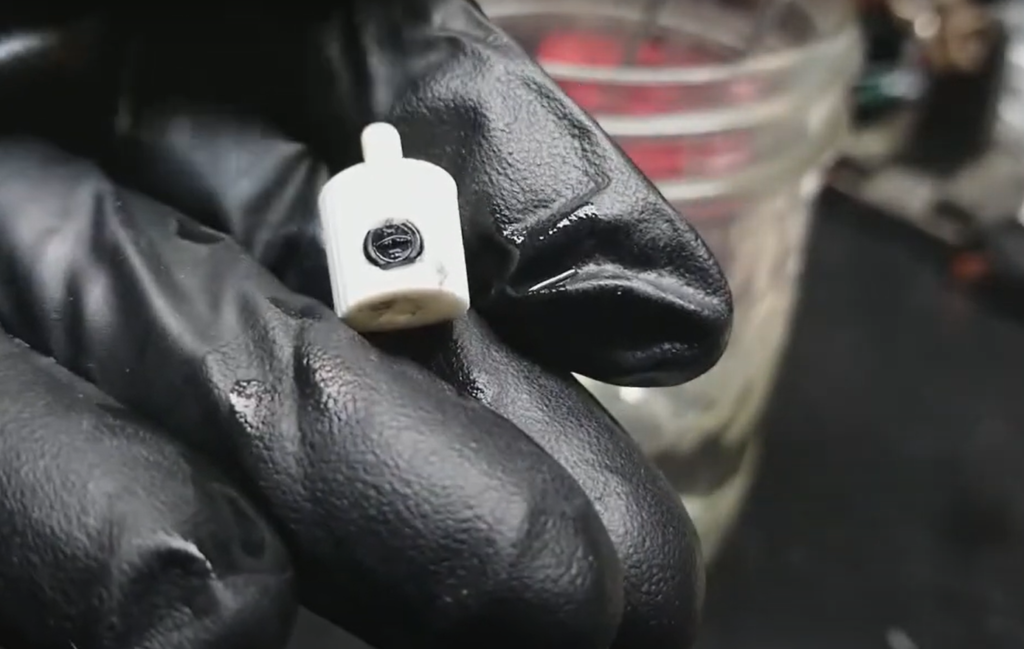
To begin, remove the clogged nozzle from the spray can and prepare a small container filled with paint thinner. Carefully immerse the nozzle in the container, ensuring it is fully submerged.
After the soaking period, take a soft bristle brush and gently scrub off the loosened paint residue from the nozzle. Be cautious not to apply excessive force that could damage the nozzle. The goal is to delicately remove the remaining paint without causing any harm.
Once you have thoroughly brushed off the loosened paint, it’s essential to rinse the nozzle meticulously under running water. This step ensures that any traces of paint thinner are completely removed from the nozzle. Rinse until the water runs clear, indicating that no paint thinner residue remains.
Finally, once the rinsing process is complete, dry the nozzle thoroughly. It is crucial to ensure that no moisture remains, as it could lead to future clogging or potential damage to the spray can. A clean, dry nozzle is ready for attachment to the spray can, allowing you to embark on your next painting project with ease.
Remember, when handling paint thinner, safety should always be paramount. Avoid inhalation of fumes, minimize skin contact, and never use paint thinner near open flames or sparks. By following these precautions and properly cleaning your nozzle, you can maintain its functionality and prolong its lifespan, ensuring optimal performance for future painting endeavors.
Use WD-40
When all else fails to unclog your spray paint nozzle, a bit of WD-40 can often do the trick. WD-40, a versatile and widely-used lubricant, is known for its multiple uses and can effectively penetrate and dissolve stubborn paint clogs. This is because WD-40 contains solvents that break down dried paint, allowing it to be easily removed from the nozzle.
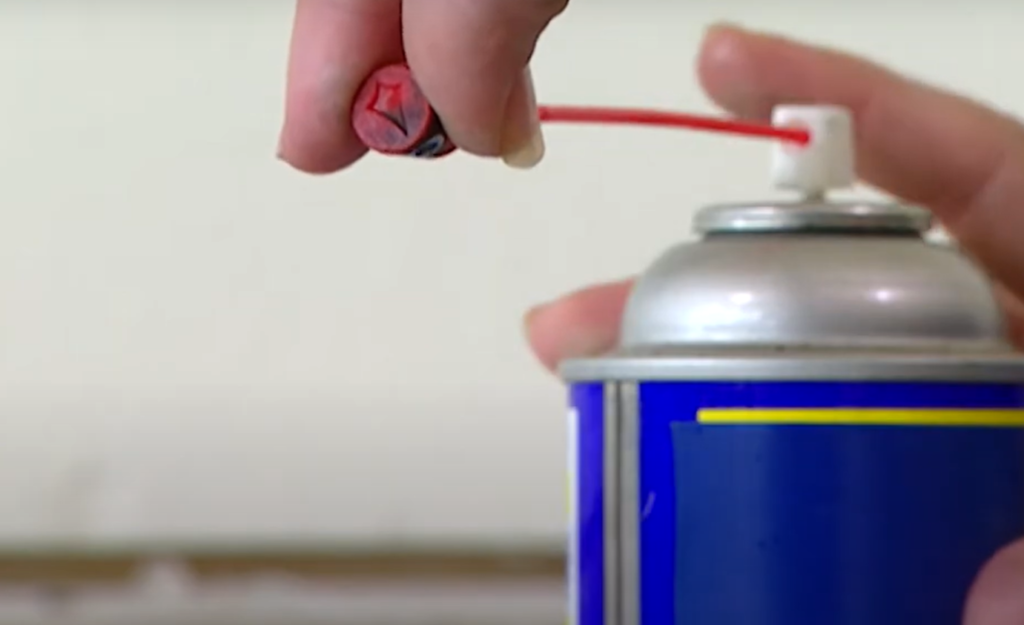
To use WD-40 for unclogging your spray paint nozzle, start by carefully removing the clogged nozzle from the spray can. Hold it over a disposable cloth or paper towel to catch any drips or excess liquid. Next, spray a small amount of WD-40 directly into the nozzle hole, making sure to cover the entire area affected by the paint clog. Allow the WD-40 to sit for several minutes, giving it enough time to work its way into the dried paint and break it down.
After the WD-40 has had time to work, it’s important to thoroughly rinse the nozzle with warm water to remove both the WD-40 and the loosened paint. This step helps ensure that no residue or leftover solvent remains in the nozzle, which could affect the performance of future spray paint applications. Once the nozzle is rinsed, dry it completely before reattaching it to the spray can.
Remember, safety is paramount when using WD-40. Always wear gloves to protect your hands and work in a well-ventilated area to avoid inhaling any fumes. Additionally, keep WD-40 away from open flames or sparks, as it is flammable.
By following these steps and taking the necessary precautions, you can effectively use WD-40 to unclog your spray paint nozzle and get back to your painting projects with ease.
Apply Aerosol Lubricant on the Nozzle
An additional step to ensure the smooth operation and longevity of your spray paint nozzle is to apply an aerosol lubricant after the cleaning process. This simple yet effective practice helps prevent paint from drying and clogging the nozzle during future uses, ensuring that you can achieve optimal performance every time you spray.
After meticulously cleaning and thoroughly drying the nozzle, take a moment to lightly spray an aerosol lubricant, such as silicone or teflon spray, into the hole of the nozzle.
Allow the lubricant to dry completely before reattaching the nozzle to the spray can.By incorporating this additional step into your spray paint routine, you not only maintain the nozzle in optimal condition, but you also facilitate a smooth and consistent spray of paint. This helps you achieve professional-looking results with ease, whether you’re tackling a small DIY project or working on a larger painting endeavor.
Additionally, exercise caution and avoid any contact with open flames or sparks to ensure safety throughout the process.Embrace this extra attention to detail and enjoy hassle-free spray painting experiences with a nozzle that remains clean, unclogged, and ready for action.
Cleaning Spray Paint Nozzles with Mineral Spirits
In cases where the clog is too stubborn for the aforementioned methods, mineral spirits present a highly effective alternative solution for cleaning spray paint nozzles. This solvent, known for its exceptional dissolving properties, is particularly renowned for its ability to tackle and remove tough oil-based paints.
To begin, carefully remove the nozzle from the spray can, ensuring a firm grip to avoid any accidental spills. Next, prepare a container filled with mineral spirits, making sure it is large enough to fully immerse the nozzle. Gently place the nozzle into the container, allowing it to soak for approximately 30 minutes to an hour. During this time, the mineral spirits will work their magic, loosening and dissolving the stubborn paint residue.
After the soaking period, remove the nozzle from the container and inspect it closely. You may notice that some of the paint residue has already loosened and detached from the nozzle. To ensure a thorough cleaning, it is recommended to gently scrub the nozzle with a soft bristle brush. Apply gentle pressure and scrub both the interior and exterior surfaces of the nozzle to remove any remaining paint residue. Take your time and ensure that all areas are adequately cleaned for optimal performance.
Once you have finished scrubbing, it is important to rinse the nozzle thoroughly with warm water. This step is crucial to remove all traces of the mineral spirits and any remaining paint particles. Rinse the nozzle under running water, ensuring that the water flows through all the openings to achieve a complete cleanse. Take extra care to remove any residual mineral spirits, as they can affect the performance of the spray paint.
Finally, to prevent any moisture-related issues, it is essential to dry the nozzle properly before reattaching it to the spray can. Use a clean, lint-free cloth to gently pat dry the nozzle, ensuring that no moisture remains. Allow the nozzle to air dry for a few minutes to ensure complete drying. Once dry, securely reattach the nozzle to the spray can, ensuring a tight and proper fit.
As with the other methods, it is important to remember that this cleaning procedure should be performed in a well-ventilated area to ensure proper air circulation. Additionally, wearing protective gloves is highly recommended to protect your hands from any potential exposure to the mineral spirits. Lastly, it is vital to ensure that you are away from any open flames or sparks during the cleaning process to maintain safety.
By following these detailed steps, you can effectively clean spray paint nozzles using mineral spirits, ensuring optimal performance and longevity of your spray paint equipment.[1]
How to Use a Spray Gun Cleaner to Clean Spray Paint Nozzle?
Ultrasonic cleaners are effective tools for cleaning intricate items like spray paint nozzles. They use high-frequency sound waves to create microscopic bubbles that dislodge grime and residue. To clean a spray paint nozzle, remove it from the can, rinse off excess paint, and place it in the ultrasonic cleaner’s basket. Fill the cleaner with water and cleaning solution, then run a 10-minute cycle. Rinse the nozzle and dry it before reattaching. Remember to prioritize safety by using protective gear and working in a well-ventilated area.[2]
How to Clean Spray Paint Nozzles with an Ultrasonic Cleaner?
Ultrasonic cleaners are effective tools for cleaning intricate items like spray paint nozzles. They use high-frequency sound waves to create microscopic bubbles that dislodge grime and residue.
To clean a spray paint nozzle, remove it from the can, rinse off excess paint, and place it in the ultrasonic cleaner’s basket. Fill the cleaner with water and cleaning solution, then run a 10-minute cycle. Rinse the nozzle and dry it before reattaching. Remember to prioritize safety by using protective gear and working in a well-ventilated area.[2]
How Do You Clean a Clogged Spray Paint Tip?
To unclog spray paint tips, follow these simple steps: remove the clogged tip, rinse it with warm water, soak it in warm water and dish soap, scrub gently with a small brush, rinse thoroughly, and let it dry before reattaching. Alternatively, use acetone or nail polish remover, but rinse thoroughly. Remember safety precautions: wear gloves and work in a well-ventilated area.[2]
FAQ
What’s the best way to clean spray paint nozzles?
Cleaning spray paint nozzles requires different methods based on the clogging and paint type. Light to moderate clogs can be resolved with warm water or soapy water.
Mineral spirits are effective for stubborn, oil-based clogs. For severe clogs, professional-grade spray gun cleaners or ultrasonic cleaners are recommended. Safety precautions, such as good ventilation and protective gloves, should always be followed.
How do you clean a clogged spray nozzle?
When a spray nozzle gets clogged, there are simple steps to unclog it. Remove the nozzle and soak it in warm, soapy water to loosen the paint. Scrub it gently with a brush and rinse thoroughly. Let it air dry before reattaching. For heavily clogged nozzles, stronger solvents or specialized cleaning tools may be needed. Safety precautions should be taken.
How do you clean spray paint caps?
Cleaning spray paint caps is a straightforward process. Remove the cap and rinse it under warm water to dislodge any paint residue. For heavily soiled caps, soak them in warm, soapy water and scrub with a brush. Rinse thoroughly and let the cap dry before reattaching. For severe clogs, consider using a stronger solvent or spray gun cleaner. Remember to use gloves and work in a well-ventilated area for safety.
What do you soak spray nozzles in?
To clean spray nozzles effectively, different soaking solutions can be used depending on the type of clogging and paint. For light clogs, warm water with a bit of dish soap works well for water-based paints. Tougher clogs or oil-based paints require stronger solvents like mineral spirits or acetone, but caution should be taken due to flammability and skin irritation. Specialized commercial cleaners are also available. Always rinse the nozzle thoroughly after soaking and prioritize safety by using gloves and working in a well-ventilated area.
How do you clean a nozzle with vinegar?
To remove a stubborn clog, vinegar can be an effective household cleaner. Soak the nozzle in a solution of equal parts white vinegar and warm water for an hour. Gently scrub the nozzle with a small brush, then rinse thoroughly. Air dry before reattaching to the spray can. Work in a well-ventilated area for safety.
How do you fix a spray can that won’t spray?
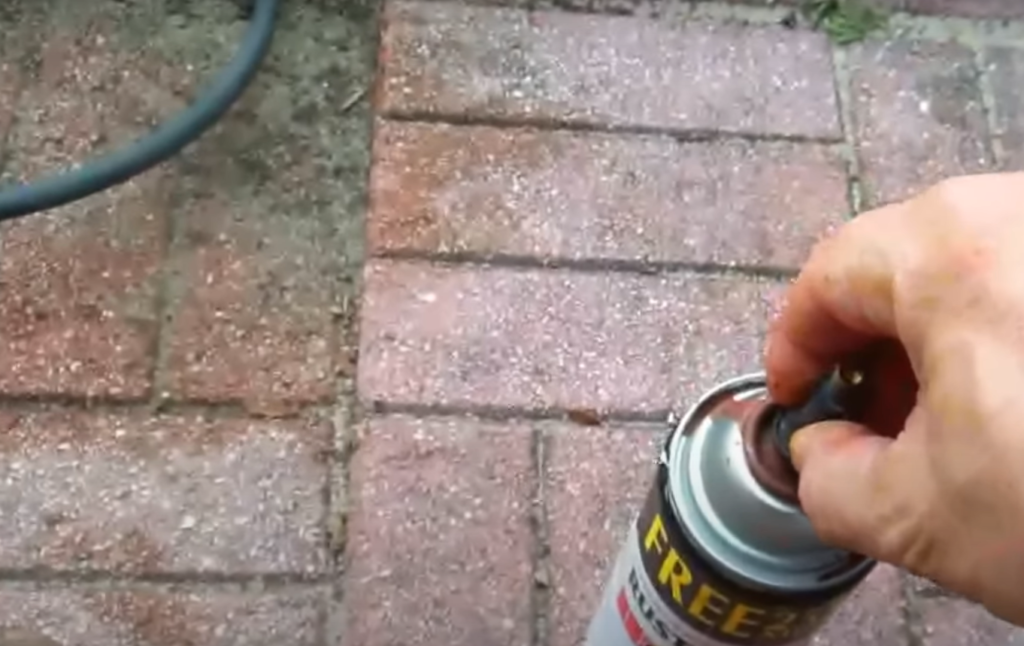
If your spray can isn’t dispensing paint, it may be due to a clogged nozzle or insufficient pressure. To fix it, clean the nozzle or shake the can to mix the paint and propellant. If the issue persists, release some pressure and try again. If none of these methods work, the can may be empty or faulty. Stay safe and work in a well-ventilated area.
Useful Video: How To Clean A Spray Paint Nozzle
Conclusion
Maintaining the cleanliness of spray paint nozzles and caps is crucial for optimal function and a smoother painting experience. Regular cleaning prevents clogs and extends the life of these items. Choose from various cleaning methods depending on the severity of the clog. Safety is key, so work in a well-ventilated area and use gloves when handling solvents. By caring for your spray painting equipment, you’ll ensure easy and effective usage for future projects.
References:
- https://propaintersguide.com/how-to-clean-spray-paint-nozzle/
- https://paintsprayed.com/clean-spray-paint-nozzle/