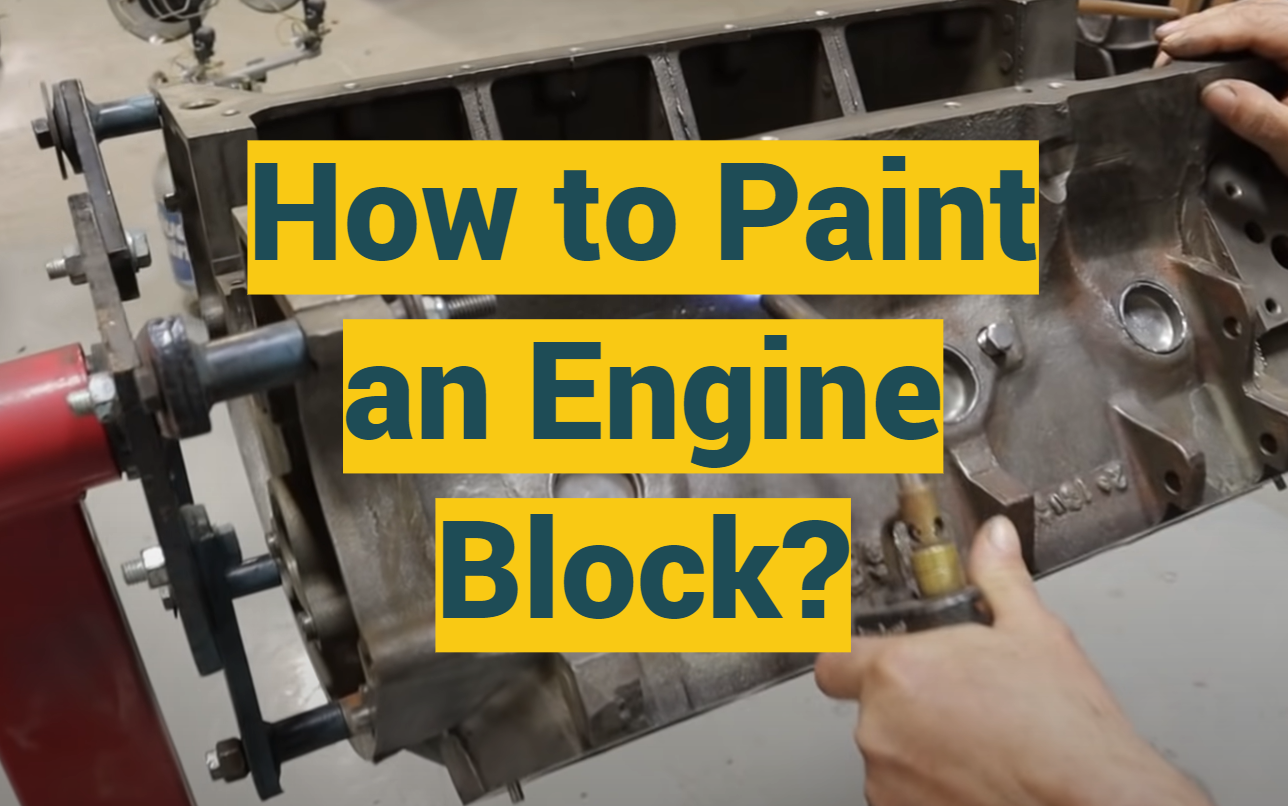
Do you want to learn how to paint an engine block? It can be a daunting task, but with this comprehensive guide, you’ll be able to do it like a pro! In this article, we will cover everything from preparation to finish. We’ll answer some common questions and provide some useful tips that will make the process go as smoothly as possible.
How To Prep An Engine Block For Paint
The first step is to clean the engine block thoroughly. You can do this by pressure washing it with a garden hose, using a degreaser, or sandblasting it. Once it is clean, you will need to remove any rust that may be present. This can be done with a wire brush, sandpaper, or a chemical rust remover.
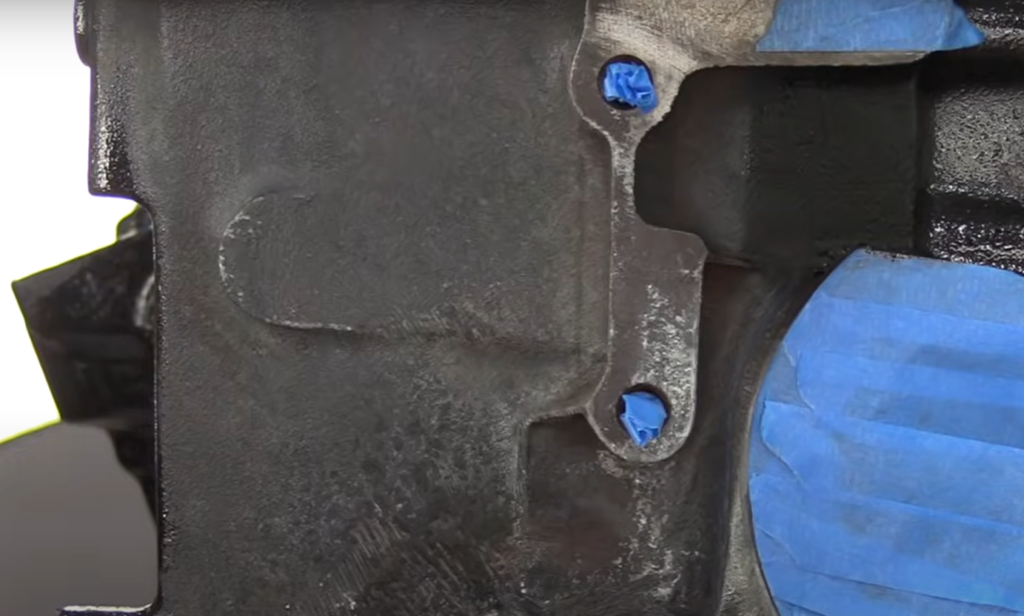
After the rust has been removed, you will need to apply a primer. Paint will adhere better and will also prevent future rusting. Once it has been applied, you can now start painting it! Be sure to use an enamel-based paint for best results.
Can You Paint An Engine Without Removing It?
You can, but it’s not recommended.
You’ll get better results if you remove the engine.If you decide to paint the engine while it’s still in the car, make sure you cover everything else with plastic sheeting or tarps. You don’t want paint drips on your upholstery or carpets! Also, be very careful when painting around electrical components. It’s easy to accidentally short something out when you’re painting.
How Many Cans Does It Take To Paint An Engine Block?
It takes about four to six cans of spray paint to cover it.
If you’re painting a block that’s already been painted, you’ll need to sand it down first before applying the new paint.
Once you have your paint, it’s time to get started. Make sure you’re working in a well-ventilated area, and put on some old clothes that you don’t mind getting paint on. You’ll also want to cover any parts of the engine that you don’t want to get painted (like the spark plugs) with tape.
Apply an even coat of paint to the entire surface. You may need to do 2 or 3 coats depending on how opaque you want the final product to be. Once you’re finished painting, let the engine block fully dry before reassembling your car.
How Much Does It Cost To Paint An Engine Block?
The average cost is between $200 and $400. This includes the cost of the paint, labor, and materials. However, there are a few things that can affect the cost, such as the size of the engine block and the type of paint used.
If you’re looking to save money, you can try painting yourself.
In addition, you’ll need to purchase high-quality paint and have access to a clean workspace. If you don’t have these things, it’s best to leave this project to the professionals.Masking-Off The Block For Painting
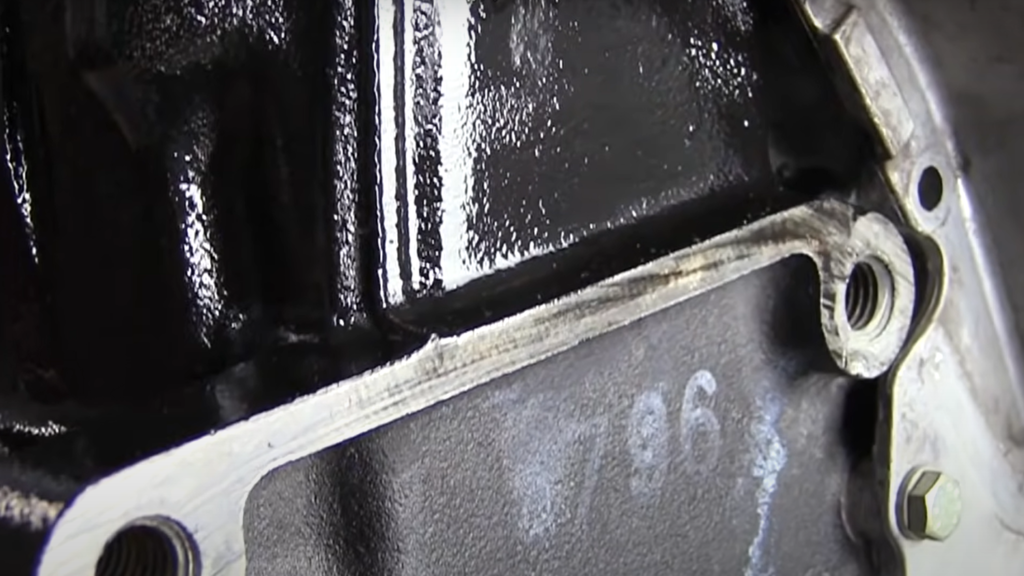
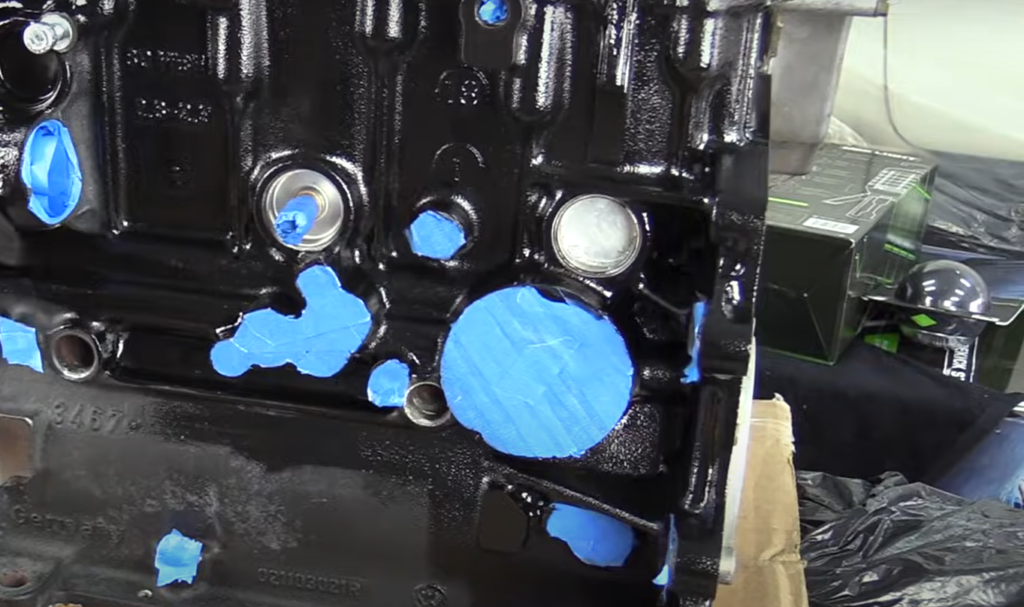
The first step is to mask off the block. You’ll want to use painters’ tape and paper to cover any areas that you don’t want to be painted. This includes the engine’s oil dipstick, coolant hoses, water pump, thermostat housing, and electrical connections.
Once everything is masked off, you can start painting. Use high-quality paint designed for engines. Use semi-gloss or high-gloss paint for best results.
Apply a thin layer of paint evenly across the entire surface of the block. Once the second coat is dry, you can reassemble your engine and enjoy your newly painted engine block! thanks for reading.
Masking off the block is important because you don’t want to accidentally paint over any areas that shouldn’t be painted.
Trimming The Paint Mask
If you want to avoid getting paint on any of the engine’s moving parts, it’s important to trim the paint mask. You can use a sharp knife or a pair of scissors for this. Just be careful not to damage any of the engine’s surfaces.
Once you’ve trimmed the paint mask, you’re ready to start painting. Make sure that you have all of the necessary supplies before you begin. You’ll need a good primer, several cans of high-heat engine paint, and some clear coat. It’s also a good idea to have some sandpaper on hand in case you need to smooth out any imperfections.
Laying Down The Primer
The first step is to lay down the primer. Use a high-quality primer for adhering well to the metal and provide a good base for the paint. Apply the primer in thin, even coats, using a brush or roller. Allow each coat to fully dry before applying the next one. You should have at least three coats of primer before you start painting.
Painting The Engine Block
The first step is to remove the engine from the car. This will give you plenty of space to work and make sure that no paint gets on any other parts of the car. Once the engine is out, you’ll want to give it a good cleaning. You can use a pressure washer or just scrub it down with soapy water. Just make sure all the grease and grime are gone before you start painting.
Next, you’ll need to sand the engine block. This will help the paint to adhere better. You can use coarse sandpaper for this step. Just make sure you sand evenly so that the paint will have a smooth surface to adhere to. [1]
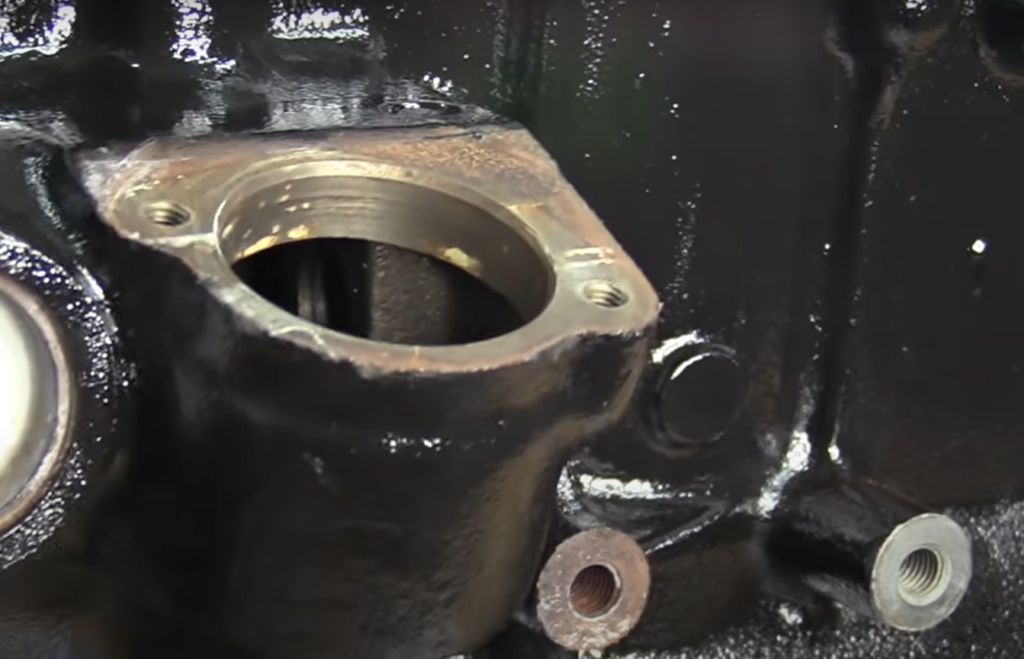
Now it’s time to start painting! You’ll want to use high-quality paint designed for engines. Apply several thin coats, allowing each coat to dry completely before adding the next. Once you’re finished painting, you’ll want to let the engine block cure for 24 hours before reassembling your car.
How To Paint An Engine Block – Steps
Now that we’ve gone over the basics of what you’ll need, let’s get into the nitty gritty of how to actually paint an engine block. The steps are as follows:
Step #1 – Drain all Fluids
This is an important first step because you don’t want any fluids seeping out and ruining your paint job. To do this, simply remove the oil dipstick and drain plug from the block. Once all the fluids are drained, give the block a good cleaning with some degreaser to remove any residue.
Step #2 – Disassemble the Engine Block
Now that you have all of your materials, it’s time to start disassembling the engine block. This process can be a bit daunting, but if you take your time and follow these steps carefully, you should have no problem getting everything apart.
Start by removing the cylinder heads from the engine block. You’ll need to remove any bolts or other fasteners that are holding them in place. Once they’re loose, lift them off of the block carefully. Be careful not to damage any of the gaskets or seals that are between the cylinder head and the engine block.
Next, remove the intake manifold from the engine block. Again, be careful not to damage any of the gaskets or seals as you remove it.
Once the intake manifold is off, you’ll be able to see the pistons and connecting rods. Using a socket wrench, loosen and remove the nuts that are holding the connecting rods in place. Be careful not to damage the threads on the engine block as you remove them.
With the connecting rods removed, you can now remove the pistons from the engine block. Be sure to keep track of which piston goes in which cylinder, as they will need to be replaced in the same order.
Now that all of the major components have been removed, you can start cleaning the engine block. Be sure to use a degreaser or solvent that is designed for use on engines, as regular cleaners could damage some of the components.
Step #3 – Make Sure You Label Everything
You might be thinking, “I’ll just remember where everything goes.” But trust us – label everything. Tape, paper labels, sharpie – whatever you have to do to make sure you know where each part goes when it comes time to reassemble your engine block. This will save you a lot of headache (and potentially some heartache) down the road.
Step #4 – Mask Off
Now that the engine block is clean, you’ll need to mask off the area around it. This will help to prevent paint from getting on other parts of the vehicle. You can use painters tape or another type of masking material. Be sure to cover any areas that you don’t want painted.
Once the area is masked off, you’re ready for painting! ##Step # –
Before you begin painting, it’s important to do a test run on a small section of the engine block. This will help you determine if you’re using the right amount of paint and pressure. It will also give you a chance to get a feel for how the paint will look once it’s applied.
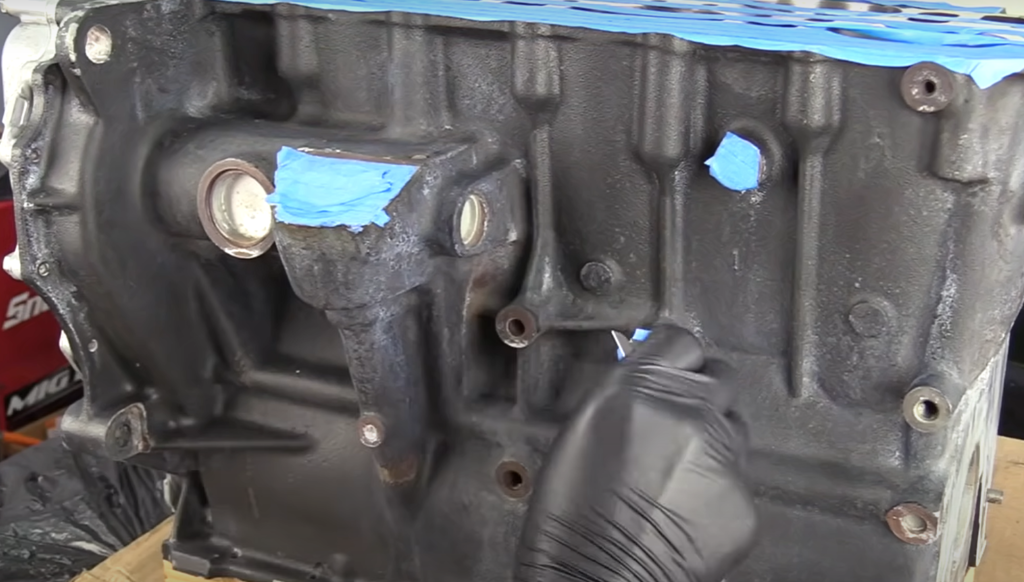
Once you’re happy with the test section, you can begin painting the rest of the engine block. Be sure to use even strokes and consistent pressure. If you need to, you can always go back and touch up any areas that you missed.
Step #5 – Clean the Engine
The first step to painting your engine block is to clean it thoroughly. You can do this by using a degreaser and a pressure washer. Make sure to remove all the grease and grime from the surface before you start painting.
You can use a fine-grit sandpaper to sand down the surface. This will help the paint adhere better to the surface and give you a smoother finish.Once you’ve cleaned and sanded the engine block, it’s time to start painting! You’ll need to choose a high-quality automotive paint that is designed for engine blocks.
Step #6 – Use a Sandblaster if Needed
If you’re starting with a used engine block, it’s probably going to have some rust and grime build-up that needs to be removed. A sandblaster will make quick work of this and give you a clean surface to work with. Just be sure to wear appropriate safety gear (goggles, mask, etc.) when using one.
Step #7 – Use Paint Thinner
Use paint thinner to remove any grease or oil from the surface of the engine block. You can also use a degreaser, but be sure to rinse it off thoroughly afterwards.
Step #8 – You’re Ready to Paint
There you have it! Your engine block is now primed and ready for a fresh coat of paint. Be sure to use a high-quality automotive paint, and apply several thin coats rather than one thick one. Once the paint has dried, reassemble your engine and enjoy the fruits of your labor! Thanks for reading.
Step #9 – Put the Engine Block Back Together
Now that your engine block is freshly painted, it’s time to reassemble the engine. Be sure to consult your owner’s manual or a professional mechanic to ensure that everything is put back together correctly. [2]
How To Paint An Engine Block – Tips and Tricks
Painting an engine block is not as difficult as it may seem. With the right preparation and a little bit of elbow grease, anyone can have their engine block looking new in no time. Here are a few tips and tricks to help you get started:
- Start by giving your engine block a good cleaning. This will remove any dirt, grime, or oil that could prevent the paint from adhering properly. You can use a pressure washer for this, but make sure to let the block dry completely before starting to paint.
- Next, sand down the entire surface of the engine block with medium-grit sandpaper.
- Once the engine block is sanded, you can start painting. Apply the paint in even coats, allowing each coat to fully dry before adding another.
- Finally, let the painted engine block cure for at least 24 h before starting your vehicle. This will allow the paint to set and harden properly.
With these tips, you should be well on your way to having a beautifully painted engine block that will last for years to come!
FAQ
What is the best paint for an engine block?
The best paint for an engine block is a high-temperature paint. This type of paint can withstand the high temperatures that an engine produces. [3]
Do you have to prime the engine before painting?
Yes, you need to prime the engine before painting it. This will help to ensure that the paint adheres properly to the surface. You can use a variety of different primers, but we recommend using an etching primer. This type of primer will help to rough up the surface so that the paint can better adhere to it.
Once you have primed the engine block, you will need to allow it to fully dry before proceeding with the painting process. We recommend allowing it to dry for at least 24 h. [4]
What paint do you use on an engine?
The best paint to use on an engine is a high-temperature resistant paint. You can find this type of paint at your local automotive store. Be sure to follow the directions on the can carefully.
Prepare your engine block for painting. This means cleaning it thoroughly with soapy water and an abrasive pad. You want to remove all grease, grime, and debris so that the paint will adhere properly.
After the block is clean, sand it down with fine-grit sandpaper. This will create a smooth surface for the paint to adhere to. Once you have sanded the block, you can wipe it down with a damp cloth to remove any dust.
Now you are ready to begin painting! Be sure to use even strokes and work in a well-ventilated area. It is also important to let the paint fully dry between coats.
Once you have finished painting, you will need to protect it from the elements. You can do this by applying a clear coat of paint or sealer. This will help to extend the life of your paint job and keep your engine looking great for years to come!
How do you clean an engine block before painting?
The first step is to remove all the dirt, grime, and oil from the block. The easiest way to do this is with a degreaser and a pressure washer. You can also use a wire brush or sandpaper to remove any stubborn deposits. Once the block is clean, rinse it off with water and let it fully dry before proceeding to the next step.
If you’re painting an aluminum engine block, you’ll need to etch it first. This will help the paint adhere better and prevent it from peeling later on. You can buy an etching solution at most auto parts stores. Just follow the instructions on the package and be sure to wear gloves and eye protection while you work. [5]
Once the block is clean and dry (or etched, if necessary), it’s time to start painting. Use a high-quality primer designed for automotive use. Apply a thin layer evenly over the entire surface of the block. Let the primer fully dry.
Choose a color that you like and that will look good with the rest of your car’s exterior.
Useful Video: How To Paint Your Engine
Conclusion
Painting your engine block is not only a great way to make it look good, but it can also help protect it from corrosion and other damage. When done properly, painting an engine block can be a fun and rewarding experience. With a little patience and the right supplies, you can achieve professional results. Be sure to follow all the steps outlined in this guide carefully to ensure a successful outcome. Thanks for reading! We hope this guide was helpful. Happy painting!
References:
- https://www.motortrend.com/how-to/how-to-paint-an-engine-block/
- https://www.yourmechanic.com/article/how-to-prep-an-engine-block-for-paint-by-jason-unrau
- https://www.thedrive.com/reviews/28699/best-engine-enamel-paints
- https://knowhow.napaonline.com/how-to-paint-an-engine/
- https://www.yourmechanic.com/article/how-to-prep-an-engine-block-for-paint-by-jason-unrau



Leave a Review