Raptor Liner is a popular protective coating often used in vehicles for its durability and protective qualities. But what if you’re looking to change the color or look of your vehicle? Now, let’s address the question: Is it possible to apply paint over Raptor Liner? This comprehensive guide will explore the intricacies of determining feasibility, outline the necessary steps involved, and highlight important considerations to bear in mind when contemplating a decision.
Is It Possible To Paint Over Raptor Liner?
Certainly! It is indeed possible to apply a fresh coat of paint over Raptor Liner. However, it’s not as simple as just applying a coat of paint. There are some important steps and considerations that you need to bear in mind to ensure a successful result.
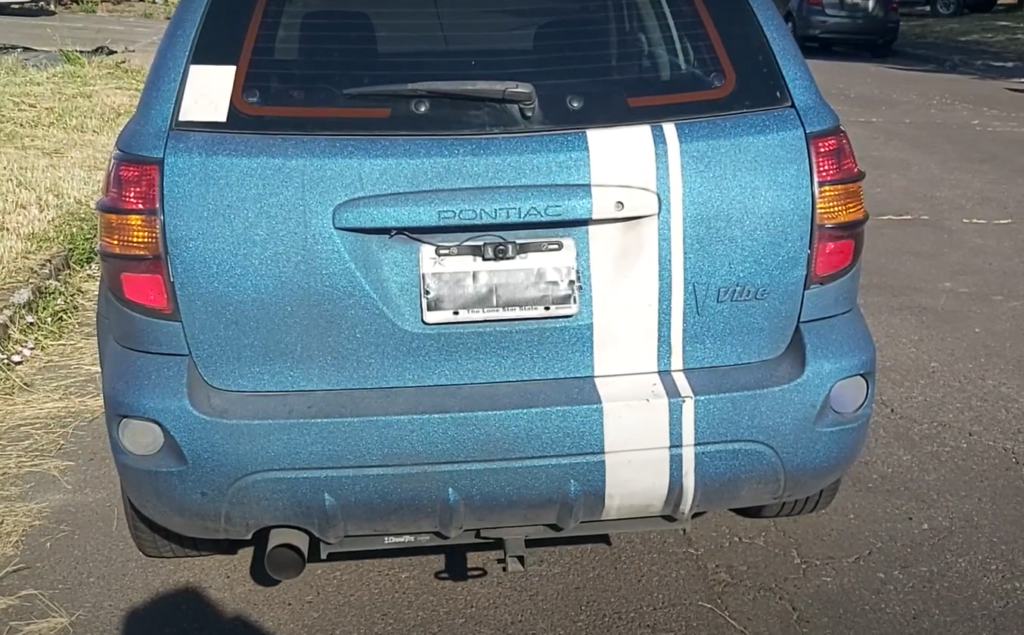
For instance, the surface must be properly prepped and primed for the new paint to adhere correctly and last over time. Keep in mind that the overall outcome will greatly depend on the quality of the preparation and the type of paint you use. Proceeding without the necessary care can result in a substandard finish that may peel or fade prematurely.
How Does A Painted Raptor Liner Look Like?
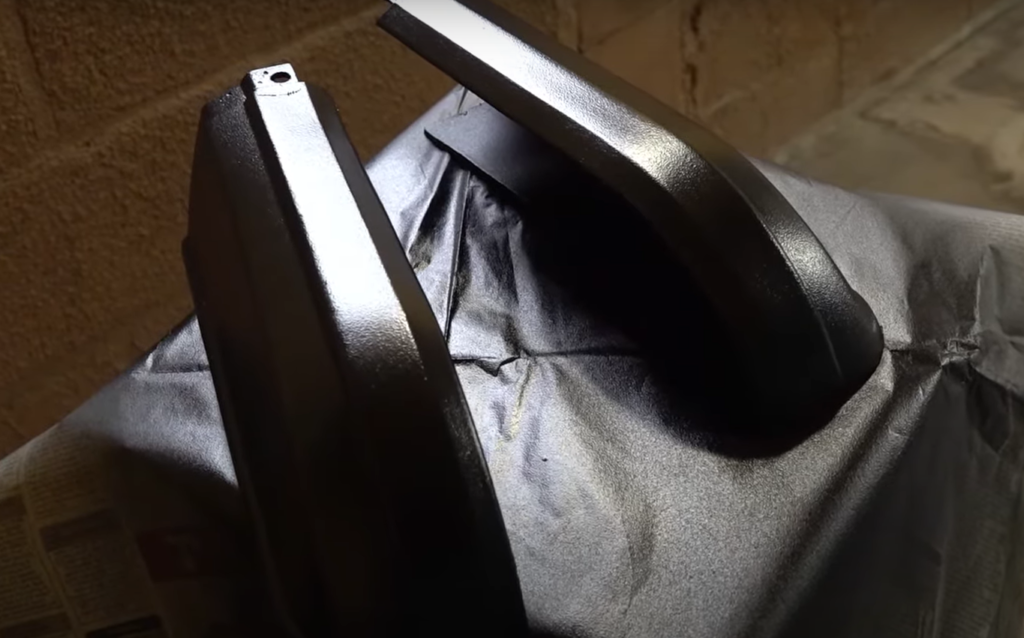
A vehicle coated with Raptor Liner paint can create a visually striking appearance, offering a unique and customized finish that distinguishes it from others. The textural characteristic of the Raptor Liner gives the paint a unique underlying texture that’s different from a standard automotive paint job. The overall appearance will predominantly be influenced by the color and paint type you select. Premium automotive paints offer a lustrous and sleek appearance, while matte paints provide a rugged and off-road aesthetic. At the same time, it’s crucial to remember that the finish’s quality and durability will be significantly influenced by the preparation process and the painting technique used. [1]
How Long Will The Paint Last On The Raptor Liner?
The durability of paint applied over Raptor Liner can significantly differ based on various factors. First and foremost, the quality of the paint and the preparation process significantly influence the durability of the paint. With proper surface preparation and the use of high-quality paint, the longevity of a paint job can extend for multiple years. Additionally, the paint’s durability can also be affected by the environmental conditions the vehicle is exposed to. Harsh climates, frequent off-roading, or high UV exposure can potentially cause the paint to fade or chip faster. Regular maintenance and care, such as washing and waxing the vehicle, can also extend the lifespan of the paint.
How To Prepare The Raptor Liner For Paint?
Achieving a quality finish when painting the Raptor Liner requires following several essential steps. Here’s a comprehensive guide to help you through the process:
Sand The Surfaces
Before any painting occurs, you’ll need to thoroughly sand the Raptor Liner surface. This is an essential step as it creates a rough surface for the primer and paint to adhere to, thereby ensuring a lasting finish. Begin the painting process by thoroughly cleaning the area you intend to paint, ensuring the removal of any dirt or grease present.
Be sure to sand evenly across the entire area you plan to paint, and not to sand down too far as to compromise the liner’s protective qualities. After completing the sanding process, ensure a clean surface by using a tack cloth to eliminate any dust or debris that may hinder the new paint from adhering properly. [2]Clean The Surface
To ensure optimal results, it is crucial to diligently clean the surface after sanding the Raptor Liner. This crucial step guarantees the complete removal of any residual dust, grime, or particles left behind from sanding.
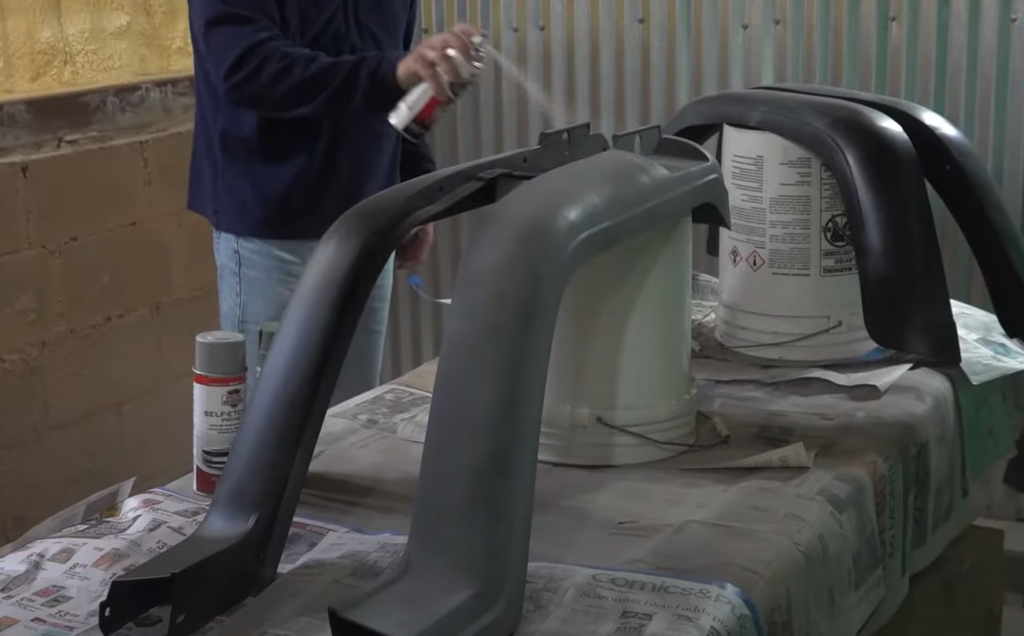
By doing so, it enhances the adhesion of the primer and paint, ensuring a superior finish. For this task, utilize a top-notch grease and wax remover. Simply spray it onto the surface and effortlessly wipe it off using a clean, lint-free cloth. Ensure that the surface is thoroughly dry before proceeding to the subsequent step. Take note that any contamination left on the surface can prevent the paint from sticking properly, resulting in a flawed finish. Therefore, meticulous cleaning is vital.
Cover The Surface Up With Primer
Covering the Raptor Liner surface with a primer is the next crucial step in the preparation process. The primer serves as a middle layer between the Raptor Liner and your choice of paint, helping the paint to adhere better and last longer. To achieve the best outcome, select a top-notch automotive primer that is compatible with both the Raptor Liner and the paint you intend to utilize. Apply the primer evenly across the surface using a spray gun or a paintbrush. Ensure that the entire area is covered and no spots are missed. It is generally advised to apply a minimum of two coats of primer, ensuring that each coat is allowed to dry completely before proceeding with the next application. After allowing the final coat of primer to dry, your Raptor Liner will be primed for painting. [3]
Which Paint Should I Choose To Paint Over The Raptor Liner?
Choosing the right paint to apply over the Raptor Liner is crucial to achieving the finish and durability you desire.
The choice between gloss, satin or matte finishes largely depends on your personal preference and the look you wish to attain for your vehicle.In terms of color, you’re not restricted to any specific range. You can choose any color that aligns with your aesthetic preferences. However, it’s important to bear in mind that lighter colors tend to hide dirt and scratches better than darker shades. Also, consider the impact of the color on the vehicle’s temperature – darker colors tend to absorb more heat.
Lastly, you should ensure that the chosen paint is compatible with the Raptor Liner and the primer you’ve used. Ensuring compatibility is crucial for promoting strong adhesion and long-lasting durability of the paint. When in doubt, consult with a paint professional or the paint manufacturer to verify compatibility.
Will The Strength Of The Liner Degrade After I Paint Over It?
The strength of the Raptor Liner should not degrade after painting over it, assuming the preparation and painting process is carried out correctly. The paint acts solely as a surface layer and does not penetrate or chemically interact with the liner to weaken its structure.
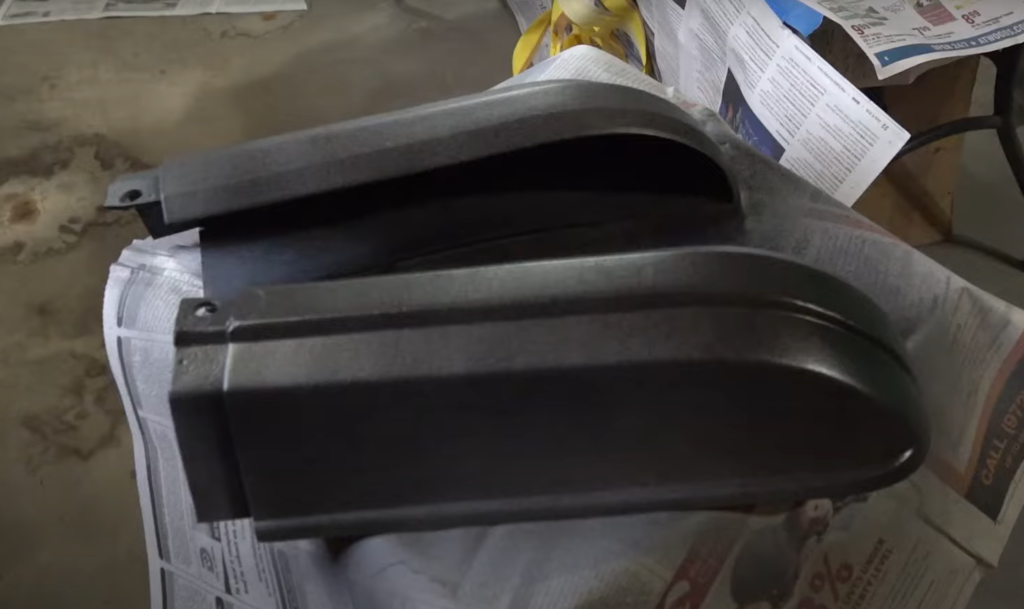
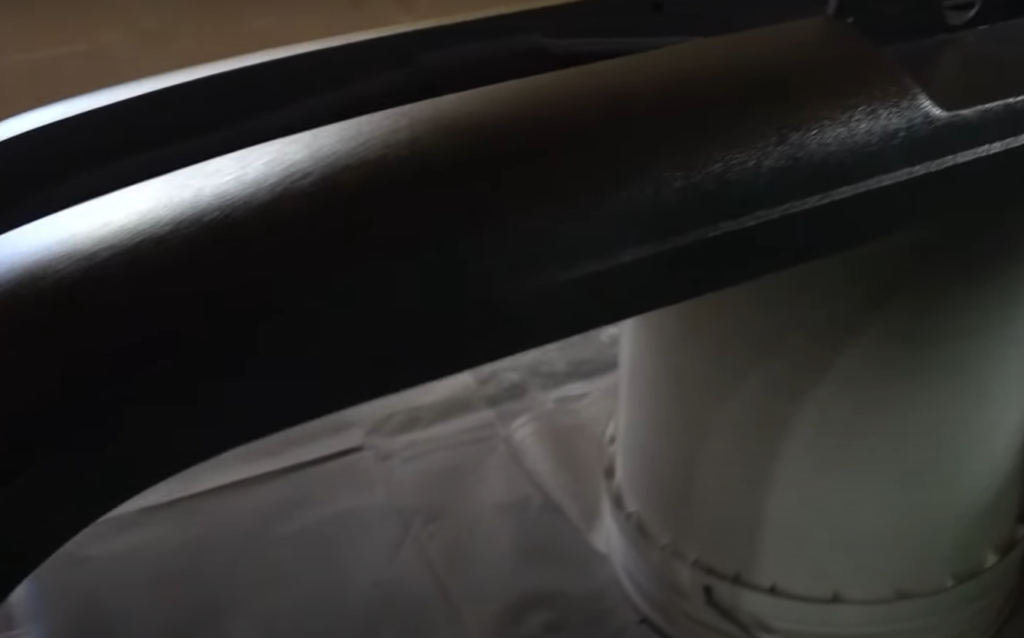
However, it’s important to remember that the durability of the paint layer itself will not be as robust as the original Raptor Liner. The paint may chip or scrape off, particularly in harsh conditions or under heavy use, but the integrity of the Raptor Liner beneath should remain uncompromised. Thus, painting over the liner does not degrade its protective qualities. [4]
How Should You Clean The Raptor Liner?
Cleaning the Raptor Liner requires attention to detail, but it isn’t a complicated process. Here’s how you should go about it:
- Remove Loose Debris: Start by clearing away any loose dirt or debris from the surface of the liner. For this task, it is recommended to utilize a soft brush or a shop vacuum. Be careful not to scratch the liner while doing this.
- Wash With Soap and Water: Afterward, combine a gentle detergent with warm water to create a lathering solution. To effectively clean the liner, employ a soft scrub brush in conjunction with this gentle solution. Avoid using harsh cleaning agents as they can dull the liner’s finish.
- Rinse Thoroughly: After washing, it is crucial to thoroughly rinse the liner. Use a hose to ensure that all soap residues are completely washed away. Leaving soap on the liner could cause it to discolor or fade.
- Dry Completely: Finally, dry the liner completely. You can use a microfiber towel to do this or simply let it air dry. Ensure the liner is entirely dry before using the vehicle to prevent any dirt or dust from sticking to the liner. Regular cleaning will help maintain the appearance and functionality of your Raptor Liner.
How Much Paint Do I Need To Paint Over The Raptor Liner?
The amount of paint needed to cover the Raptor Liner will largely depend on the size of the area you intend to paint. As a general rule of thumb, one gallon of paint covers approximately 200-300 square feet with one coat. However, given that you’re painting over a Raptor Liner, it’s advisable to apply at least two coats of paint to ensure even coverage and optimal durability.
Thus, you’ll need to calculate the surface area of your liner and then double that amount to allow for the second coat. It’s always better to have a little extra paint than to run out mid-project, so rounding up your estimate to the nearest gallon is a good practice.
FAQ
Can you paint on top of Raptor?
Yes, you can paint over Raptor Liner. It should be noted, however, that the process requires careful preparation to ensure the best result. Before painting, the surface of the Raptor Liner must be thoroughly cleaned and then covered with a primer. The primer serves as an intermediary layer between the Raptor Liner and the paint, helping the paint adhere better and last longer. For optimal results, it’s recommended to use high-quality automotive paint that’s compatible with both the Raptor Liner and the primer.
Can you paint on top of the bedliner?
Yes, painting over a bed liner is feasible and can be done to customize the look of your vehicle or to renew the appearance of an old, faded liner. The process is akin to applying paint over Raptor Liner, necessitating meticulous surface preparation to ensure proper adhesion of the paint. The bedliner should be thoroughly cleaned, and any loose or peeling areas should be sanded down for a smooth surface. It’s important to apply a primer before painting to create a suitable surface for the paint to adhere to.
Always choose a high-quality paint that’s compatible with the bedliner material, and apply at least two coats for optimal durability. Finally, it is important to allow each layer of paint to dry completely before proceeding with the next one. This will help prevent any issues such as peeling or bubbling.
How do I change the color of my Raptor liner?
Changing the color of your Raptor Liner involves a few steps but can be done with careful preparation and the right materials. Here’s how to do it:
- Prepare the Surface: Begin by cleaning the Raptor Liner thoroughly. Remove any loose dirt or debris, then wash with a mild detergent and rinse thoroughly. Dry the liner completely before proceeding to the next step.
- Scuff the Surface: For the new paint to adhere properly, you’ll need to scuff the surface of the liner. Use a fine-grade sandpaper to lightly scuff the entire area. Be careful not to sand too aggressively as you could damage the liner.
- Apply Primer: Once scuffed, apply a primer that is compatible with both the Raptor Liner and the new paint. This creates an intermediary layer that helps the new paint adhere better and last longer. Allow the primer to dry thoroughly according to the manufacturer’s instructions.
- Paint: Now you’re ready to apply the new paint. Choose a high-quality automotive paint in your desired color. Apply at least two coats for optimal coverage and durability, allowing each one to dry thoroughly before applying the next.
- Seal: To ensure the longevity of your new paint, consider sealing it with a clear coat. This provides an extra layer of protection against the elements and helps maintain the color.
Remember, while it’s possible to change the color of your Raptor Liner, the process does require time, effort, and attention to detail. Always ensure you’re working in a well-ventilated area and wear appropriate protective gear while handling paints and primers.
What paint will stick to the bedliner?
For paint to effectively stick to a bed liner, it must be designed to adhere to rough and durable surfaces. Epoxy-based paints and acrylic lacquer paints are both excellent choices. These paints are known for their durability and resistance to chipping, which matches well with the rugged conditions of a truck bed liner. Automotive paints are also suitable as they are designed to adhere to metal and plastic surfaces. Regardless of the type of paint you choose, make sure it’s of high quality and compatible with the bed liner material. Always remember to prime the surface before painting and seal it afterward with a clear coat for the best results. It’s also advisable to test a small, hidden part of the bed liner first to ensure the paint adheres well and provides the desired finish.
Can the Raptor coat be removed?
Yes, a Raptor Liner can be removed, but it’s a laborious process that requires careful execution. The best method is to sand off the liner using a heavy-duty sander or grinder with a wire wheel attachment. Start by using coarse grit sandpaper or a wire wheel to break down the majority of the liner, then switch to a finer grit to remove any remaining liner and smooth out the surface. It’s important to wear appropriate safety gear, including eye protection and a dust mask, as the process creates a lot of dust and debris. Be aware, however, that this process can potentially damage the underlying metal if not done cautiously. If you’re not comfortable with this procedure, it may be best to seek professional assistance.
What paint do you use on a raptor?
When painting over a Raptor Liner, it’s recommended to use high-quality automotive paint that’s designed to adhere to rough surfaces. These paints are durable and resistant to chipping, making them well-suited for the rugged conditions of a truck bed liner.
Acrylic lacquer paints or epoxy-based paints can work exceptionally well. The paint you choose must be compatible with the Raptor Liner and the primer you’ve applied. Always remember to test a small, inconspicuous area first to ensure the paint adheres well and provides the desired finish. Finally, for the best results and longevity, consider sealing the paint with a clear coat.
How long does it take for a Raptor liner to cure?
The curing time for a Raptor Liner can vary depending on environmental conditions such as temperature and humidity. On average, it can take anywhere from 5 to 7 days for the liner to fully cure. However, the liner will be touch-dry and safe to handle after approximately 1 hour. After 24 hours, the liner will be considerably harder, but it’s recommended to avoid heavy use until the liner is fully cured to ensure optimal durability. It’s always best to refer to the manufacturer’s instructions on the product packaging for the most accurate curing times.
Is Raptor liner waterproof?
Yes, Raptor Liner is waterproof. This highly durable urethane coating creates a barrier that prevents water from permeating the surface, making it an ideal choice for truck bed liners exposed to various weather conditions. Not only does it keep water out, but it also resists rust and corrosion, further protecting the underlying metal. However, like all coatings, maintaining its water-resistant properties requires proper application and periodic care. If the coating begins to chip or peel, reapplication may be necessary to preserve its waterproof characteristics.
Can you paint over the lining?
Painting over a Raptor Liner is feasible, given that proper preparation and techniques are employed. Before painting, it’s crucial to thoroughly clean and scuff the liner surface to enable effective paint adhesion. Using a primer compatible with both the liner and the new paint can create an intermediary layer that enhances the adherence and longevity of the paint. Opt for high-quality automotive paint, and apply at least two coats for optimal coverage. After the paint dries, seal it with a clear coat for added protection against the elements and to maintain the color. Always remember to work in a well-ventilated area and wear suitable protective gear during the process.
How do I get a smooth finish with a Raptor liner?
Achieving a smooth finish with a Raptor Liner involves a sequence of precise steps. Start by preparing the surface thoroughly, ensuring it’s clean and free of any dust or debris. Next, mix the liner with the hardener following the manufacturer’s instructions accurately. When applying the liner, use a spray gun for an even, consistent coating. The distance between the spray gun and the surface can influence the texture; for a smoother finish, hold the gun closer to the surface. Apply multiple thin coats rather than a single thick one to prevent running or pooling. Allow each coat to dry thoroughly before applying the next. Lastly, don’t rush the process; patience and attention to detail can significantly enhance the final result.
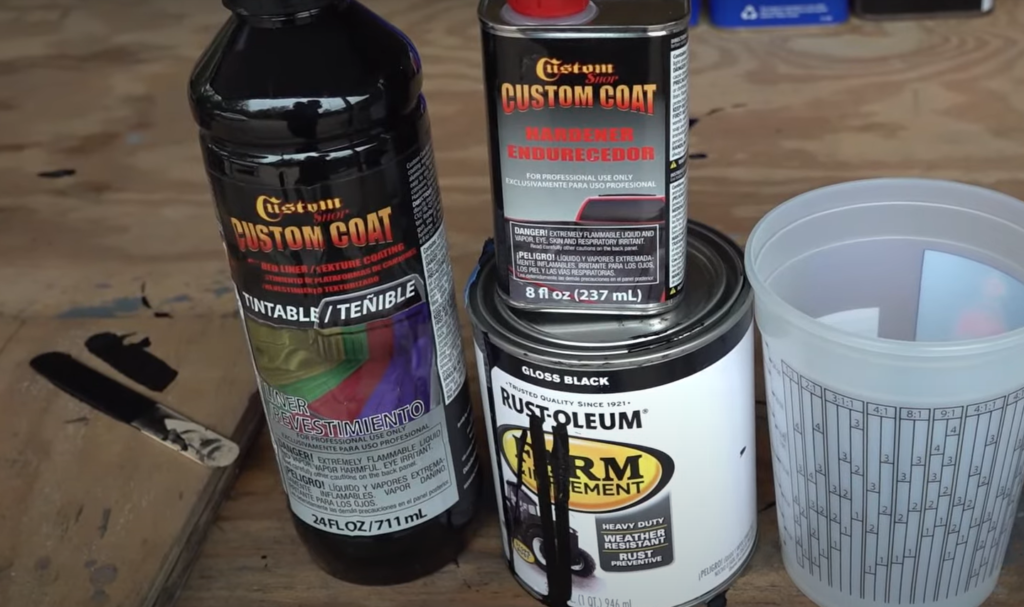
Useful Video: Can you tint Raptor Liner or Custom Coat with Rustoleum Paint? Watch video to find out!
Conclusion
Raptor Liner is a versatile and durable solution for protecting your truck bed and other surfaces. Its waterproof and rust-resistant properties make it an excellent choice for protection against various weather conditions. Painting over the liner is possible and can enhance its aesthetics, but requires careful preparation, the right paint selection, and diligent application to ensure durability. While removing the liner is feasible, it’s a labor-intensive procedure that requires precision and caution. Achieving a smooth finish demands patience and adherence to the manufacturer’s instructions.
References:
- https://www.flexbiltcustoms.com/product-page/raptor-liner-one-bottle-kit
- https://www.wanderingwoods.org/blog/2020/9/3/how-we-painted-our-sprinter-van-with-raptor-liner
- https://engineerswhovanlife.com/raptor-liner-on-your-camper-van/
- https://www.raptorliner.ca/uploads/6/9/6/5/6965393/raptor_apply_and_repair_sop.pdf
- https://lappingoz.com.au/raptor-paint/




Leave a Review