
Painting your car door handles can be an incredibly cost-effective way to restore your vehicle’s aesthetic appeal or infuse it with a touch of personal style. Whether you want to match the color of your car, create a contrasting look, or add a custom design, this simple DIY project can make a significant difference.
While it may initially seem like a daunting task, especially if you’ve never attempted it before, fear not! With the right tools, materials, and a bit of patience, you can achieve professional-looking results right in the comfort of your own garage. This comprehensive guide will walk you through each step of the process, providing you with the knowledge and confidence needed to paint your car door handles with precision and finesse.
From preparing the surfaces and choosing the perfect paint color to applying the coats with care and achieving a flawless finish, this guide leaves no stone unturned. By following the step-by-step instructions and helpful tips, you’ll be well-equipped to tackle this project and transform your car’s appearance with confidence.
So, get ready to embark on this exciting journey of automotive customization. Get your tools ready, roll up your sleeves, and let’s dive into the world of car door handle painting!
Tools and Materials
To successfully paint your car door handles, you will need a few essential tools and materials. Here is a detailed list of what you will need:
- Screwdriver: This tool is crucial for removing the door handles from your car. It allows easy access to the handles and ensures a smooth painting process.
- Sandpaper (400 and 800 grit): The use of sandpaper is important to remove any old paint and create a smooth surface for the new paint to adhere to. The 400 grit sandpaper helps with the initial paint removal, while the 800 grit sandpaper provides a finer finish.
- Primer: Applying a primer is a crucial step as it prepares the surface of the handle for the paint. It helps with adhesion and ensures a long-lasting finish.
- Automotive Paint: This is where you can get creative! Choose the color of your choice for the door handles. Make sure to select high-quality automotive paint that is specifically designed for exterior use to achieve a professional-looking result.
- Clear Coat: Applying a clear coat is important to protect the newly painted surface and give the handles a glossy finish. It acts as a protective layer against UV rays, scratches, and other environmental factors.
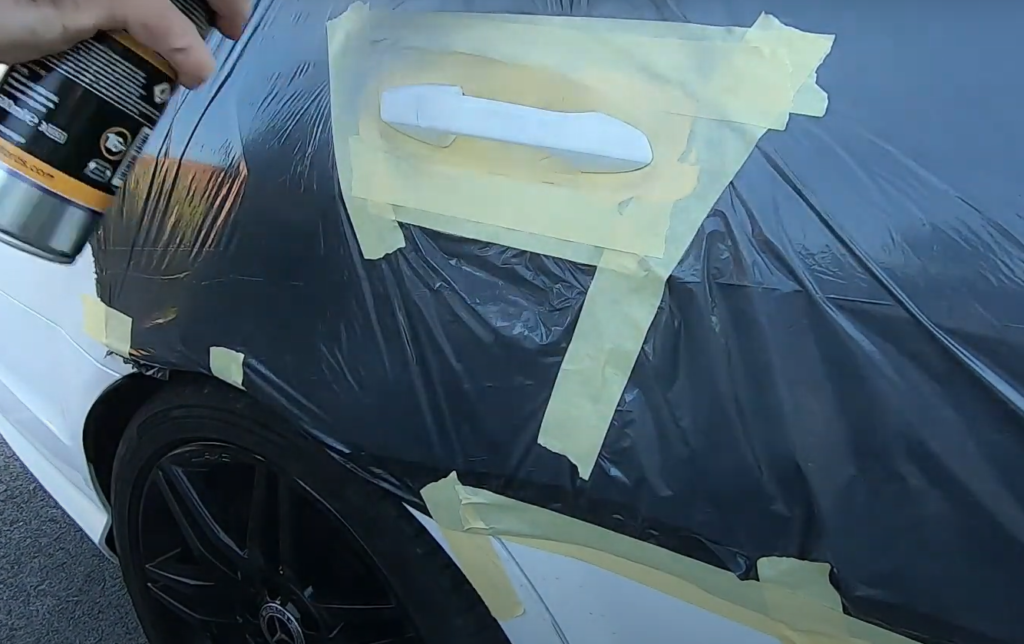
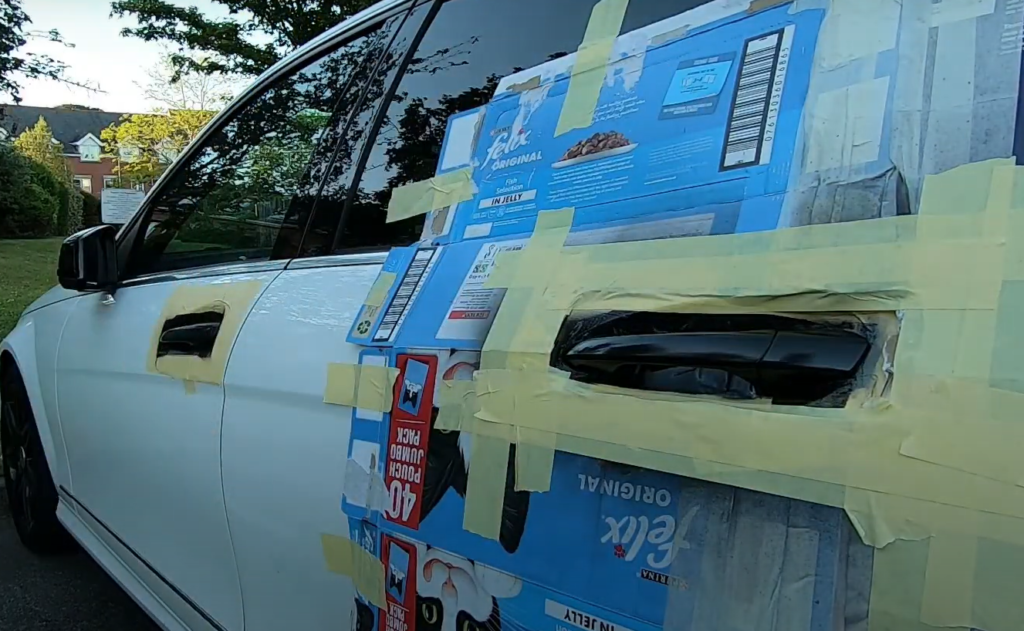
- Masking Tape and Newspaper: Use masking tape and newspaper to cover areas that you don’t want to be painted. This will protect the surrounding surfaces from accidental paint overspray.
- Plastic Gloves: It’s essential to wear plastic gloves to protect your hands from paint and chemicals. This will keep your hands clean and prevent any skin irritation.
- Respirator Mask: To ensure your safety, wear a respirator mask to protect your lungs from any harmful paint particles or fumes. This is especially important when working in enclosed spaces.
- Tack Cloth: Before you start painting, make sure to use a tack cloth to remove any dust or particles from the surface. This will ensure a smooth and clean painting surface.
Remember, using high-quality materials is key to achieving the best results. With these tools and materials, you are ready to paint your car door handles. In the next section, we will guide you through the step-by-step process of painting your car door handles.[1]
What Paint to Use for Truck Door Handles
When it comes to choosing paint for truck door handles, it’s crucial to opt for automotive paint specifically designed for this purpose. Automotive paint is formulated with durability in mind, ensuring it can withstand the rigors of the road and various weather conditions. This specialized paint offers a long-lasting, high-quality finish that will keep your truck looking its best.
When selecting the color for your truck door handles, the choice is entirely up to you. You can go for standard hues that match your truck’s existing color scheme, or you can opt for special shades to add a personalized touch. The color you choose will contribute to the overall aesthetic appeal of your truck.
In addition to the color, it’s important to consider the brand and quality of the paint. Paints from reputable brands often provide better coverage and a more durable finish. Look for paints that are also resistant to rust and corrosion, as these properties will help maintain the appearance and functionality of your truck door handles in the long run.
Ultimately, your choice of paint should reflect both your aesthetic preferences and the level of durability you require for your truck’s door handles. By selecting automotive paint with care, you can ensure a beautiful and long-lasting finish that enhances the overall look of your truck.[1]
Remove the Handles from the Truck
The first step towards achieving a flawless paint job on your truck is to carefully remove the door handles. This process requires attention to detail and precision to avoid any unnecessary damage. To begin, open the door and locate the specific bolts or screws that secure the door handle in place. Take your time to ensure you have the appropriate tools, such as a screwdriver or ratchet and socket, to effectively remove these fasteners.
As you approach this task, it is crucial to handle the door with utmost care, preventing any accidental scratches or dents. Once you have successfully removed the bolts or screws, gently and cautiously pull the handle outwards. It is essential to note that there may be clips securing the handle to the door, so exercise caution to avoid breaking them.
Additionally, be mindful of any wiring that may be connected to the handle, especially if your truck is equipped with keyless entry or alarms. Carefully disconnect these wires, taking note of their original position for a seamless reassembly process later on.
Once you have successfully removed the door handles, place them on a clean and flat surface, ensuring they are ready for the subsequent steps in the paint job process. Taking these meticulous steps will help you achieve a professional-looking finish while maintaining the integrity of your truck’s doors.[1]
Strip the Handles of Paint
After successfully removing the handles, the next step is to strip off the existing paint. This crucial process is necessary to ensure a perfectly smooth surface for the new paint to adhere flawlessly. Start by putting on your plastic gloves, which will protect your hands throughout the entire procedure.
Apply consistent pressure to effectively remove the old paint and smooth out any imperfections that may have formed over time. Be patient and thorough, taking care to sand all areas of the handle to achieve a uniform texture.Once you have entirely stripped the handles of the old paint, it’s time to switch to the 800 grit sandpaper. This finer grit will further refine the surface, ensuring an even smoother finish and optimal adhesion for the upcoming priming process. Again, sand in a circular motion, paying close attention to all areas of the handle to achieve a consistent and professional result.
After completing the sanding process, it’s important to eliminate any dust or residue from the handles. Use a tack cloth to wipe away all particles, as even the smallest speck of dust can compromise the paint adhesion. This meticulous step will guarantee a clean and pristine surface for the paint application.
Remember, for your safety, it is crucial to perform this procedure in a well-ventilated area and wear a respirator mask to protect yourself from any harmful dust particles. Prioritizing your well-being is essential throughout the entire process.
Once you have completed these steps, you can take pride in knowing that your handles are now perfectly smooth and free of any old paint. They are now primed and ready for the next stage: priming.[1]
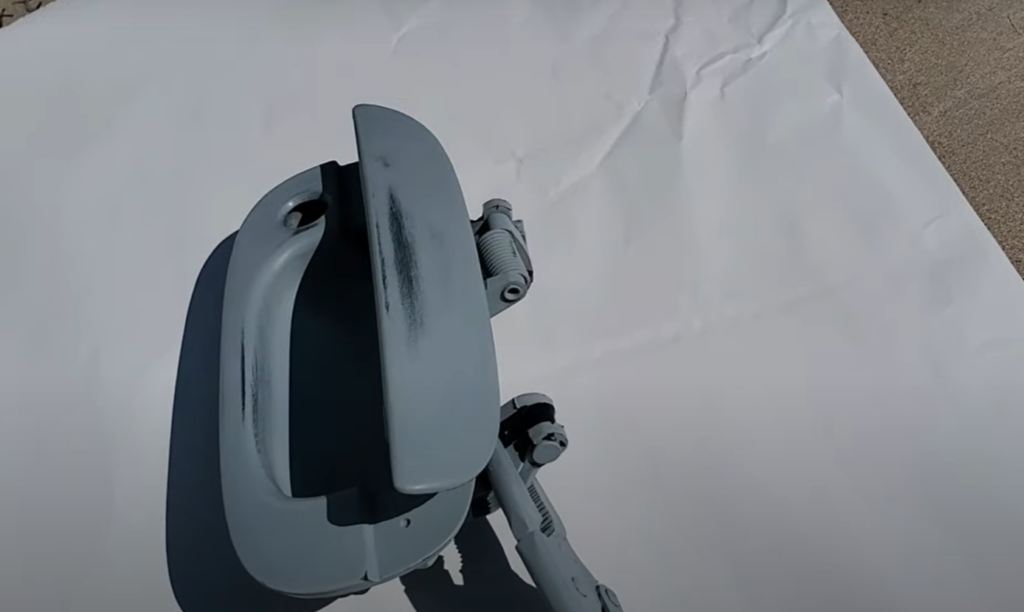
Lightly Sand the Handles Using a Scuff Pad and Sandpaper
Before you begin priming, it is important to follow a final preparation step to ensure optimal results. Start by lightly sanding the car door handles using a scuff pad and sandpaper. This process creates tiny grooves in the handle’s surface, enhancing the adhesion of the primer and the paint.
First, scrub the handles gently with a scuff pad, making sure to cover all areas, including the edges and corners. This action prepares the surface for the subsequent steps and promotes effective bonding of the primer and paint.
Next, take a piece of fine-grit sandpaper (1000-1500 grit) to further smooth the surface. Be gentle yet thorough, ensuring that you sand all areas of the handle. This step is crucial for achieving a paint job that is not only smooth but also long-lasting.
Once you have completed the sanding process, it is essential to remove any dust or residue from the handles. Wipe them down with a tack cloth to ensure a clean surface for priming.
Now, your handles are ready to be primed. This additional sanding step may seem redundant, but it plays a vital role in achieving a flawless and durable paint finish. Take the time to follow these steps, and you will be rewarded with professional-looking results that will stand the test of time.[2]
Give the Handles a Quick Wash
Before moving on to the priming and painting stages, it’s crucial to give the handles a thorough wash. This important step serves to remove any remaining dust or grit that may have been left behind from the sanding process, ensuring a pristine surface for the primer.
To effectively clean the handles, prepare a solution of mild detergent mixed with warm water. Dip a soft, clean cloth into the soapy water and gently scrub the surface of the handles. Take extra care to focus on any crevices or hard-to-reach areas where dust or debris may be trapped. By thoroughly scrubbing all areas, you can ensure that no residue is left behind.
Once you’ve finished cleaning, rinse the handles with clean water to remove any soap residue. It’s important to ensure that no traces of detergent remain, as this can interfere with the adhesion of the primer and paint.
After rinsing, allow the handles to air dry naturally or use a clean, dry towel to gently pat them dry. This step is crucial to prevent any moisture from affecting the primer and paint application.
By taking the time to clean the handles properly, you can create an optimal surface for the primer and paint to adhere to. This will result in a uniform, smooth, and durable finish that will enhance the overall appearance and longevity of your project.[2]
Apply Your Adhesion Promoter
To start the process, make sure the handles are thoroughly cleaned and dried. This step is crucial as it ensures a clean surface for the upcoming application. Once the handles are clean, the next step is to apply an adhesion promoter. This product is designed to enhance the bond between the handle and the layers of primer and paint that will follow.
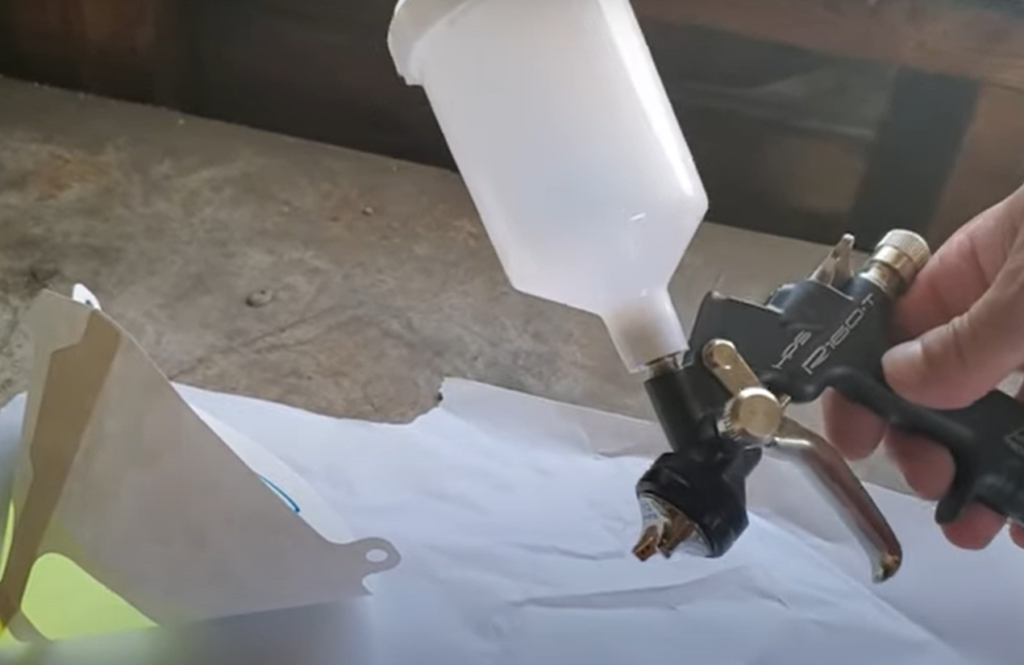
Before using the adhesion promoter, it’s important to shake the can well to ensure proper mixing of the product. Holding the can around six to eight inches away from the handle, begin spraying a light, even coat onto the surface. To achieve uniform coverage, it’s best to spray in a sweeping motion, making sure not to over-apply to avoid drips.
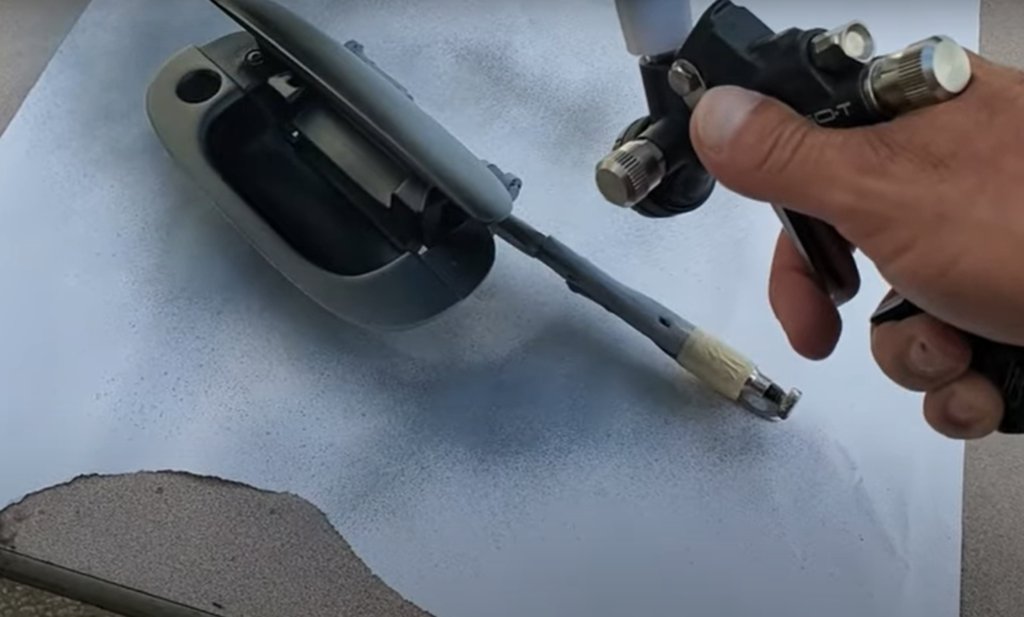
Once the adhesion promoter is applied, it’s crucial to allow it to dry for the specified time mentioned on the packaging, usually around 10-15 minutes. During this drying period, it’s important to avoid touching the handle to prevent any fingerprints or smudges that could compromise the adhesion process.
Once the adhesion promoter is fully dried, your handles are now primed and ready for the next step: applying the base coat. This thorough preparation ensures a smooth and professional-looking finish that will make your handles stand out.[2]
Apply 1- 2 Coats of Primer
The purpose of applying primer is to ensure a smooth and even base for the paint, enhancing its adhesion and durability. It acts as a preparatory layer that helps the paint adhere better to the surface, resulting in a longer-lasting finish. Before using the primer, it is recommended to shake the can well to ensure proper mixing of the ingredients.
To apply the primer, hold the can about six to ten inches away from the surface you are painting. It is important to maintain this distance to achieve an even and consistent coating. Begin by spraying a light, even layer of primer over the surface, using a side-to-side sweeping motion. This ensures that the primer covers the entire area uniformly, without any heavy spots or missed areas.
While applying the primer, it is crucial not to over-apply. Excessive primer can lead to drips and uneven drying, which can affect the quality of the final result. Therefore, it is recommended to apply a thin and even layer of primer, allowing for better control and coverage.
After applying the first coat of primer, allow it to dry for the specified amount of time mentioned on the can. This waiting period ensures that the primer sets properly and prepares the surface for the next step. Once the first coat is dry, inspect the surface for any uneven spots or areas lacking coverage. If necessary, apply a second coat of primer using the same technique as before. This additional coat helps to further enhance the smoothness and durability of the base.
After applying the second coat of primer, allow it to dry completely before proceeding to the next step: applying the base coat. This thorough drying period ensures that the primer is fully set and ready to provide a solid foundation for the paint. Taking the time to properly apply and dry the primer sets the stage for a successful painting project, resulting in a professional-looking finish that lasts.[3]
Apply 2-3 Coats of Paint
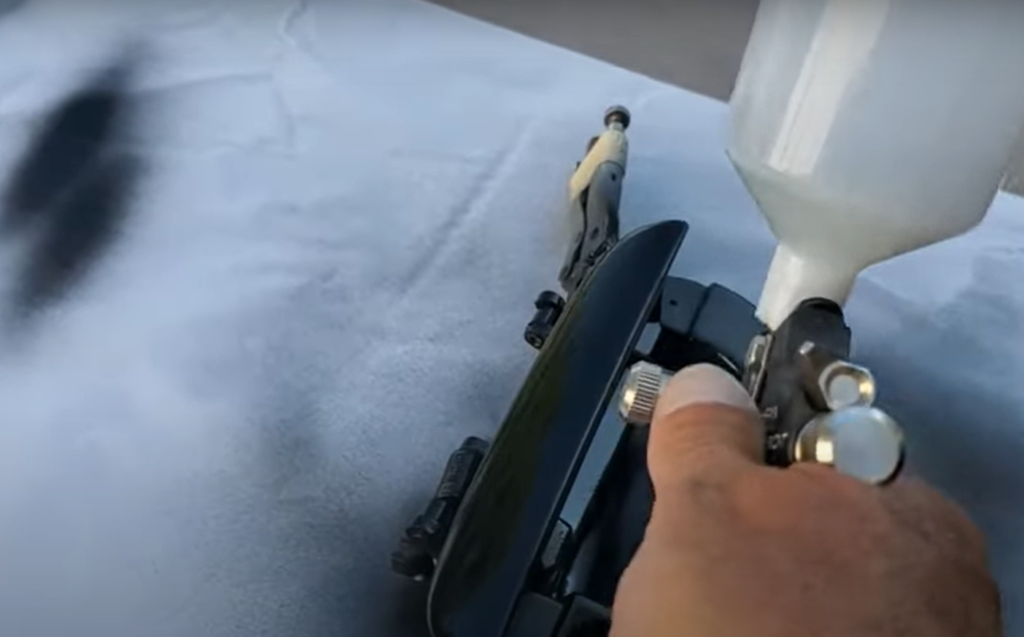
Once the primer is completely dry, it’s time to apply the paint. Shake the can of automotive paint thoroughly until the mixing ball inside begins to rattle. This ensures that the color pigments are well mixed. Holding the can six to ten inches away from the handle, apply the first coat of paint using a smooth sweeping motion to ensure even coverage. Remember, it’s better to apply several thin coats rather than one thick one, as this will result in a smoother finish and helps prevent drips. Allow the first coat to dry for the amount of time specified on the can. After the first coat is dry, assess the handle. If the coverage is not complete, or you want a more vibrant color, apply a second coat of paint in the same manner. If necessary, a third coat can be applied. Ensure each coat is thoroughly dry before applying the next. Once you’ve achieved the desired color and coverage, allow the final coat to dry completely before moving on to the next step: applying the clear coat.[3]
Apply Clear Coat
The final step in painting car door handles is applying a clear coat. Clear coat adds gloss, depth, and protection. Shake the can well before using. Spray a light, even layer of clear coat onto the handle from a distance of six to ten inches. Apply multiple thin coats, allowing each to dry before adding the next.
Typically, two to three coats are enough for desired gloss and protection. Let the final coat dry completely. This may take a few days, but it ensures a durable, high-gloss finish. Now, reattach the newly painted door handles to your car.
Reinstall All Handles onto the Truck
Once the clear coat has dried completely, it’s time to reinstall the handles back onto your vehicle. Start by carefully aligning the handle with the place where it was initially mounted. Using the screws or bolts you removed earlier, secure the handle in place.
If the handle uses clips to be held in place, ensure they snap into place properly. Repeat this process for all the handles. After installation, check the handles to ensure they function correctly. Your car now sports freshly painted handles that not only look great but also add to the overall aesthetic of your vehicle. Congratulations on completing this DIY project![3]FAQ
What kind of paint do you use on door handles?
Using the right type of paint is crucial for achieving a professional and durable finish when painting car door handles. Automotive paint designed for exterior use is the best choice as it withstands the elements, resists chipping, and provides a high-gloss finish. Choose a paint that is compatible with the primer and clear coat, and suitable for the material of your handles.
Can plastic door handles be painted?
Plastic door handles can be painted with proper preparation. Clean the handles thoroughly, use a plastic primer, apply thin coats of automotive paint, and finish with a clear coat for durability and a glossy finish. Ensure to choose paint designed for plastic surfaces.
Is it a good idea to spray paint door handles?
Spray painting door handles can give a professional finish with even coverage. It’s ideal for intricate designs and hard-to-reach areas. Proper preparation, cleaning, and priming are crucial. Apply multiple light coats for a smooth, durable result. Use a spray paint suitable for the handle material and seal with a clear coat for added protection and shine. Enhance your vehicle’s curb appeal with impressive results.
Does spray paint last on door handles?
Proper preparation and application of high-quality spray paint can ensure a long-lasting finish on door handles. Using a suitable primer and protective clear coat, the paint can withstand daily wear, environmental elements, and maintain its appearance. Regular maintenance like cleaning and waxing can further extend its lifespan.
Can I spray paint my car door handles?
Spray painting car door handles can yield excellent results if done correctly. Key steps include proper preparation, choosing compatible spray paint, and applying a protective clear coat. This technique offers even coverage and allows for intricate designs.
However, patience and attention to detail are crucial to avoid drips or an uneven finish. Achieve a fresh, customized look for your vehicle with spray-painted door handles.
Does spray paint peel off?
To avoid paint peeling, it’s crucial to properly prepare the surface and use high-quality paint. Cleaning, priming, and applying a clear coat can enhance durability. Regular maintenance helps preserve the paint job, but eventually, repainting may be necessary.
Useful Video: How To Paint A Plastic Door Handle
Сonclusion
Painting car door handles is a feasible DIY task that can greatly enhance the look of your vehicle. It involves careful preparation, using appropriate materials, and applying multiple thin coats for a professional, durable finish. Regular maintenance is key to preserving the paint job, and if needed, the process can be repeated to restore the handles.
References:
- https://atvhelper.com/how-to-paint-truck-door-handles-in-10-steps/
- https://mary-catherinerd.com/how-to-paint-car-door-handles/
- https://paintplatform.com/can-i-spray-paint-car-door-handles/