
Welcome to our conversation about RedGard, a coveted waterproofing and crack-prevention membrane widely used in tiling endeavors. Many homeowners and professionals frequently ponder the question, “Is it possible to paint over RedGard?” This question is not uncommon, and the answer might not be as straightforward as you may think. In this article, we will explore the compatibility of paint with RedGard, considering various scenarios and providing detailed instructions to guide you through the process.
Is Redgard Paintable?
Yes, RedGard can typically be painted over. Nevertheless, it is crucial to consider certain important factors. Primarily, RedGard is not designed to be a final surface product, so it often needs to be covered by something, usually tile. For a superior finish, opt for high-quality acrylic or latex paint if you choose to paint over it.
As with any DIY project, results can vary, so it’s a good idea to conduct a small test patch first.Benefits of RedGard
RedGard offers an array of benefits that make it a preferred choice for both DIY enthusiasts and professionals. The product’s primary advantage is its exceptional waterproofing capabilities, providing a barrier that prevents moisture damage, thereby extending the life of your tile installations.
Additionally, it acts as a protective barrier, mitigating the potential for tiles or grout to develop cracks as time goes by. Moreover, RedGard can be effortlessly applied using a roller, brush, or trowel, and it dries rapidly, enabling swift completion of your project. Lastly, it’s cost-effective when compared to other underlayment options, offering a robust solution without breaking the bank.
Can You Paint Over RedGard?
In some specific situations, yes, you can paint over RedGard. As already mentioned, it’s primarily designed to be covered with ceramic or stone tile.
Compatibility with Paints
When it comes to compatibility with paints, RedGard works best with acrylic or latex-based paints. The water-based paints exhibit excellent adhesion to the RedGard membrane, ensuring a resilient and long-lasting finish. In contrast, it is advisable to avoid using oil-based paints due to their inadequate adherence, which can result in eventual peeling or flaking. It’s important to note that the success of painting over RedGard largely depends on proper preparation. For optimal results, ensure that the surface is completely cured, clean, and devoid of any dust or debris. As previously mentioned, conducting a small test patch before painting the entire area is a wise step to ensure satisfactory results. Always remember, while RedGard can be painted over, it’s primarily designed as an underlayment for tile installations, and painting should only be considered when tiling is not an option. [1]
Surface Preparation
Properly preparing the surface with RedGard before painting is an indispensable step that should never be underestimated. The RedGard membrane should be fully cured, which typically takes between 24 to 72 hours. After the curing process, it is vital to thoroughly clean the surface, ensuring it is free from any dust or debris. A light sanding might be required to create a slightly rough texture, which allows the paint to adhere better. Always remember to wipe away the dust created by sanding before you start painting. Before applying the paint, it is essential to use a high-quality primer.
This step not only facilitates better adhesion of the paint to the surface but also enhances the durability of your paint job. Ensure that you allow the primer to fully dry before proceeding with the application of the final coat of paint. To achieve a successful outcome when applying paint over RedGard, it is crucial to meticulously follow these steps.
Painting Over RedGard
The process of painting over RedGard might seem daunting, but with the correct preparation and the right materials, it can be managed smoothly.
Gather Your Materials
Before painting over RedGard, gather all the necessary materials for a streamlined process. Below is a comprehensive list of what you might need:
- High-quality, water-based acrylic or latex paint
- A good quality primer
- Paint brushes or rollers
- Sandpaper (optional)
- A clean, damp cloth
- Paint trays
- Painter’s tape (to protect areas around the painting surface)
- Protective clothing and gloves [2]
Remember, investing in good-quality paint and primer can significantly impact the overall result of your project. The principle applies to brushes and rollers as well. Opting for higher-quality tools can result in a paint job that is smoother and more evenly coated. Ensure that the workspace you are operating in has proper ventilation, particularly when utilizing paint and primer.
Protect the Surrounding Area
Before you commence painting, it’s crucial to protect the surrounding area from potential paint splatters and spills. Use painter’s tape to mask off adjacent walls, trim, or any other areas that you do not wish to paint. Drop cloths or plastic sheeting can be used to cover the floor or furniture nearby. This step not only keeps your workspace tidy but also saves you time on cleanup later. Please be aware that it is important to remove painter’s tape while the paint is still wet to avoid any potential peeling of newly applied paint.
Apply the Primer
To achieve optimal adhesion of your paint to the RedGard surface, it is crucial to apply the primer. This essential step ensures that your paint adheres seamlessly and flawlessly. Begin by pouring the primer into a paint tray. Next, using a top-notch brush or roller, evenly coat the RedGard surface with the primer, ensuring comprehensive coverage of all areas. Applying a primer before painting creates a surface that enhances paint adhesion, leading to a paint job that is both durable and long-lasting. Ensure that you let the primer dry completely as per the instructions provided by the manufacturer.
The drying time can range from a few hours to overnight. It is important to bear in mind that this step holds great significance and should be approached with care and attention, avoiding any haste or shortcuts. Ensuring the primer is allowed to dry completely is crucial for achieving optimal adhesion of your paint to the surface. This step is essential for enhancing the overall quality and durability of your paint job. Once you’ve allowed enough drying time, you’re ready to apply your paint.
Paint the Surface
When you’re confident that the primer has fully dried, you can proceed with painting. Pour your chosen latex or acrylic paint into a clean paint tray. With a clean and high-quality brush or roller, evenly apply the paint onto the primed RedGard surface. Start from one corner and work your way across to ensure uniform coverage. Depending on the color of the paint and the RedGard underneath, you might need multiple coats. In such a scenario, it is crucial to ensure that each layer is completely dried before proceeding with the application of the subsequent coat. This patience will result in a smoother, more professional look. After applying the final coat, it is important to remove the painter’s tape while the paint is still wet to prevent any peeling of the fresh paint. This ensures a smooth and flawless finish. Let the paint dry completely, following the manufacturer’s instructions. Now, you’ve successfully painted over RedGard! [3]
Clean Up
Properly cleaning up after your painting project is just as crucial as the painting process itself. Begin by safely disposing of any leftover paint or primer by your local waste disposal regulations. Never pour these materials down the drain, as they can cause serious environmental damage. For your brushes and rollers, wash them thoroughly with warm, soapy water, making sure all paint is removed. Allow them to fully dry before storing to prevent mold and extend their lifespan. Remove and fold any drop cloths or plastic sheeting used to protect floors and furniture. If you use painter’s tape, ensure it has been removed from all surfaces. Finally, put back any moved furniture and wipe surfaces to remove dust or debris stirred up during your project.
Important Considerations
When undertaking a project to paint over RedGard, there are several key considerations to bear in mind. The quality of the materials you use can significantly impact the durability and finish of your paint job. Invest in high-quality paint, primer, and application tools for the best results.
Safety is also paramount. Ensure you work in a well-ventilated area and use appropriate protective clothing to prevent any adverse health effects. Lastly, be conscientious of your clean-up process.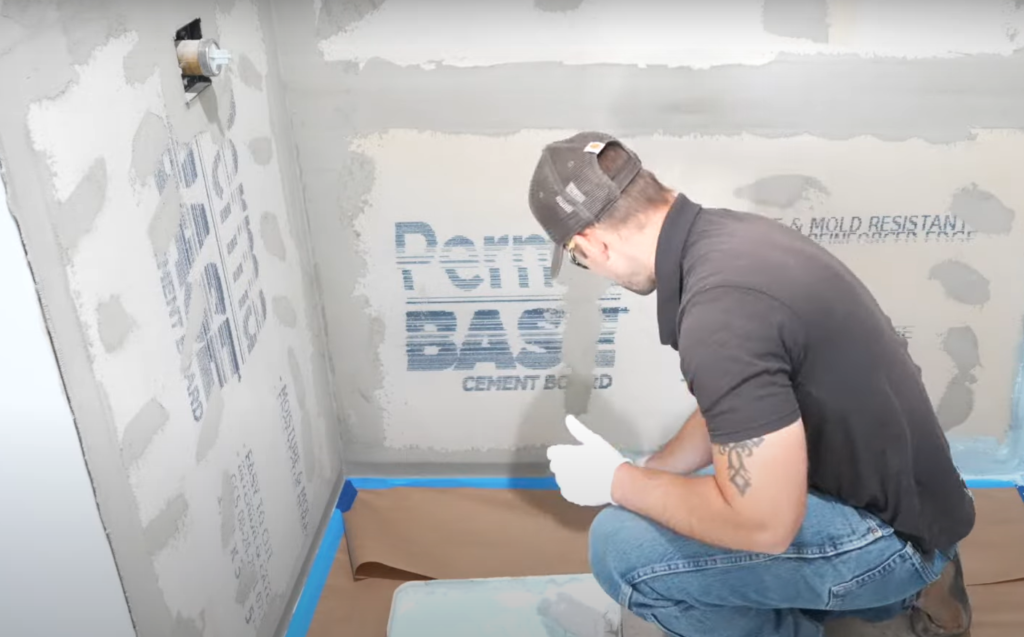
Dispose of any leftover paint or primer responsibly according to local waste disposal regulations, thoroughly clean all your tools, and ensure no debris or dust is left behind. By keeping these tips in mind, you’ll be well-prepared to successfully paint over RedGard with excellent results. [4]
Why Doesn’t Paint Stick to Redgard?
Lack of Durability
One of the main reasons why paint may not adhere to RedGard is its lack of durability. RedGard serves as a reliable waterproofing and crack-prevention membrane specifically designed to withstand moisture and physical impact, ensuring the utmost protection for tile installations. As a result, it has a non-porous and smooth surface, which can make it challenging for paint to adhere to. Paint needs a slightly rough or porous surface to “grip,” and RedGard doesn’t naturally provide this. Consequently, the paint applied directly to unprimed RedGard may peel, bubble, or flake over time, leading to a less-than-ideal finish. To ensure longevity, it is imperative to apply a primer before painting over RedGard. The primer creates the essential texture and absorbency required for the paint to adhere effectively, resulting in a longer-lasting finish.
Reduced Warranty
Painting over RedGard may also lead to a reduced or voided product warranty. Manufacturers often provide warranties on their products based on specific use conditions. These warranties cover defects in the product or damages resulting from its intended use. However, when you modify the product—such as painting over RedGard—it’s possible that the conditions of the warranty are no longer met. This means that if an issue arises after painting, the manufacturer may not cover the cost of repair or replacement under the warranty. Hence, it’s always recommended to check the product warranty and contact the manufacturer if necessary before proceeding with modifications like painting.
Requirements
Before you start your project of painting over RedGard, ensure you have all the necessary materials on hand. These include:
- High-quality latex or acrylic paint: The type of paint is essential. Latex or acrylic paints are preferred as they adhere better to the primed RedGard surface.
- Primer: A high-quality primer is crucial for creating a surface that the paint can adhere to.
- Paint Brushes and Rollers: Invest in good quality brushes and rollers for a smooth and even application of paint.
- Paint Tray: A paint tray will help in managing your paint quantity and avoids potential spills and drips.
- Clean-up Supplies: This includes warm soapy water for cleaning brushes and rollers, and trash bags or a disposal method for used materials. [5]
Before proceeding, ensure you have ample time to devote to both the painting and drying procedures, to avoid rushing the process and compromising the quality of the paint job. Make sure you’re fully versed in your local waste disposal regulations to ensure correct disposal of any leftover paint or primer.
FAQ
Can I paint over waterproofing?
Yes, you can paint over waterproofing products like RedGard. However, this requires careful preparation to ensure a durable finish. Start by thoroughly cleaning the waterproofed surface to eliminate any dust or debris. Next, apply a high-quality primer to provide a surface the paint can adhere to. Once the primer is fully dried, you can apply your chosen paint. Allow sufficient drying time between coats to prevent peeling or bubbling. It’s also crucial to note that painting over waterproofing may void the warranty, so always check the manufacturer’s guidelines before proceeding.
Will latex paint stick to the red guard?
Yes, latex paint can adhere to RedGard, but it requires proper surface preparation to ensure a durable and long-lasting finish. To start, ensure that the RedGard surface is thoroughly cleaned, removing any dust or grime that may be present. After cleaning the surface, applying a high-quality primer is crucial for creating an adhesive surface for the paint. After the primer has fully dried, you can then apply latex paint. For optimal results, ensure that there is always enough time for each coat to dry completely before applying the next one. Despite these steps improving adhesion, remember that painting over RedGard may breach the manufacturer’s warranty, so it’s important to consider this before moving ahead with your project.
Does RedGard need a primer coat?
RedGard is designed to function as a standalone waterproofing membrane and does not typically require a primer coat when used for its intended purpose, which is under tiles.
This is because primer can create a rougher, more adhesive surface that paint can stick to, improving the durability of the paint job. Using a high-quality primer can help prevent common paint problems such as peeling, blistering, or flaking, which could occur if paint is applied directly onto the smooth, non-porous RedGard surface.Can you brush on the red guard?
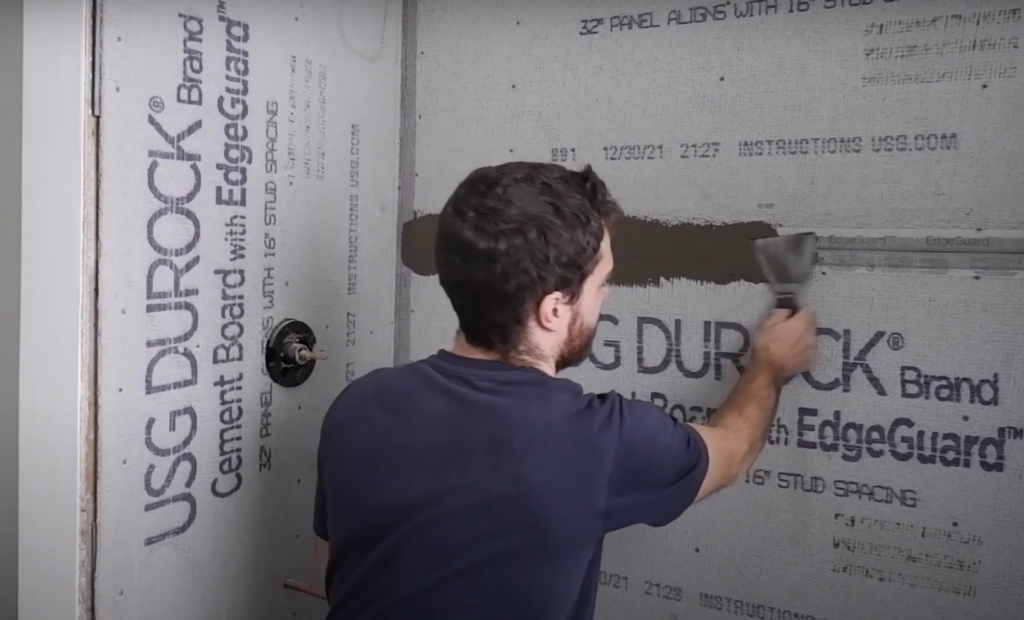
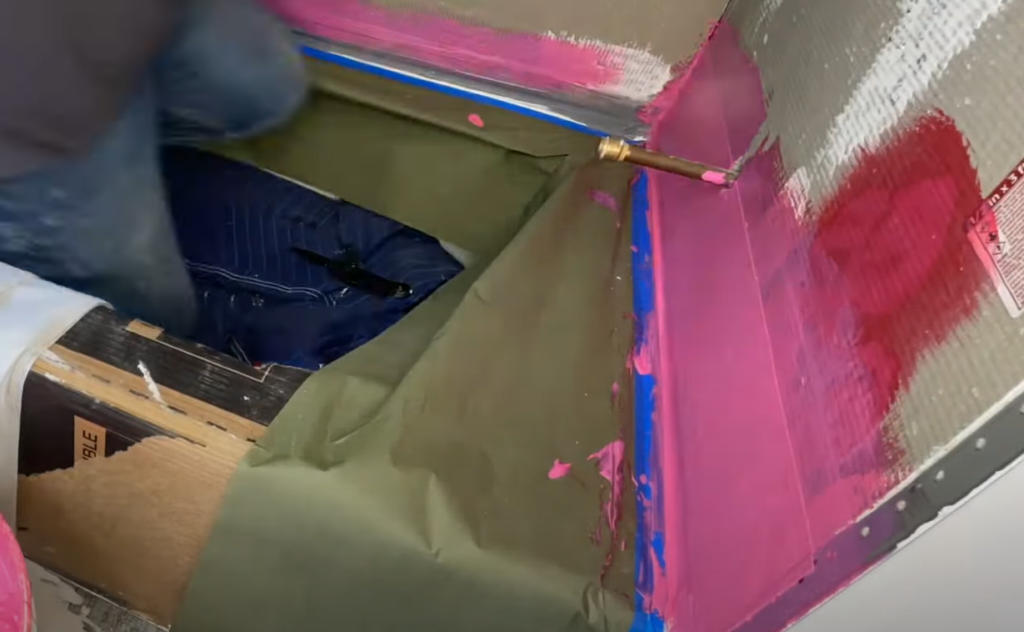
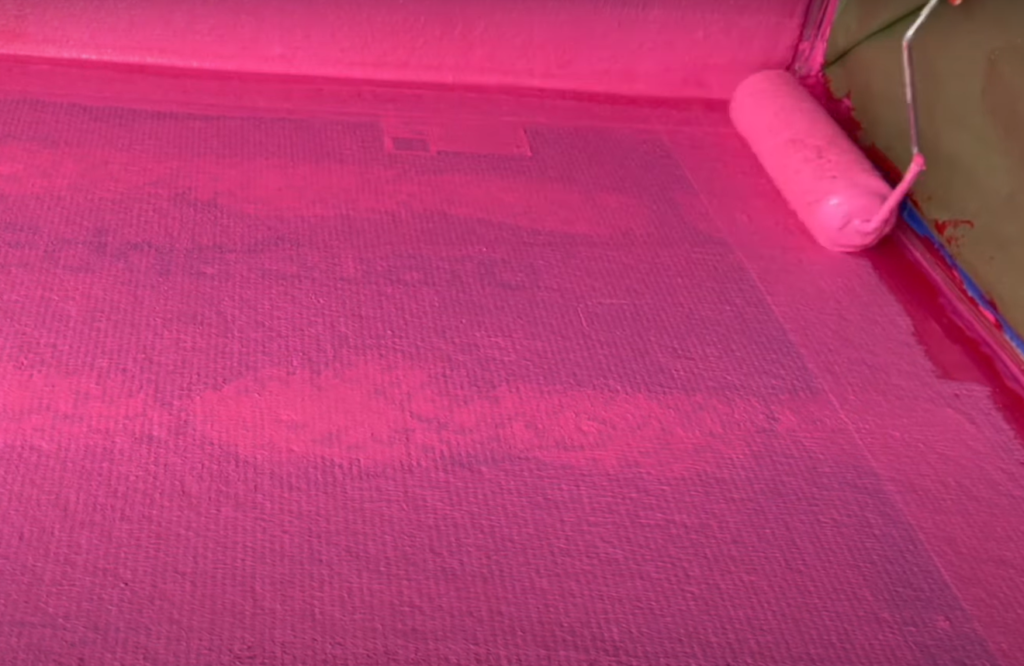
Yes, you can apply RedGard using a brush. In fact, using a brush or a roller is the recommended method for applying this product. Brushes, particularly those with stiff bristles, are ideal for reaching corners and edges, while rollers can cover large, flat surfaces quickly and efficiently. Before applying RedGard, make sure the surface is clean and free of dust or debris. After preparing the surface, apply RedGard evenly, ensuring full coverage of the desired waterproof areas. Remember, let the first coat dry completely before applying a second coat. Also, be sure to clean your tools promptly after use to prevent the RedGard from hardening on them.
Is Redguard completely waterproof?
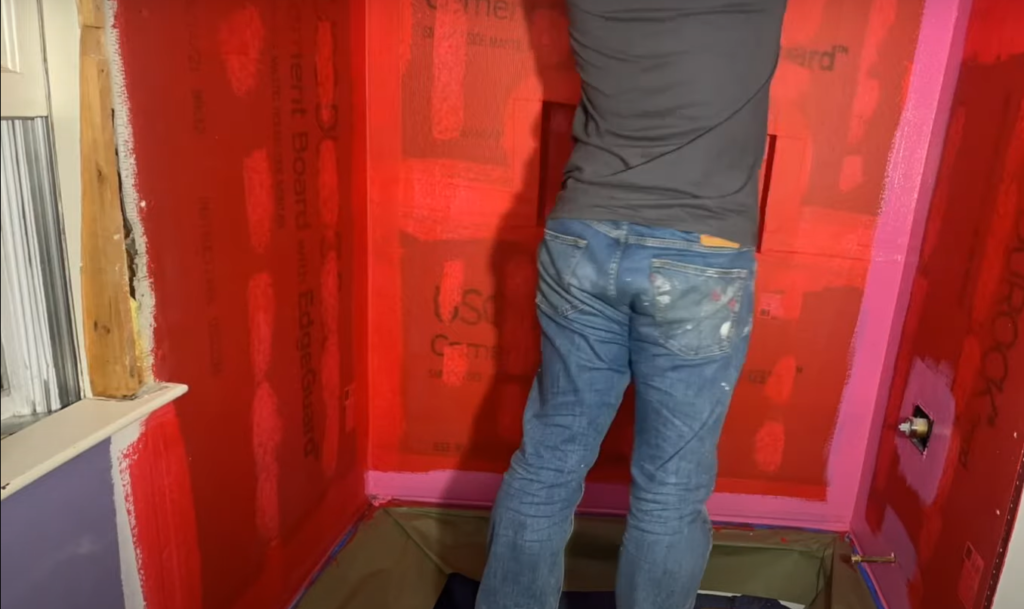
RedGard is a waterproof membrane when applied correctly. This is a liquid-applied elastomeric waterproofing material that undergoes curing to create a flexible, seamless, and impenetrable barrier against moisture. This makes it an excellent choice for areas that are prone to water exposure, such as bathrooms or kitchens. However, for RedGard to be fully effective, it’s essential to apply it according to the manufacturer’s instructions.
To ensure proper application: clean and dry the surface, apply two coats for full coverage, and allow sufficient drying time between coats. Despite its effective waterproofing properties, it’s important to note that any alterations, like painting over RedGard, may impact its performance and void the warranty.
What sealant can you paint over?
You can paint over various sealants, but proper surface preparation and selecting the right paint are crucial. Acrylic or silicone sealants are commonly paintable. Indoor acrylic sealants can be painted over with water-based (latex) or oil-based paints once fully cured. Silicone sealants can be painted over, but they need an oil-based primer before applying paint since most paints do not adhere well to silicone. Polyurethane sealants are another paintable option, but similar to silicone, they may require a primer for optimal paint adhesion. Always read the manufacturer’s instructions to confirm whether a specific sealant can be painted over and the type of paint that should be used.
Can you paint on top of a water seal?
It is indeed possible to paint over a water seal, although this undertaking necessitates meticulous preparation to ensure optimal adhesion of the paint and longevity of the finish. To start, ensure a meticulous cleaning of the sealed surface, diligently removing any traces of dust, dirt, or debris. Once the surface is thoroughly cleaned and dried, proceed to apply a premium-grade primer. The primer helps the paint adhere better by creating a suitable surface. Once the primer is completely dry, you can apply your paint of choice. Allow ample drying time between coats for optimal results. Furthermore, it is crucial to choose a paint that is compatible with the water seal. Latex paints are commonly used for this purpose. Always consult the manufacturer’s instructions or a painting professional for the best approach to your specific project. Worth noting, painting over a water seal may impact its effectiveness and could potentially void any warranty, so consider this before proceeding with your project. Proper surface prep and using the right paint type are key to successfully painting over a water seal.
Do you prime over waterproofing?
Yes, it is advisable to apply a primer over waterproofing before painting. The reason for this is that waterproofing membranes such as RedGard possess a smooth and non-porous surface, which can pose challenges for direct adherence of paint. However, a primer offers a textured and adhesive surface that effectively adheres to both the waterproofing membrane and the paint. This results in a paint finish that is not only more durable but also long-lasting. Allow the primer to fully dry before applying the paint. Always check the manufacturer’s instructions or consult a professional before painting over waterproofing. Doing so may void the warranty or impact the membrane’s performance. Additionally, it is crucial to select a primer and paint that are compatible with the waterproofing product being utilized. Overall, it’s essential to prime over waterproofing for the best results and increased durability of your painted surface.
What adheres to RedGard?
RedGard is specifically engineered to adhere to ceramic and stone tiles, as well as mortar, which are commonly employed in moisture-prone spaces such as bathrooms and kitchens. It can also adhere well to concrete and backer board, which are typical substrates used in tiled installations. In terms of adhesives, thinset mortar is often used to adhere tiles to the RedGard membrane for a robust and waterproof finish. It is crucial to adhere to the manufacturer’s instructions as a fundamental principle to achieve optimal outcomes and preserve the product warranty. It’s wise to test the adhesion of any material or product before starting a big project. This can help ensure that everything will bond correctly and provide the desired results. Lastly, be sure to consult with a professional for expert advice on using RedGard in your specific project.
Useful Video: How To Waterproof A Shower – RedGard vs AquaDefense
Conclusion
RedGard is an excellent choice for waterproofing, particularly in areas exposed to frequent water contact. Its capacity to form a flexible, seamless, and impervious barrier against moisture makes it an ideal solution for kitchens, bathrooms, and other damp areas. However, it’s essential to apply it correctly to maximize its benefits. This includes preparing a clean, dry surface, applying two coats, and allowing each coat to dry sufficiently. As for painting over RedGard, it’s possible, but this requires careful preparation and the use of a high-quality primer. Ultimately, always consult the manufacturer’s instructions or a professional before making any modifications to the RedGard application to ensure its performance and maintain its warranty.
References:
- https://paintanalyzer.com/can-you-paint-over-redgard/
- https://paintanalyzer.com/can-you-paint-over-redgard/
- https://yardenly.com/home/can-you-paint-over-redgard/
- https://paintinfoguide.com/can-you-paint-over-redgard/
- https://houseilove.com/category/painting/can-you-paint-over-redgard/