
Spray painting is a highly favored and widely used method for applying paint to a wide range of surfaces. Its popularity stems from its remarkable ease of use and ability to deliver a smooth, flawless finish. However, a question that often perplexes both enthusiastic DIYers and seasoned professionals is whether it is possible to spray paint in cold weather conditions. In this comprehensive article, we will explore this query in great detail, meticulously examining the potential effects of cold weather on the spray painting process. Additionally, we will equip you with invaluable tips and tricks to tackle the challenges of painting in less-than-ideal cold weather conditions. So, if you ever find yourself needing to embark on a paint project in chilly temperatures, fret not! This article has got you covered with all the information and guidance you need to achieve outstanding spray painting results, even when the mercury drops.
Tips for spray painting in cold weather
Clean well
Thoroughly cleaning the surface before painting is even more crucial in cold weather conditions. Cold weather can cause surfaces to contract, often leading to the trapping of dust, grime, and moisture. These trapped particles and moisture can negatively affect the finish of your paint job by creating uneven surfaces and compromising paint adhesion.
To ensure a pristine surface, it is recommended to use a mild detergent or a specially formulated surface cleaner to thoroughly clean the surface. Gently scrub the surface, paying extra attention to areas that are prone to dirt buildup. Rinse the surface with warm water and allow it to dry completely before proceeding with painting.
In colder weather, it is important to note that the drying process might take a bit longer than usual due to lower temperatures and higher humidity levels. It is crucial to exercise patience and allow the surface to dry thoroughly before applying any paint. This additional waiting time will ensure that the paint adheres properly and results in a smoother, more durable finish.
Use primer to help with adhesion
Using a primer before applying spray paint in cold weather is not only effective but also crucial for ensuring a successful outcome. The primer serves as an intermediary layer, significantly improving the adhesion of the spray paint to the surface. It creates a strong bond that is more resistant to the adverse effects of cold weather, such as peeling or cracking. Moreover, the primer plays a vital role in providing a consistent base color, which can greatly enhance the final appearance of the spray paint.
When selecting a primer for cold weather painting, it is important to choose one specifically designed to perform well in lower temperatures. This ensures that the primer will maintain its effectiveness in colder conditions, allowing for optimal paint adhesion and durability.
To apply the primer, it is recommended to do so thinly and evenly, ensuring full coverage on the desired surface. This allows for a smooth and uniform base for the subsequent layers of spray paint. It is crucial to give the primer ample time to dry fully before proceeding with the application of the spray paint. Patience may be required, especially in colder weather, as the drying process may take longer. However, this added step of using a primer and allowing it to dry completely before proceeding with the spray paint application is a worthwhile investment.
By incorporating these additional details and taking the necessary steps, you can ensure that your painting project in cold weather yields a high-quality and long-lasting finish.
Keep paint cans and item painting inside until you’re ready to paint
Storing your paint cans and the item to be painted indoors until you’re ready to start the painting process can significantly improve the outcome of your work. The reason is that cold temperatures can dramatically affect the viscosity and spray characteristics of the paint, leading to uneven application and potential defects in the finish.
By keeping the paint and item indoors, you create an optimal environment for painting. The warmth of the indoor space ensures that the paint remains at an ideal temperature, allowing for smoother application and better adhesion to the surface. Additionally, by preventing exposure to cold temperatures, you minimize the risk of the paint becoming too thick or difficult to work with, resulting in a more consistent and professional-looking finish.
Moreover, keeping the item to be painted indoors helps maintain its temperature and protects it from moisture. Moisture can negatively impact the paint’s adhesion, causing issues such as peeling or blistering. By storing the item indoors, you reduce the chances of moisture seeping into the surface, ensuring a more durable and long-lasting paint job.
When you’re ready to start painting, it’s important to bring both the paint and item outside. Applying the paint promptly after bringing it outdoors helps maintain its ideal consistency and ensures that the paint flows smoothly onto the surface. Once the painting is complete, it’s advisable to bring the painted item back indoors to dry. This step helps protect the freshly painted surface from any adverse effects of cold weather, such as improper drying or potential damage caused by frost.
By following these steps and taking extra care in managing the temperature and moisture levels during the painting process, you can mitigate the effects of cold weather and achieve a superior finish that will stand the test of time.
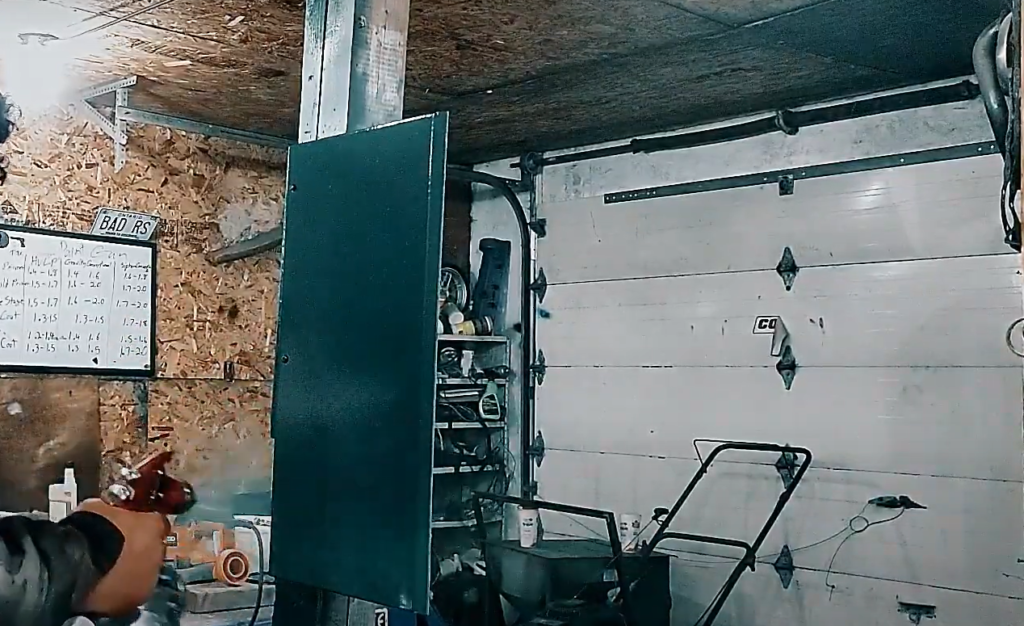
Set up spray painting station in garage
Setting up a spray painting station in your garage is not only a practical measure but also an effective way to mitigate the potential challenges posed by cold weather on your painting project. By utilizing the garage as a semi-controlled environment, you can create a sheltered space that is protected from the chilling winds and unpredictable precipitation.
To set up your spray painting station, begin by clearing a suitable area within your garage. This will provide you with ample space to move around comfortably while working on your project. Before you start painting, lay down drop cloths or use old newspapers to protect the garage floor from any overspray that may occur during the process.
In addition to ensuring the physical setup of your spray painting station, it is crucial to prioritize proper ventilation. Adequate airflow will help prevent the accumulation of potentially harmful paint fumes. To achieve this, consider opening the garage door or windows to allow fresh air to circulate. Alternatively, you can also utilize fans to enhance air movement within the space.
To further optimize your painting experience, it’s important to have all your materials and supplies within arm’s reach. This includes paint, primer, cleaning supplies, and any other tools or equipment you may need. By having everything readily accessible, you can minimize interruptions and maximize efficiency during the painting process.
Considering the impact of cold weather on drying times, it can be beneficial to incorporate a heat source in your spray painting station. A space heater placed nearby can help maintain a stable temperature, promoting faster drying and curing of the paint. However, always exercise caution when using heat sources and ensure they are positioned safely to avoid any fire hazards.
While setting up your spray painting station, it’s essential to prioritize safety above all else. Wear a face mask and goggles to protect yourself from potentially harmful fumes and any accidental paint splatter. By taking these precautions, you can ensure a safe and enjoyable painting experience.
With your spray painting station thoughtfully set up in this manner, you are fully equipped to confidently tackle your painting project, regardless of the cold weather conditions.
Bring in paint and item in between coats
When painting in cold weather, it’s crucial to bring both your paint and the item being painted indoors in between coats. This strategy helps maintain the temperature of the paint and the surface, aiding in more efficient drying and better adherence of subsequent coats.
Here’s why it works: When the first coat is applied, bringing the item indoors allows it to dry in a warm, controlled environment. This controlled environment helps speed up the drying process, reducing the risk of the paint freezing before it has a chance to properly cure. Additionally, keeping the paint can indoors prevents it from cooling down between applications, ensuring that the paint remains at an optimal temperature for smooth and consistent coverage.
Although this technique may extend your project timeline due to the added steps, it is a key factor in ensuring a high-quality finish when spray painting in cold weather. By allowing each coat to fully dry and cure before applying the next one, you minimize the risk of the paint cracking or peeling, resulting in a more durable and long-lasting finish.
So, remember to be patient and wait until the paint is completely dry before applying the next coat. Rushing this process can compromise the integrity of the paint job and lead to a poor finish. Taking the time to follow this method will ultimately pay off with a beautifully painted surface that will withstand the harsh elements of cold weather.[1]
Can You Spray Paint in Cold Weather?
Yes, you can spray paint in cold weather. However, it requires taking certain measures to enhance the paint’s application and the final outcome. The cold temperature can affect the paint’s consistency and drying time, making it challenging to achieve a smooth finish. To overcome these challenges, it is important to pay attention to the following details:
- Temperature: Ensure that the temperature is above the minimum recommended by the paint manufacturer. Cold weather can cause the paint to become thicker, which can affect its ability to flow smoothly from the spray gun.
- Humidity: Cold weather is often associated with higher humidity levels. Moisture in the air can interfere with the drying process, leading to longer drying times and potential issues with the final finish. Consider using a dehumidifier or working in a well-ventilated area to minimize humidity levels.
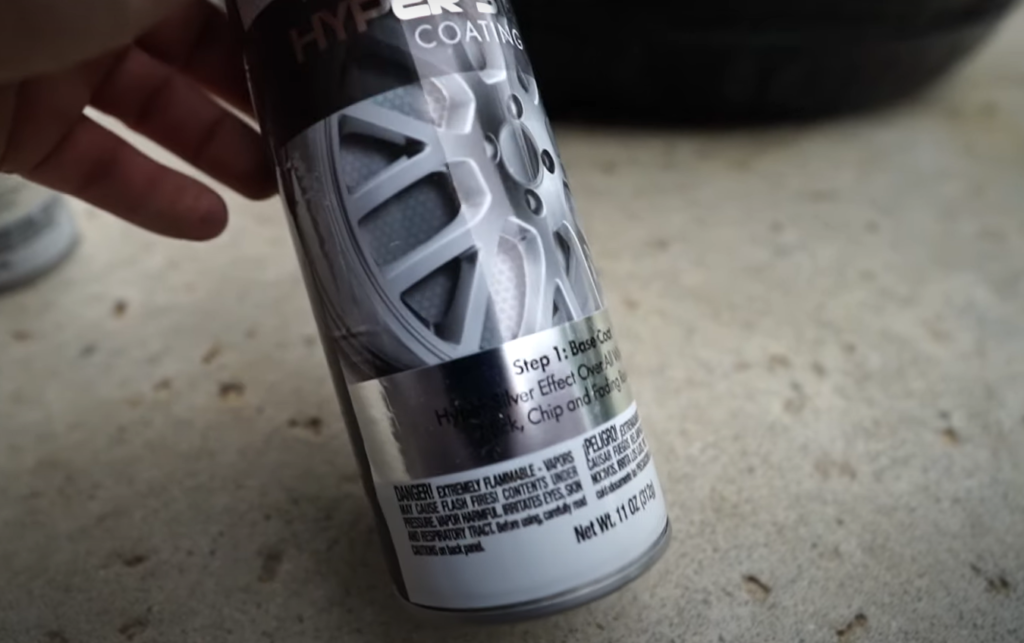
- Surface Preparation: Properly prepare the surface before painting. Clean it thoroughly to remove any dirt, dust, or debris that could affect the adhesion of the paint. Consider using a primer designed for cold weather conditions to improve the paint’s bond to the surface.
- Paint Consistency: In cold weather, the paint may become thicker, making it difficult to achieve an even application. To improve the paint’s consistency, you can warm it slightly by placing the paint can in warm water for a few minutes. Avoid using direct heat sources, as they can cause the paint to become too thin.
- Spray Technique: Adjust the spray gun settings to compensate for the colder weather. You may need to increase the pressure slightly or adjust the nozzle to achieve the desired spray pattern and coverage. Practice on a test surface before applying the paint to the final project.
- Drying Time: Be patient and allow sufficient drying time between coats. Cold weather can significantly extend the drying time, so it’s important to follow the manufacturer’s recommendations and wait until each coat is fully dry before applying the next one.
Remember, while it is possible to spray paint in cold weather, it is not the ideal condition. Whenever possible, opt for painting in warmer, less humid weather. However, if you must paint in the cold, taking the time to carefully prepare your workspace and materials, as well as implementing the tips mentioned above, will help ensure the durability and quality of your finish.[2]
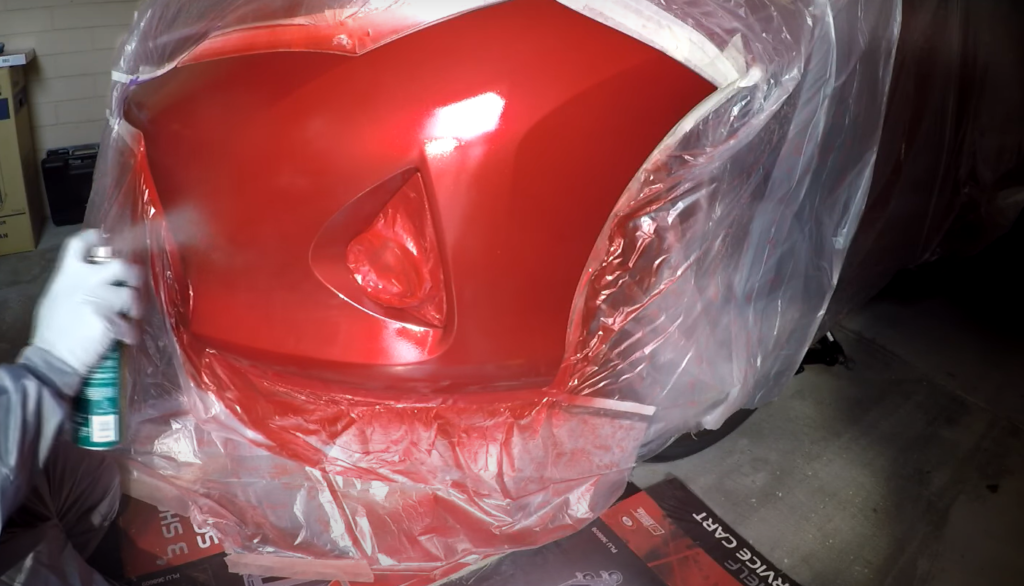
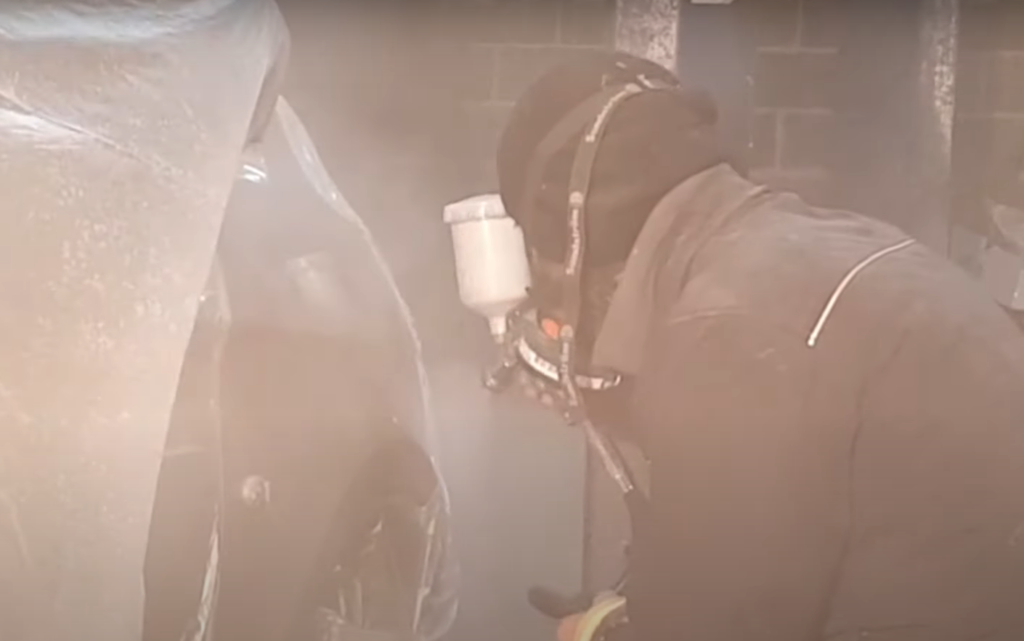
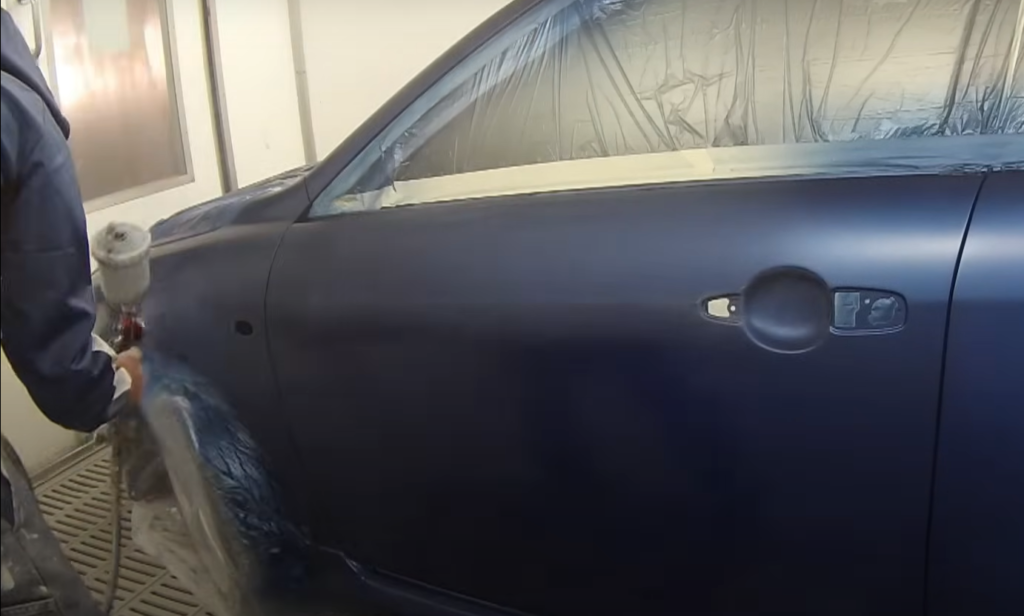
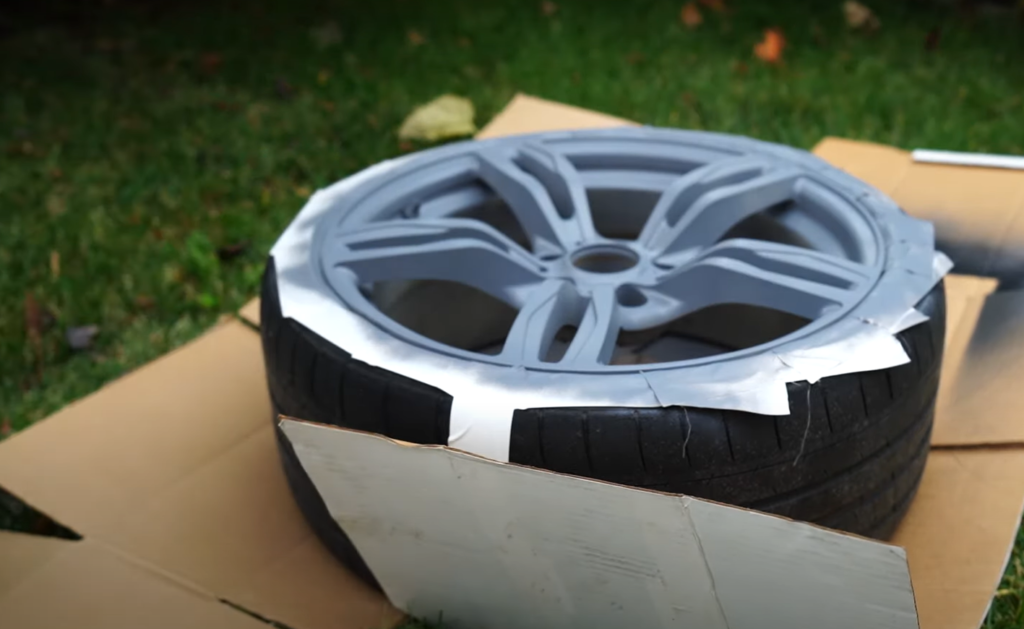
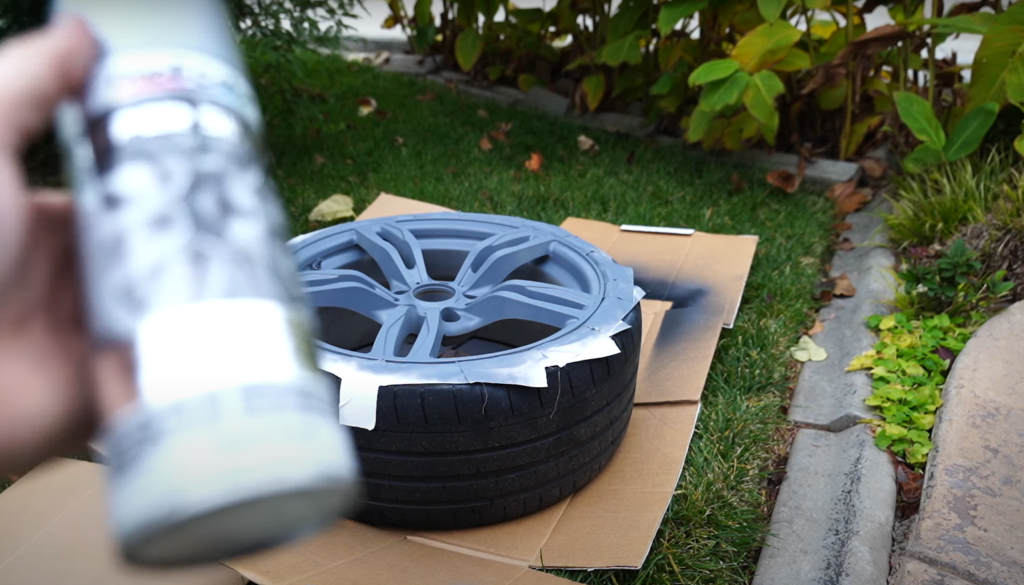
Car
When preparing a car for spray painting in cold weather, it is crucial to take appropriate steps to ensure a successful outcome. Firstly, thoroughly clean and dry the car to remove any dirt or debris that could affect the paint’s adhesion. Additionally, consider using a degreaser to eliminate any traces of oil or grease that may hinder the paint’s ability to adhere properly.
Before starting the painting process, it is advisable to keep the car indoors to maintain a controlled temperature. By doing so, you can prevent the paint from cooling too quickly and potentially compromising the finish. Moreover, keeping the car indoors helps prevent the accumulation of dust or moisture, which could negatively impact the final result.
When applying the paint, it is important to work quickly and efficiently. Cold weather can cause the paint to thicken, making it more challenging to achieve a smooth and even application. By working efficiently, you can minimize the risk of the paint cooling down too fast and ensure a consistent finish.
Once the paint has been applied, it is recommended to bring the car back indoors to allow the paint to dry in a warm and controlled environment. Cold weather can significantly extend drying times, so providing optimal conditions for drying is essential. By allowing the paint to dry in a warm environment, you can reduce the chances of imperfections or uneven drying.
Remember, patience is key when dealing with spray painting in cold weather. The drying process may take longer than usual, but with careful preparation and the right techniques, you can achieve a high-quality finish on your car, even in chilly temperatures.
Outside
When spray painting outdoors in cold weather, your environment becomes a crucial factor to consider. Choose a day that’s dry and free from strong winds or precipitation, as moisture and wind can negatively impact your paint job.
This not only shields your project from rain or snow but also provides a barrier against gusts of wind that can cause overspray or uneven application.Moreover, consider the sunlight when planning your spray painting session. The sun can help keep your painting surface warmer, aiding in the drying process. By positioning your project in a well-lit area, you can take advantage of the sun’s natural heat and facilitate faster drying times.
Remember that cold weather can cause paint to behave differently, affecting both the spraying and drying process. It’s important to monitor your environment closely and adjust your painting techniques accordingly. For instance, you may need to adjust the nozzle or pressure settings on your spray gun to ensure proper atomization and coverage. It’s also advisable to keep the paint canister or container in a warm place before and during use to prevent any thickening or clogging.
Once you’ve finished spray painting, it’s crucial to promptly bring the painted item indoors to facilitate optimal drying conditions. Placing it in a well-ventilated area at room temperature will help ensure a smooth and even drying process. Avoid exposing the freshly painted surface to extreme temperature changes, as this can lead to cracking or peeling.
By being mindful of your outdoor environment and adapting your painting techniques accordingly, you can successfully spray paint even in cold weather. Taking these extra precautions will help you achieve professional-looking results and ensure the longevity of your painted projects.
Wood
Spray painting wood in cold weather requires additional considerations. Given wood’s porous nature, it can absorb moisture from the air, which can interfere with paint adhesion. Therefore, ensure that the wood is thoroughly dried before beginning your painting process. It’s also wise to seal the wood with a primer suitable for cold weather application; this can help create a smoother surface for paint adherence and prevent moisture absorption.
Also, keep in mind that paint can have difficulty penetrating the wood’s surface in cold temperatures. Therefore, consider using a paint specifically designed for cold weather, or warm the paint before application to reduce its viscosity. As with other materials, ensure the painted wood is moved to a warm, dry location to dry between coats. With these considerations and adjustments to your painting technique, it’s entirely feasible to achieve a professional-grade finish on wood, even in cold weather.
Metal
Spray painting metal in cold weather also presents its own set of challenges. Like wood, metal absorbs the temperature of its surroundings, thereby becoming cold in chilly weather. This can negatively impact paint adherence and drying times. Before spray painting, ensure that the metal is clean and free of any rust or old paint.
Use a primer designed for metal surfaces before applying the paint to provide a smooth surface for the paint to adhere. It’s also crucial to keep the paint and the metal object warm during the painting process. After applying each coat, move the item to a warm, controlled environment to dry. Be patient and allow ample time for each coat to dry thoroughly before applying the next. Keep in mind that cold weather may necessitate a longer drying time. Remember, success in spray painting metal in cold weather depends on proper preparation, the right materials, and thoughtful application.
Does Temperature Affect Spray Paint?
Temperature significantly affects spray paint performance. Cold weather thickens the paint, making it challenging to apply evenly and slowing down drying. Extremely hot weather causes quick drying, resulting in a patchy finish. Rapid temperature fluctuations while drying can lead to cracking. Paint in moderate temperatures and maintain a consistent environment. Proper storage is also crucial, avoiding extreme temperatures. Follow manufacturer guidelines for optimal spray paint usage as each product varies.[3]
What’s the Best Temperature For Spray Painting?
The optimal temperature for spray painting typically ranges between 50-85 degrees Fahrenheit (10-29 degrees Celsius). Conditions within this range allow the paint to adhere to the surface smoothly and dry at an appropriate rate, preventing issues such as drips, patchiness, or cracking. Additionally, the humidity level should ideally be between 40-50%. High humidity can cause the paint to absorb moisture, leading to a cloudy or blotchy finish. However, remember that these are general guidelines, and specific products may have their own optimal application conditions. Always refer to the manufacturer’s instructions to ensure the best performance and results for your specific spray paint.[3]
FAQ
How cold is too cold for spray paint?
Spray painting in temperatures below 45°F (7°C) is not recommended due to various reasons. Cold weather can cause the paint to thicken, leading to uneven application and slow drying. It may also result in poor adhesion, causing peeling or flaking.
If you must paint in cold weather, take precautions like warming the paint and surface, and allowing sufficient drying time in a warm environment. Always refer to the manufacturer’s temperature guidelines for best results.
Can you let spray paint dry in the cold?
Spray painting in cold conditions can cause issues like slow drying, dust, and compromised finish. It’s best to move the item to a warmer environment for proper drying. Monitoring weather and temperature is crucial for a successful spray painting project.
What temperature should spray paint be in Celsius?
The ideal temperature for spray painting is typically between 10 and 29 degrees Celsius, with humidity levels around 40-50%. Following these guidelines helps achieve a smooth and even finish, preventing issues like running or patchiness. Remember to check the manufacturer’s instructions for specific product recommendations to achieve the best results with your spray paint.
How long does spray paint take to dry in the cold?
Spray paint takes longer to dry in cold conditions due to reduced evaporation. While it may dry to touch within 20 minutes to an hour under optimal temperatures, it can take several hours or up to 24 hours in colder conditions. Factors like paint type, layer thickness, and temperature affect drying time. Allow each coat to dry thoroughly to avoid issues like smudging or peeling. Plan your project accordingly in cold weather and consult the manufacturer’s guidelines for specific drying times.
At what temperature will spray paint dry?
Spray paint dries effectively in temperatures ranging from 50-85°F (10-29°C), preventing issues like runs or uneven patches. It’s important to follow the manufacturer’s recommendations for optimal results.
Pay attention to temperature and humidity when planning your project.Will spray paint dry for 2 hours?
The drying time of spray paint can vary based on factors such as temperature, humidity, paint type, and layer thickness.
In optimal conditions, it dries to touch within 20 minutes to an hour and cures completely in 24 hours. Follow the manufacturer’s instructions for accurate drying times. Allow each coat to dry before applying the next one for best results.
Useful Video: How to SPRAY PAINT OUTSIDE in COLD WINTER!
Conclusion
Spray painting in cold weather can be challenging due to slower drying times, increased risk of contaminants, and an uneven finish. It’s best to follow manufacturer guidelines for optimal results. Aim for temperatures between 10-29 degrees Celsius and humidity levels of 40-50%. Plan accordingly to achieve the best outcome for your spray painting project.
References:
- https://www.makingmanzanita.com/spray-painting-in-cold-weather/
- https://propaintersguide.com/can-you-spray-paint-in-cold-weather/
- https://housegrail.com/how-to-spray-paint-in-colder-weather/