Known for its exceptional durability and wide range of vibrant colors, latex paint is a very popular option for both pro and amateur DIY enthusiasts. However, one common obstacle encountered when utilizing latex paint is its naturally thick consistency, which may prove less than optimal for spray applications. Fear not, for this comprehensive guide is here to assist you in navigating the process of effectively thin liquid latex coating for a sprayer, guaranteeing a flawlessly smooth and evenly coated finish for all your painting endeavors. With these invaluable insights, you’ll be able to tackle your projects with confidence and deliver results of professional caliber that will leave you thoroughly impressed.
Things You Should Know
Before diluting your latex paint, it’s crucial to understand a few key concepts. First, it’s important to note that not every painting job requires a thinned paint. The decision to thin paint varies depending on a number of things, such as the type of sprayer you use, the size of its nozzle, and the desired coverage. Diluting the paint can assist in obtaining a sleeker application and better coverage, especially when using airless or HVLP sprayers.
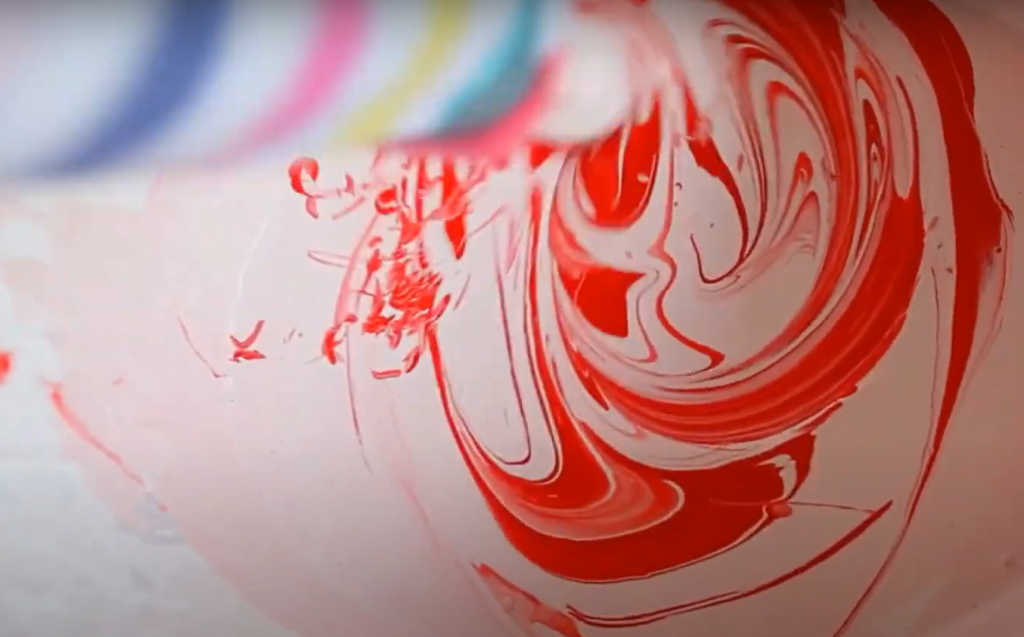
While mixing latex colors, the goal is to reach an optimal consistency that allows for a smooth flow through the sprayer without compromising the paint’s quality and coverage. The ideal consistency is typically achieved by adding water or a dedicated commercial latex extender.
However, if you prefer a more controlled thinning process, a commercial latex extender can provide better results.It is important to avoid using petroleum-based solvents like mineral spirits or turpentine during the preparation of paint with latex, as they can damage the paint’s composition. These solvents are better suited for oil colors. Stick to water or a latex extender specifically designed to thin the paint to achieve the most effective outcome.
By understanding these key concepts and following the appropriate guidelines for spreading paint, you can achieve a smoother application and enhance the overall quality of your painting projects.[1]
Using Water to Thin Latex Paint
Water is the most commonly used thinning agent for latex paint due to its compatibility and ease of access. To ensure successful thinning, follow these steps:
- Begin by pouring your latex paint into a mixing container, being careful not to fill it more than half-way. This will allow enough space for proper mixing.
- Slowly start adding water to the paint, maintaining a ratio of approximately 4 parts paint to 1 part water. By adding water gradually, you can better control the consistency of the paint.
- Stir the mixture thoroughly until you achieve a uniform consistency. This step is crucial in ensuring that the water is evenly distributed throughout the paint.
- It’s important to remember that adding too much water can result in the paint losing its adhesive properties, which can lead to poor coverage and durability. Therefore, always add water in small increments and test the paint regularly for optimal viscosity.
- To check if the paint is ready to be loaded into your sprayer, use a frying pan. If the paint can be poured freely from the stick and doesn’t leave clumps or globs, it’s a good indication that the paint has reached the desired consistency.
By following these steps and paying attention to the details, you can ensure that your latex paint is properly thinned for a smooth and successful application.[1]
How to Test if Paint Dilution is Required
Determining if you need to dilute the paint is relatively straightforward and crucial for achieving a smooth application and quality finish. Here’s a simple method you can follow to assess the consistency of your paint.
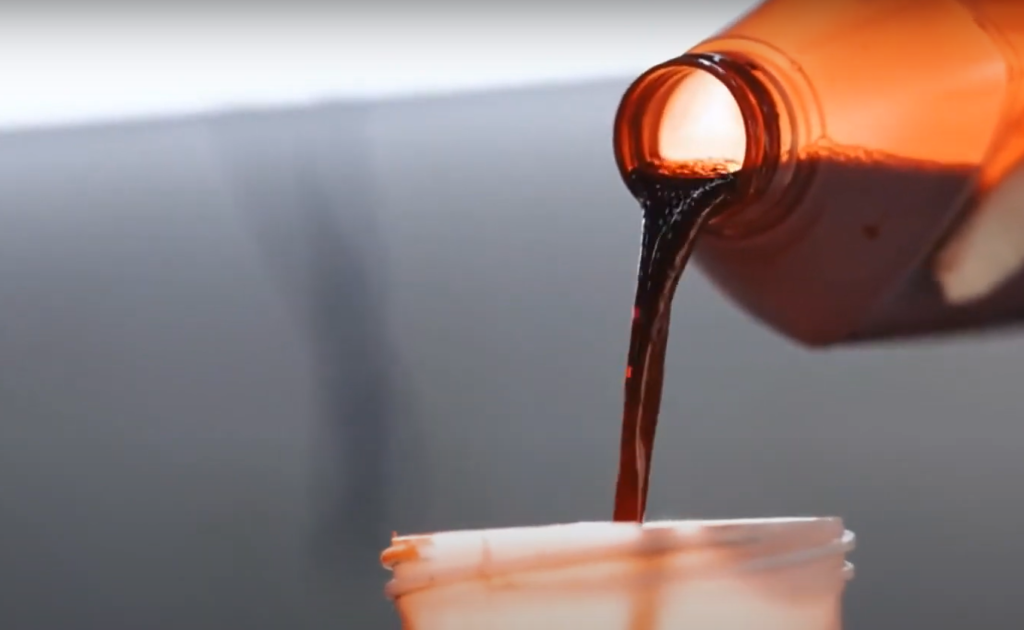
First, take a chopstick and carefully stir the paint, ensuring that all components are well mixed. Then, lift the stir stick from the paint container and observe the paint’s behavior. If the paint flows smoothly off the stick without forming clumps or globs, it indicates that the consistency is ideal and thinning is not required. However, if the paint sticks to the stirrer or forms clumps, or if it comes off the stick in globs, it’s an indication that the paint is too thick and needs thinning.
Another method you can use is the funnel test. Simply fill the color via a watering can and observe its flow. If the paint passes through the funnel freely and smoothly, it suggests that no thinning is necessary. However, if the paint struggles to pass through the funnel or shows signs of resistance, it indicates that thinning is required before using it in a sprayer.
By taking the time to check your paint’s consistency before starting your painting project, you can ensure a hassle-free experience and achieve the desired results.
What You’ll Need
To successfully thin your latex paint, you’ll need some basic tools and materials. Here’s a detailed list of what you should gather before starting:
- Latex paint: Make sure you have enough paint for your project. Consider the size of the area you’ll be painting and calculate the required amount of paint. Remember, you’ll be adding volume to the paint by thinning it, so ensure you have a sufficient quantity.
- Water or Latex Extender: Depending on your preference, you’ll need a suitable thinning agent. Water is readily available and works well with latex paints, allowing you to achieve the desired consistency. However, if you desire more control over the thinning process, a commercial latex extender can be a great option. It not only helps in thinning the paint but also enhances its flow and leveling properties.
- Mixing Container: A large, clean container is essential for mixing the paint and thinning agent. Choose a container that is spacious enough to comfortably hold the paint and add water or extender. Having enough room for thorough mixing is crucial to achieve a uniform consistency.
- Stir Stick: A wooden or plastic stir stick is necessary to stir the paint and thinning agent. Use the stir stick to thoroughly blend the two components until they reach a uniform consistency. This ensures that the paint is properly thinned and ready for application.
- Funnel (optional): If you prefer to check the consistency of your paint using the funnel test, make sure you have a suitable funnel. The funnel helps in pouring the thinned paint back into the original container without any spills or mess. While this step is optional, it can be helpful in ensuring the desired consistency is achieved.
- Protective Equipment: Safety should always be a priority while handling paint. Remember to wear gloves and protective eyewear to safeguard your skin and eyes from any potential contact with the paint. Additionally, consider wearing a mask to prevent inhalation of paint fumes, especially if you are working in a poorly ventilated area.
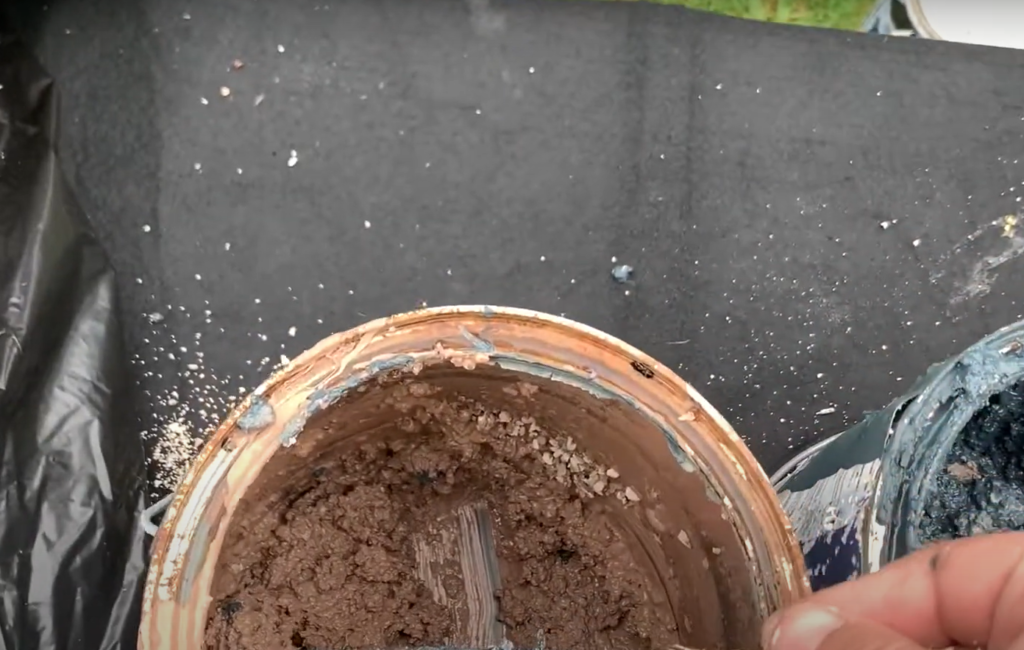
By gathering all these items before you start, you’ll ensure a smooth and hassle-free paint thinning process, allowing you to achieve the desired consistency for your painting project.[2]
Instructions
Acclimate the Paint
Before you start the process of thinning and applying latex paint, it is crucial to allow the paint to acclimate to the temperature of the room where it will be used. This step is essential because paint properties can change with temperature, which can affect its viscosity and how well it mixes with thinning agents.
If you’ve stored the paint in a cool place, bring it into your work area and allow it to sit for a few hours to reach room temperature. By doing so, you ensure that your paint performs at its best during the thinning process and achieves optimal results when sprayed.
Moreover, take the time to stir the paint thoroughly after it has acclimated and before you begin the thinning process. This ensures that all the components are evenly distributed, resulting in a consistent and smooth mixture.
Remember, paying attention to these details and providing the necessary time for the paint to acclimate will contribute to a successful thinning process and ultimately lead to the best possible outcome for your project.
Pre-Mix the Paint
Before thinning your latex paint, it is highly recommended to pre-mix it thoroughly. This step ensures that all the components in the paint are evenly dispersed, preventing any issues with color or consistency later on. Over time, certain elements in the paint tend to settle at the bottom of the can, which can result in uneven color distribution and an inconsistent texture.
To pre-mix your paint effectively, begin by opening the can and grabbing a stir stick. Using the stir stick, start stirring the paint from the bottom of the can and gradually work your way up to the top. It is crucial to scrape the sides of the can as well, incorporating any settled paint that may have accumulated there. Continue stirring for a few minutes, ensuring that the paint achieves a uniform consistency throughout. This thorough pre-mixing process guarantees that the color is evenly distributed, giving you a consistent base to work with before you proceed with thinning the paint.
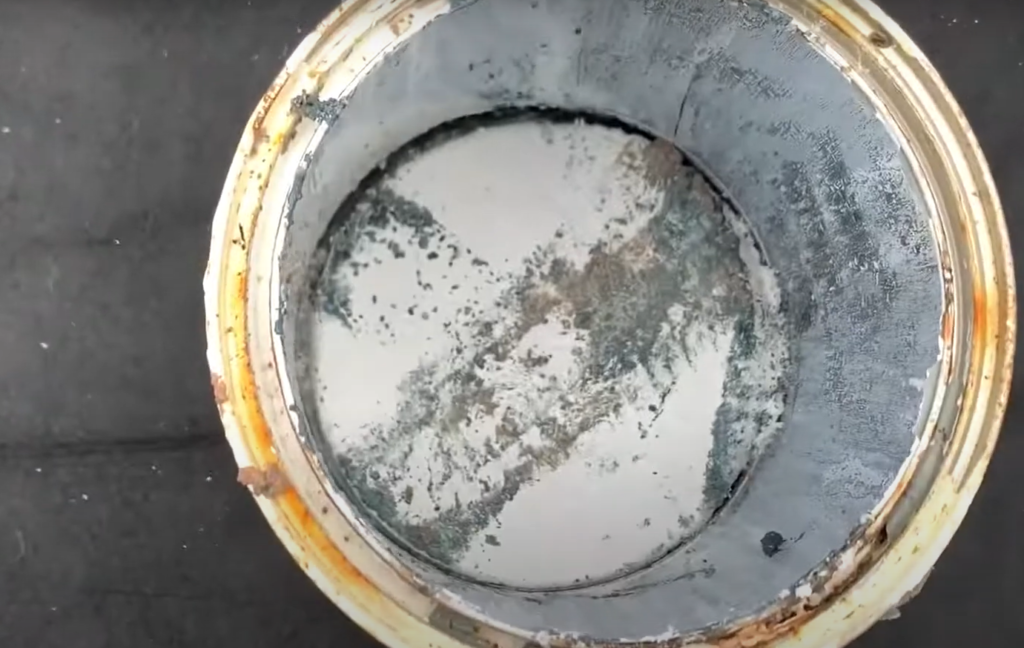
After pre-mixing, remember to clean your stir stick thoroughly to avoid contaminating the thinning agent with any undiluted paint. This simple yet crucial step will help you achieve optimal results when thinning your latex paint.
Strain Out Impurities
Before you embark on the thinning process, it’s highly recommended to strain out any impurities that may have accumulated in your paint. Over time, paint can develop unsightly lumps or form a skin-like texture, which could potentially clog your paint sprayer and hinder its performance. To overcome this, you’ll need a reliable paint strainer or a fine-mesh sieve that can effectively filter out these unwanted particles.
To perform the straining, place the strainer securely over a clean container and slowly pour the paint through it. As the paint passes through the strainer, it will effectively trap any lumps or debris, resulting in a smooth and clean paint mixture that is ready for thinning. This meticulous step not only ensures a flawless application but also significantly prolongs the lifespan of your paint sprayer by preventing potential blockages and maintaining its optimal functionality.
Remember to responsibly dispose of the residue collected by the strainer and take the time to thoroughly clean your tools before proceeding with the next steps. By diligently straining your paint, you not only guarantee a superior application but also safeguard the longevity and performance of your valuable paint sprayer.
Measure the Water
To properly thin your paint, it’s crucial to have the right amount of thinning agent. If you’re using water as your thinning agent, it’s recommended to measure out the correct ratio in relation to the volume of paint you’re using. As a general guideline, starting with a ratio of 4 parts paint to 1 part water is a good starting point, but keep in mind that this may vary based on the type of paint and the manufacturer’s instructions.
When adding water, it’s best to do so in small increments to avoid over-thinning the paint. This way, you can gradually achieve the desired consistency without compromising the quality of the paint. On the other hand, if you’re using a commercial latex extender, it’s important to follow the specific guidelines provided by the manufacturer to determine the appropriate amount to use.
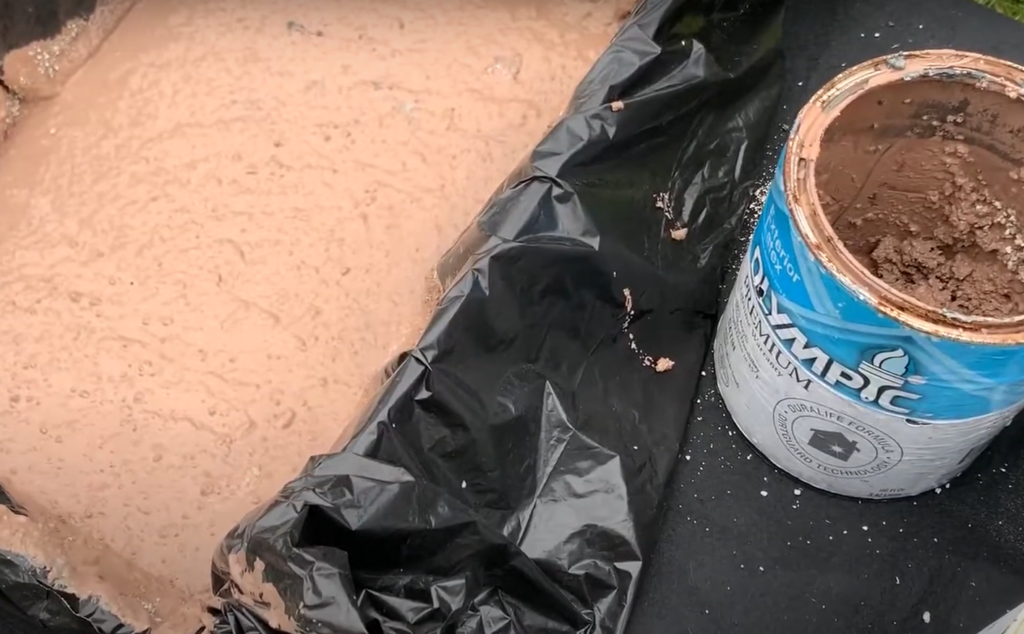
Remember, it’s always easier to add more water if needed than to try and correct paint that has been overly thinned. By taking these considerations into account, you can achieve the perfect consistency for your paint and ensure optimal results in your painting projects.
Mix the Water Into the Paint
Now that you have measured the appropriate amount of water, it’s time to start the thinning process. Gradually add the water to the paint while continuously stirring with your stir stick. Make sure to stir thoroughly, ensuring the water is completely incorporated into the paint. The key here is to add the water in small increments, thoroughly mixing after each addition. This gradual process prevents the paint from becoming too watery and ensures a uniform, workable consistency.
As you add the water, observe how the paint reacts and adjust accordingly. If you notice the paint becoming too thin, pause the addition of water and continue stirring until it reaches the desired consistency. On the other hand, if the paint seems too thick, you can add a touch more water, but be cautious not to overdo it.
Remember, the goal is to achieve a consistency that allows the paint to flow smoothly and evenly. It shouldn’t be too thin that it drips off the stir stick, but it also shouldn’t be too thick that it becomes difficult to work with. Take your time and be patient throughout the process, making small adjustments as needed until you reach the desired result. Happy painting!
Test the Paint on a Similar Surface
Before you begin the actual painting process, it’s always a wise choice to take a moment and test the thinned paint on a similar surface. By doing so, you can effectively assess the consistency and coverage of your paint, allowing you to make any necessary adjustments before embarking on the main task at hand.
To carry out this step, you’ll need to locate a piece of scrap material that closely matches the surface you intend to paint on. Alternatively, you can find an inconspicuous spot on the actual surface itself. Once you’ve identified the testing area, gently spray a small amount of paint and carefully observe how it adheres to the surface.
If you notice that the paint runs or drips, this indicates that it may be too thin. In such cases, you may need to incorporate more paint into your mixture to achieve the desired consistency. On the other hand, if the paint appears too thick and doesn’t spread evenly, you might need to add a bit more thinning agent to achieve the optimal texture.
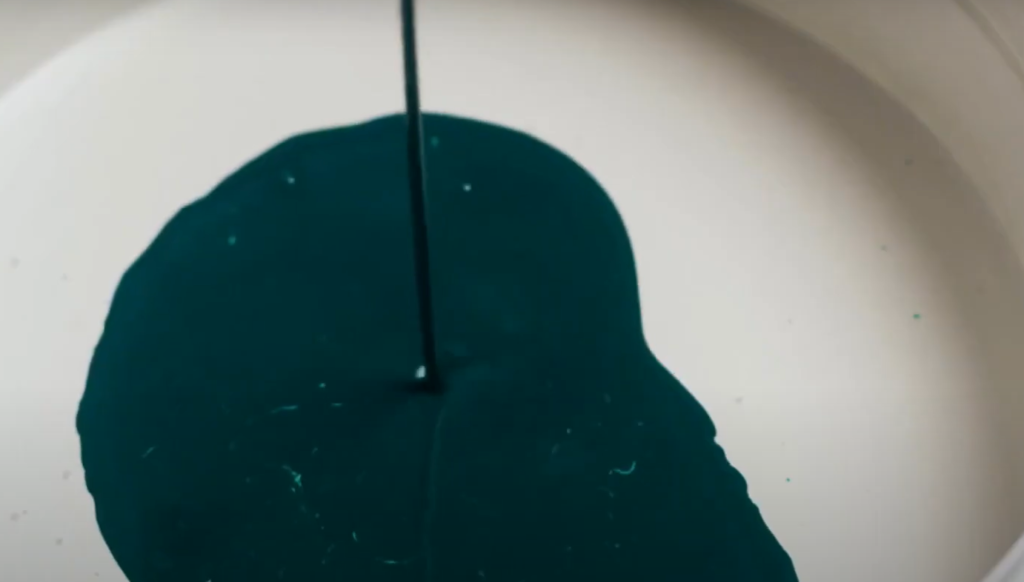
By meticulously following this crucial step, you can ensure that you achieve the perfect consistency for a smooth and even coat. Not only will this save you time, but it will also alleviate any potential frustration that may arise during the painting process.[2],[3]
When to Use a Paint Sprayer vs. Roller
When choosing between a paint sprayer and a roller, it’s important to consider the nature of your project in more detail. A paint sprayer is an excellent choice for large, open spaces with intricate surfaces that have detailed architectural features, such as moldings or window frames. The efficiency of sprayers allows them to cover a significant amount of area in a short amount of time, providing a smooth and even finish without any visible brush or roller strokes. However, it’s worth noting that sprayers can be a bit messy, requiring extensive masking and drop cloths to protect surrounding areas from overspray. Additionally, they may be considered overkill for smaller, simpler paint jobs.
On the other hand, paint rollers are perfectly suited for medium-to-large flat surfaces like walls and ceilings. They offer more control and generate less waste compared to sprayers, making cleanup a breeze. Rollers typically require fewer costs than sprayers and can be more cost-effective, especially for indoor projects. However, it’s important to mention that rollers may leave visible seams or stippling effects on the painted surface, which may not be ideal for certain applications. Furthermore, if you’re working on large areas or multiple rooms, using a roller can be time-consuming.
In summary, when deciding between a paint sprayer and a roller, take into account not only the size and complexity of your project but also its location. Both tools have their advantages and potential drawbacks, so it’s crucial to consider your specific needs and comfort level with the equipment. By carefully considering these factors, you’ll be able to make an informed decision that will help you achieve the best results for your painting project.[3]
Tips for Thinning Latex Paint
- Check Paint Consistency: Always check paint consistency before thinning. If it’s already fluid, no need to thin.
- Temperature Matters: Consider the working environment temperature. Paint thickens in colder settings, so more thinning may be needed.
- Stir, Don’t Shake: Gently stir the paint and thinning agent to avoid creating bubbles and uneven finish.
- Use Quality Thinning Agents: Water can thin latex paint, but commercial agents yield better results, especially for larger projects.
- Start Small: Begin with a small amount of thinning agent, adding gradually. It’s easier to add more, but correcting overly thin paint is challenging.
- Test Before Application: Always test thinned paint on a similar surface to ensure desired consistency and finish.
- Clean Your Equipment: Thoroughly clean equipment after thinning to prevent dried or excess paint from affecting future use.
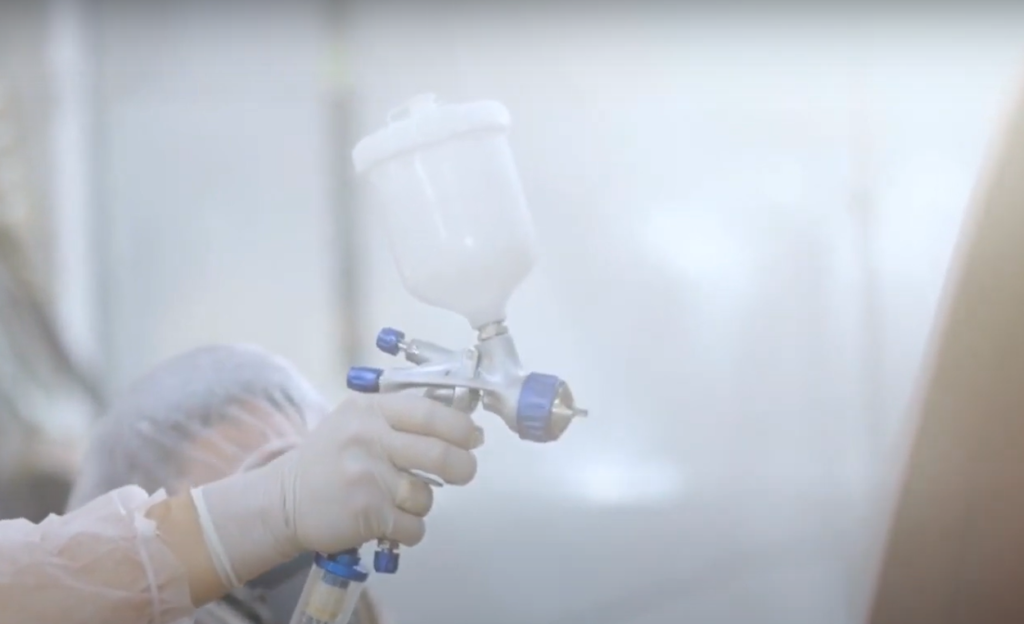
Remember, the goal is achieving paint consistency suitable for your sprayer, providing even coverage and a smooth finish. With these tips, successful paint thinning is within reach.[3]
FAQ
Can latex paint be thinned for spraying?
Yes, latex paint can be thinned for spraying, which is common for large-scale, paint-intensive projects using a sprayer for even coverage and a smooth finish. Thinning involves adding a thinning agent like water or a commercial latex extender until the desired consistency is achieved. Testing the thinned paint beforehand ensures smooth flow through the sprayer and proper adhesion without running or dripping. Always follow the manufacturer’s guidelines and safety instructions when thinning and spraying paint.
What can I use to thin latex paint?
When thinning latex paint, there are various options available. The most common is water, which is cost-effective and readily available. However, be cautious not to over-thin as it can reduce the paint’s binding ability. Another choice is a commercial thinning agent or paint extender, which provides better results, especially for large-scale projects. These products improve flow and leveling properties for a better finish. Floetrol, a latex paint additive, enhances workability and coverage, resulting in a smoother finish with fewer marks. Remember to consider project requirements, paint type, and personal preference when selecting a thinning agent. Always follow manufacturer’s guidelines and test the thinned paint before applying for satisfactory results.
Should I water down paint for a spray gun?
Watering down paint is often necessary for spray gun use. However, the extent of thinning depends on various factors. Refer to the paint manufacturer’s instructions as some paints may already be pre-thinned.
Mix well until it reaches a milk-like consistency. Test the thinned paint on a similar surface before applying to your main project. Commercial products can also improve flow and finish. Avoid over-thinning, as it can affect adhesion and the overall finish.How do you thin latex paint for airbrushing?
Thinning latex paint for airbrushing is a straightforward process, but it requires precision. Pour the latex paint into a mixing container. Gradually add water or commercial paint thinner as a thinning agent, maintaining a 1:1 ratio of paint to thinner. Stir well until the mixture resembles skim milk. Strain the thinned paint to remove lumps or clumps that could clog the airbrush. Test on a scrap surface before applying. Clean the airbrush thoroughly after use. Use personal protective equipment and work in well-ventilated areas when handling paint and thinners.
Can you spray latex paint with an air sprayer?
Yes, you can use an air sprayer to apply latex paint. It’s effective, especially for larger projects or achieving a smooth, professional finish. Air sprayers pump paint at high pressure, atomizing it into tiny droplets that form an even coating. Before using latex paint in an air sprayer, ensure it’s adequately thinned to prevent clogging. The usual thinning ratio is about 1:1, varying based on paint brand and sprayer model. Always test thinned paint on a sample surface before starting your project. Clean your equipment thoroughly for future use.
How do you dilute paint for a sprayer?
To dilute paint for a sprayer, follow these simple steps:
- Pour the paint into a clean container.
- Add a small amount of water or paint thinner (starting with a 10% ratio) and stir well.
- Gradually add more thinner while stirring until the paint reaches a milk-like consistency.
- Strain the thinned paint to remove any clumps that could clog the sprayer.
- Test the consistency on a scrap piece of material before applying to your main project.
- Wear protective gear like gloves and goggles to avoid splatters and fumes.
- Clean your sprayer thoroughly after use for future projects.
Useful Video: How To Thin Latex Paint For Spraying
Conclusion
Thinning latex paint for sprayers is crucial for a smooth finish. Add water or a proprietary thinner until it reaches a milk-like consistency. Test the thinned paint before applying. Wear protective gear and clean equipment after use. With knowledge and practice, achieve professional results.
References:
- https://home.howstuffworks.com/home-improvement/home-diy/painting/how-to-thin-latex-paint.htm
- https://acrylgiessen.com/en/how-to-thin-paint-for-spray-gun/
- https://www.thespruce.com/how-to-thin-latex-paint-4586974





Leave a Review